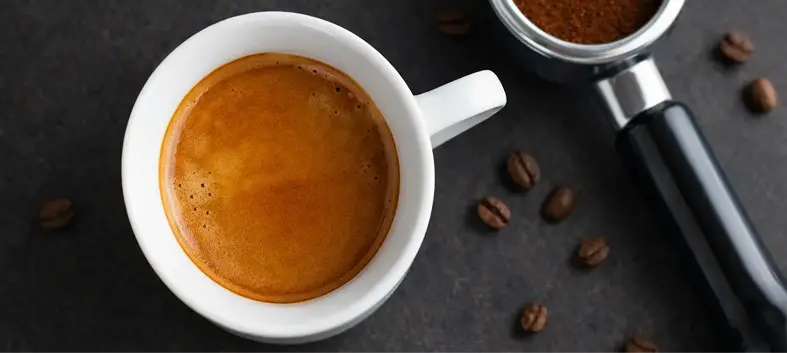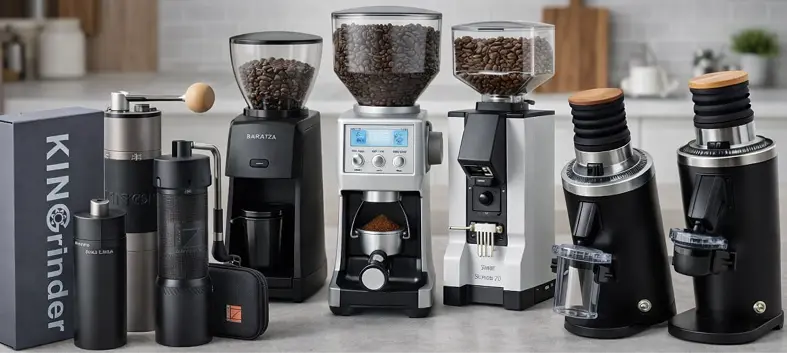
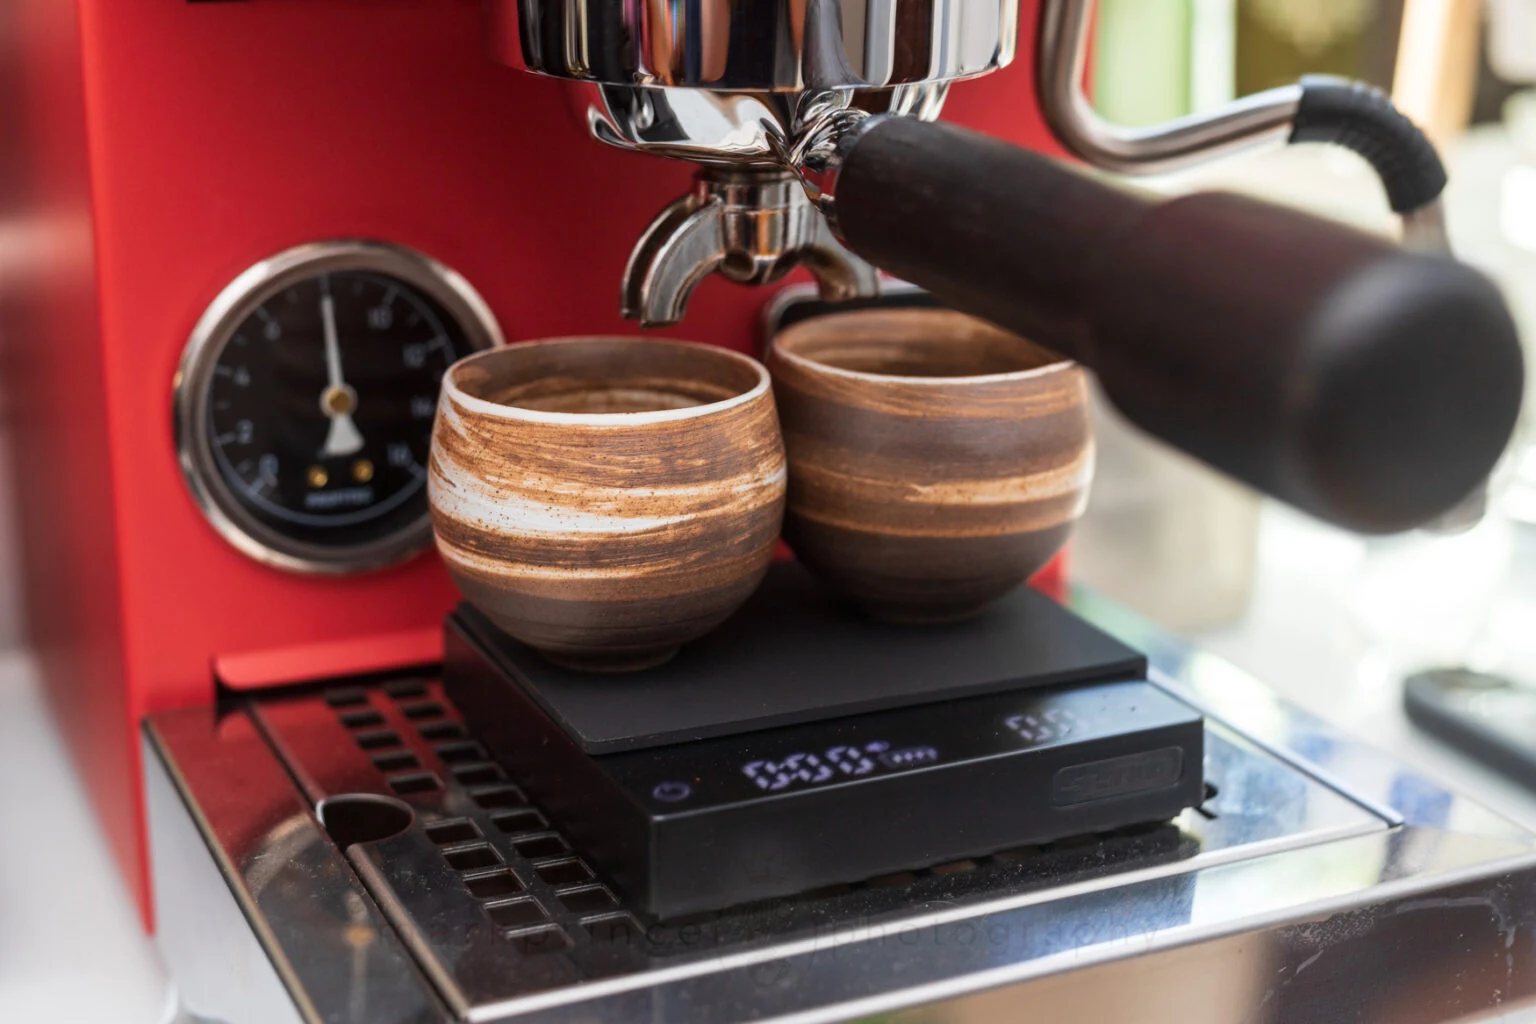
An espresso scale needs room for its feet on the drip tray and for your cup beneath the portafilter. The cup must leave the display visible, and a silicone mat can use up the last few millimeters of clearance. Buy for the space where you will actually weigh the shot. Then choose the timer and controls you want to use.
Quick picks for the drip tray
-
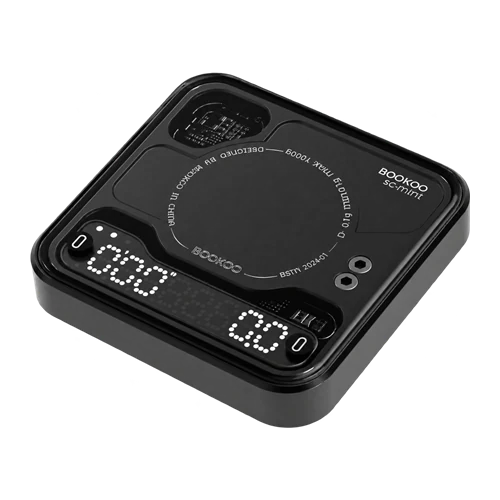 The smallest footprintBOOKOO Themis MiniJump to pick ↓
-
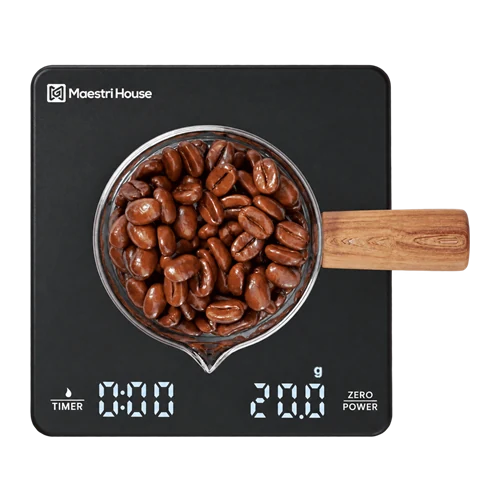 A compact manual routineMaestri House S1 MiniJump to pick ↓
-
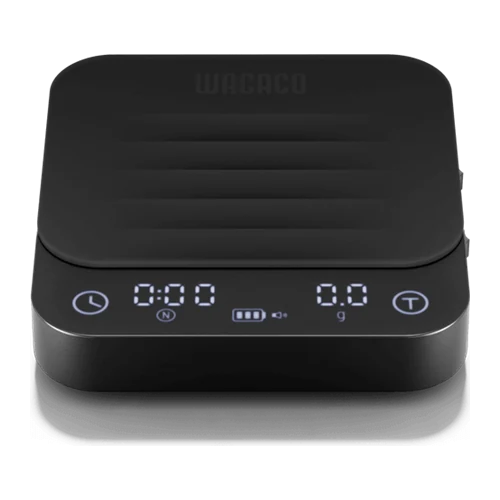 A scale that travelsWACACO Exagram ProJump to pick ↓
-
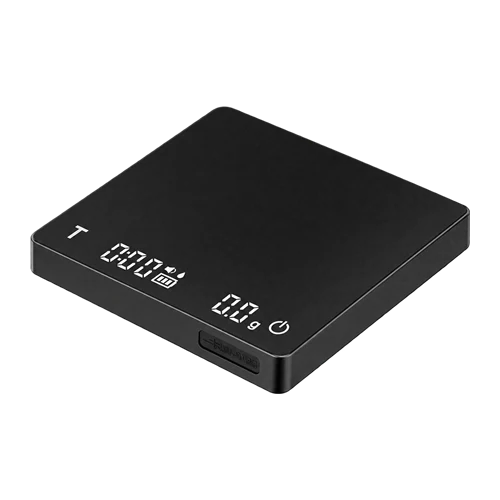 Automatic wake for dosingMHW-3BOMBER Cube 2.0 MiniJump to pick ↓
-
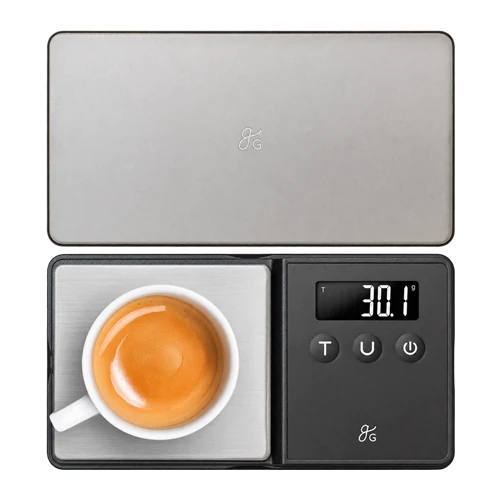 Use your machine’s timerGreater Goods Espresso 750 gJump to pick ↓
-
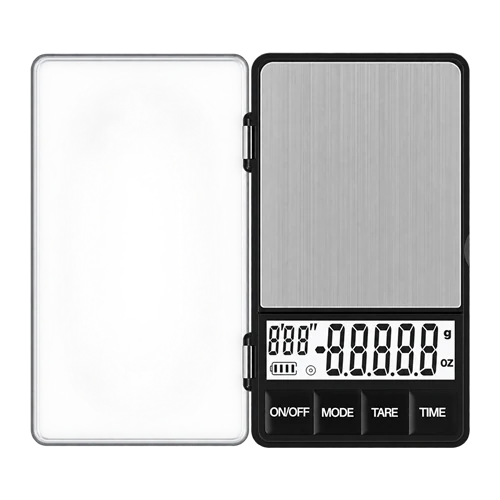 A narrow scale with a timerMAXUS Espresso 1 kgJump to pick ↓
-
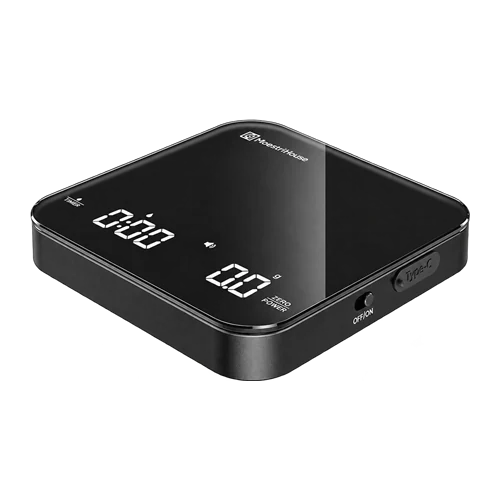 A glass-top espresso scaleMaestri House S2Jump to pick ↓
-
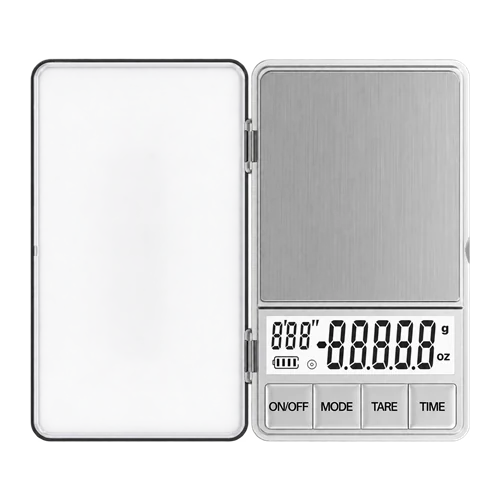 A narrow manual-timer optionWEIGHTMAN Espresso 1 kgJump to pick ↓
-
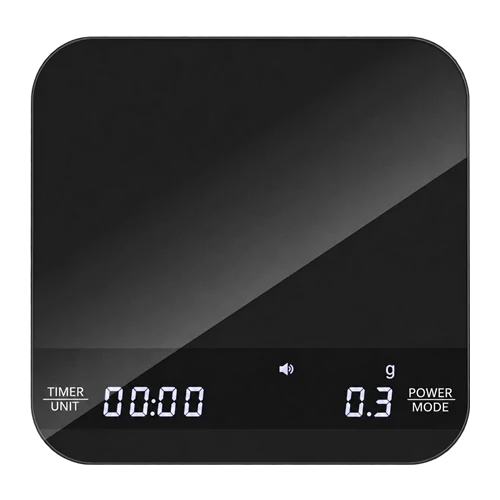 A low square with brew modesERAVSOW K112BK MiniJump to pick ↓
Quick picks for the brew counter
Broader platforms for a dripper, carafe and espresso prep.
-
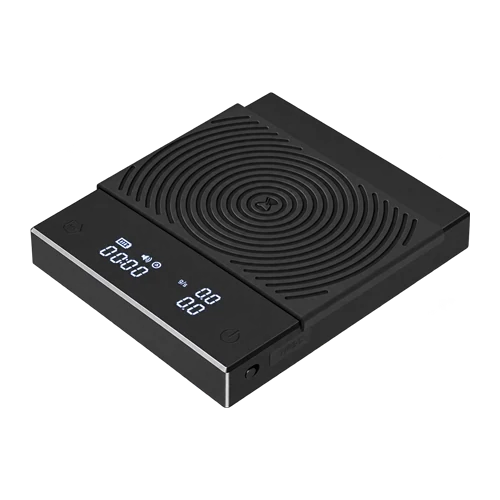 Espresso and pour-overTIMEMORE Basic 2Jump to pick ↓
-
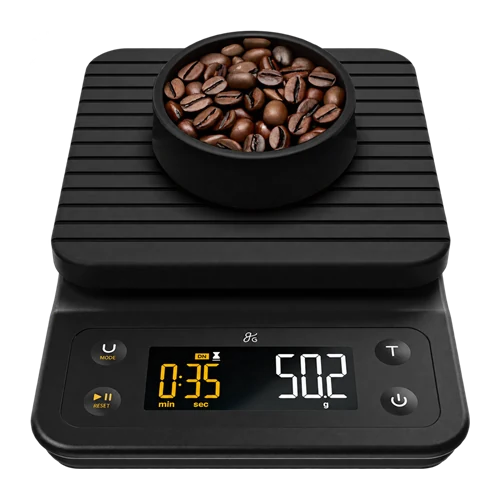 Keep weighing on the counterGreater Goods Premium 0460Jump to pick ↓
-
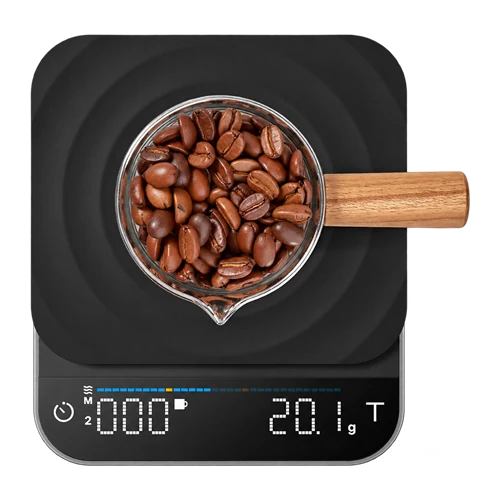 Portafilter weight memoryRENPHO CalibaristaJump to pick ↓
-
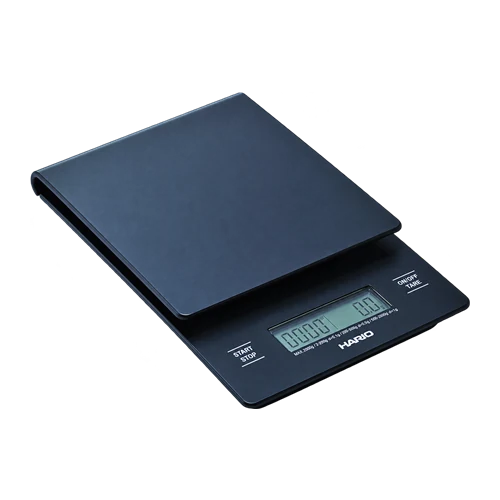 A manual pour-over stationHario V60 Drip ScaleJump to pick ↓
-
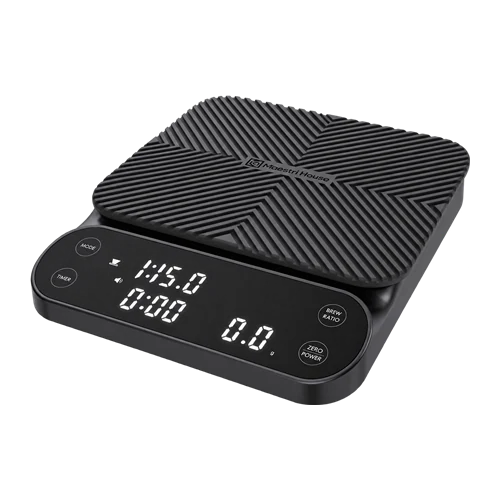 Ratio and flow on the counterMaestri House S3Jump to pick ↓
-
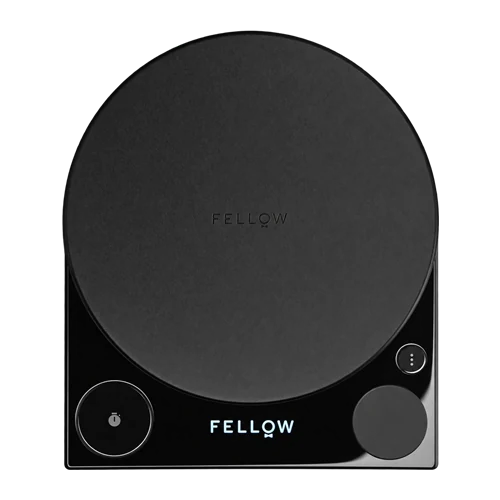 Brew-ratio guidance with a dialFellow Tally ProJump to pick ↓
-
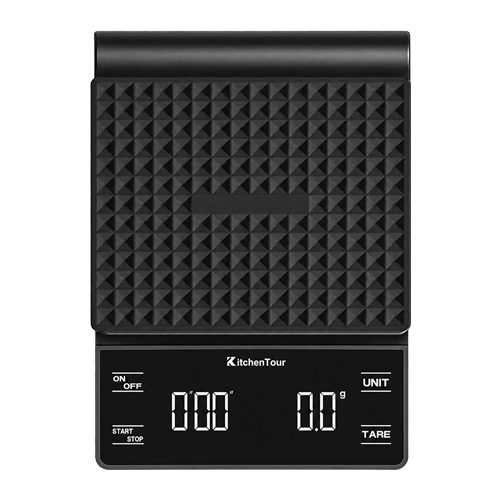 A broad platform with simple timingKitchenTour Coffee 3 kgJump to pick ↓
-
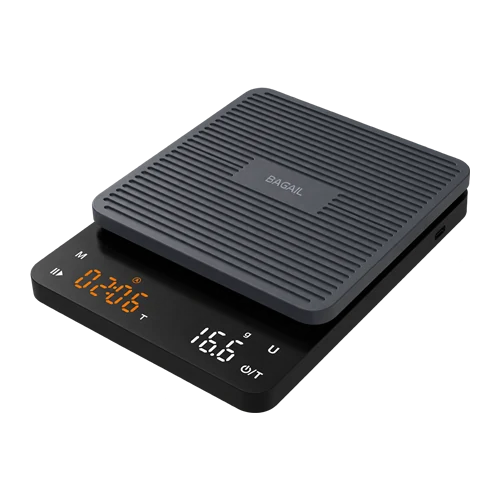 Rechargeable with a ribbed matBAGAIL BASICS SC01Jump to pick ↓
What matters most in an espresso scale?
A stable fit, a readable display and 0.1 g increments are the essentials. Measure the usable drip tray and the height beneath your locked-in portafilter, with your actual cup in mind. A small, low scale makes it easier to weigh espresso as it pours. A manual timer is enough for most home routines; a machine timer can cover that job too.
Choose a larger platform if you also weigh a carafe or heavy portafilter. Record dose, beverage yield and elapsed time consistently; our guide to dialing in espresso explains how to use those measurements to adjust the grind. Automatic timing, flow-rate displays and Bluetooth are optional ways to support that routine.
Measure the tray, the cup and the space between them
Start with the portafilter you brew with. A spouted handle and a bottomless handle leave different amounts of space below the group. A tall latte glass changes the calculation again. The machine’s advertised cup clearance may describe a configuration you never use.
- Lock in the portafilter. Measure vertically from the drip-tray surface to the lowest spout or basket. Measure where the cup will sit, rather than beside the group.
- Measure the usable tray. Include raised borders, drainage slots and any step in the surface. The scale’s feet need firm, level support; the outer dimensions of the machine do not tell you that.
- Add your cup and the scale. Allow for a silicone mat if it sits above the quoted body height. Leave room to slide the cup in and out without striking the portafilter.
- Check the view from where you stand. The cup should leave the weight display visible and the tare and timer controls reachable.
A few millimeters can decide which cup you use
For an illustrative setup with 95 mm below the spout and a 60 mm cup, a 19 mm scale leaves 16 mm before any additional mat thickness. A 26 mm scale leaves 9 mm. Neither number guarantees a comfortable fit: a curved cup rim or the motion needed to remove the cup may use the remaining space.
Measure the cup’s outside height, including its base. If it is a travel cup, brew into a shorter vessel and transfer the espresso when necessary. Our guide to reusable cups for espresso drinks covers that part of the setup.
Clearance guide
Published scale heights, from tallest to shortestAll 17 coffee scales on a 0–40 mm scale. Select a name to read its review.
The chart isolates the vertical space each body uses. In the 95 mm example above, the 15 mm BOOKOO leaves 20 mm over the cup, while the 29 mm Hario leaves 6 mm. The 17 mm Greater Goods 750 g sits low but is still 144 mm long, which the height chart cannot show.
Check the height with the mat installed. Manufacturers do not consistently state whether removable accessories are included in a quoted measurement. The published body height gives you an initial clearance check; the assembled scale and cup decide the fit.
One cup and two cups use the platform differently
A cup’s rim can be wider than its base, so the outside diameter alone does not tell you where the load rests. Check the base contact area and balance with the empty cup. The rim may extend beyond the platform if the cup remains stable, clears the machine and leaves the display readable. The base must transfer its whole load through the weighing platform.
Two small cups beneath separate spouts need a wider arrangement. If both rest freely on one scale, the display reports their combined beverage yield. A 36 g total could divide unevenly between them. Weigh the cups separately afterward if equal servings matter; one combined reading cannot show the split.
Keep both cups fully isolated from the machine. A handle resting against a tray border, a spoon touching the counter or a cup wedged beneath a spout can carry part of the load away from the sensor. The screen may still look steady. Pull the cup away from surrounding objects before interpreting that number as the finished yield.
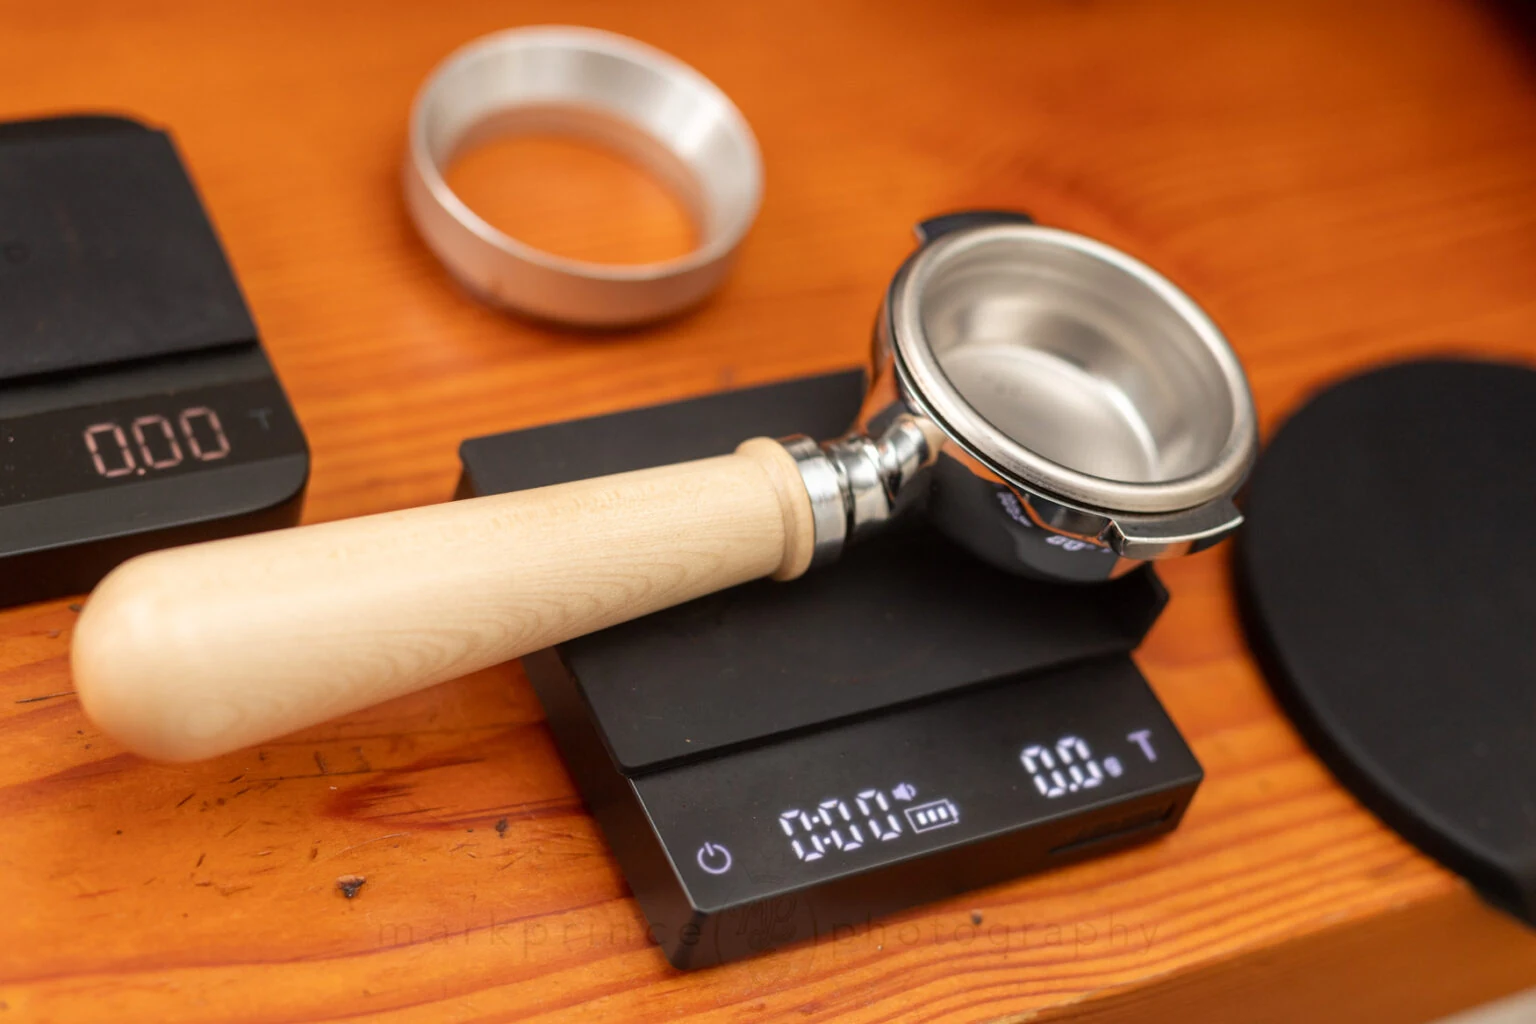
Check the counter routine as well
A compact scale may fit perfectly beneath the group yet feel awkward under a portafilter. The handle can pull it off balance, or rest on the counter and divert part of the load away from the sensor.
Use a dosing cup when the portafilter will not sit securely. Weigh the beans or grounds in the cup, then transfer them. If you weigh directly into the basket, the complete handle and basket must stay below the scale’s maximum load.
A larger scale already on your counter can handle this task while a smaller one stays on the drip tray. You only need that arrangement if it makes your routine easier; one well-fitting scale can cover both jobs.
Read the numbers before comparing modes
A cup can fit the platform while its rim hides the display. A scale can show 0.1 g steps while its reading takes time to catch up. These specifications answer different questions; use them together when deciding whether you can follow a shot comfortably.
- Readability
- The smallest step shown on the display. A 0.1 g step lets you see a change from 18.0 to 18.1 g; it does not establish a ±0.1 g accuracy guarantee.
- Capacity
- The maximum total supported load, including the cup, carafe or portafilter. Tare changes the displayed zero, not the load on the sensor.
- Response
- How promptly the displayed weight follows coffee entering the cup. A slow display makes it harder to stop at a repeatable yield.
- Auto timing
- A mode that starts or stops the clock when its programmed conditions are met. Its starting point may differ from the machine’s shot timer.
A heavy cup can change the display step
Tare removes the vessel from the number you see, but the sensor still supports its weight. This matters on scales that change resolution as the total load rises. The examples below use the published display ranges for four models; they describe the displayed step, without making an accuracy or response-time claim.
| Scale | At 320 g total | At 1,100 g total | Published display range |
|---|---|---|---|
| WACACO Exagram Pro | 0.1 g | 1 g | 0.1 g at 0.3–999.9 g; 1 g at 1,000–2,000 g |
| Hario V60 Drip Scale | 0.5 g | 1 g | 0.1 g at 2–200 g; 0.5 g at 200–500 g; 1 g at 500–2,000 g |
| TIMEMORE Basic 2 | 0.1 g | 0.1 g | 0.1 g specified across its working range |
| Fellow Tally Pro | 0.1 g | 0.1 g | 0.1 g specified across its working range |
With a 320 g cup on the platform, the Hario begins in its 0.5 g range even after the screen returns to zero. A 36 g shot brings the supported load to 356 g and stays in that range. The WACACO keeps 0.1 g steps at that load, but changes to 1 g from a 1 kg total load. The Basic 2 and Tally keep a published 0.1 g step across those examples.
For a large filter brew, count every object resting on the scale. An illustrative 600 g carafe, 180 g dripper, 30 g coffee dose and 900 g of added water total 1,710 g. That fits a 2 kg limit with modest spare capacity. Increasing the water to 1,250 g brings the total to 2,060 g, beyond that limit. Taring between ingredients cannot create more headroom.
Weigh the empty vessel on a scale you already own. It is an easy way to rule out a low-capacity model before buying. Include the basket and handle for portafilter dosing, or the carafe, dripper and filter for pour-over. The coffee you plan to weigh is only part of the load.
Compact scales for the drip tray
For a drip tray, check both horizontal measurements against the supported area before looking at timer modes. Dimensions below are long side × short side; rotating a rectangular body can leave its display facing sideways. Check the cup and controls in the orientation you will use.
| Image | Scale | Footprint | Height | Timer / display step | Capacity / power |
|---|---|---|---|---|---|
|
BOOKOO Themis MiniRead review | 80 × 80 mm | 15 mm | Manual + automatic · 0.1 g | 1 kg · USB-C |
|
Maestri House S1 MiniRead review | 100 × 95 mm | 19 mm | Manual + automatic · 0.1 g | 2 kg · USB-C |
|
WACACO Exagram ProRead review | 95 × 90 mm | 22 mm | Manual + automatic · 0.1 g below 1 kg; 1 g from 1 kg | 2 kg · USB-C |
|
MHW-3BOMBER Cube 2.0 MiniRead review | 104 × 104 mm | 19 mm | Manual + smart mode · 0.1 g | 2 kg · USB-C |
|
Greater Goods Espresso 750 gRead review | Approx. 144 × 76 mm | Approx. 17 mm | None · 0.1 g | 0.75 kg · AAA batteries |
|
MAXUS Espresso 1 kgRead review | Approx. 124 × 73 mm | Approx. 19 mm | Manual · 0.1 g | 1 kg · AAA batteries |
|
Maestri House S2Read review | Approx. 105 × 105 mm | Approx. 20 mm | Manual + automatic · 0.1 g | 2 kg · USB-C |
|
WEIGHTMAN Espresso 1 kgRead review | Approx. 121 × 69 mm | Approx. 18 mm | Manual · 0.1 g | 1 kg · 2 AAA |
|
ERAVSOW K112BK MiniRead review | Approx. 104 × 104 mm | Approx. 18 mm | Manual + brew modes · 0.1 g | 2 kg · USB-C |
BOOKOO leaves the smallest square outline, while WACACO trades a little extra height for a travel case and a 2 kg limit. The narrow Greater Goods 750 g and MAXUS save width, but their length still needs support. MAXUS and WEIGHTMAN also need room for their open covers; the Greater Goods lid is removable. The ERAVSOW saves height among the roughly 104–105 mm squares; the S2 offers a similar outline with a glass top. Choose the outline your tray supports, then check the timer you will use.
Approximate dimensions are rounded inch conversions. Capacity includes the vessel and coffee; tare does not increase the allowance. WACACO’s display steps become coarser from a 1 kg total load.
1. BOOKOO Themis Mini: an 80 mm square for one cup
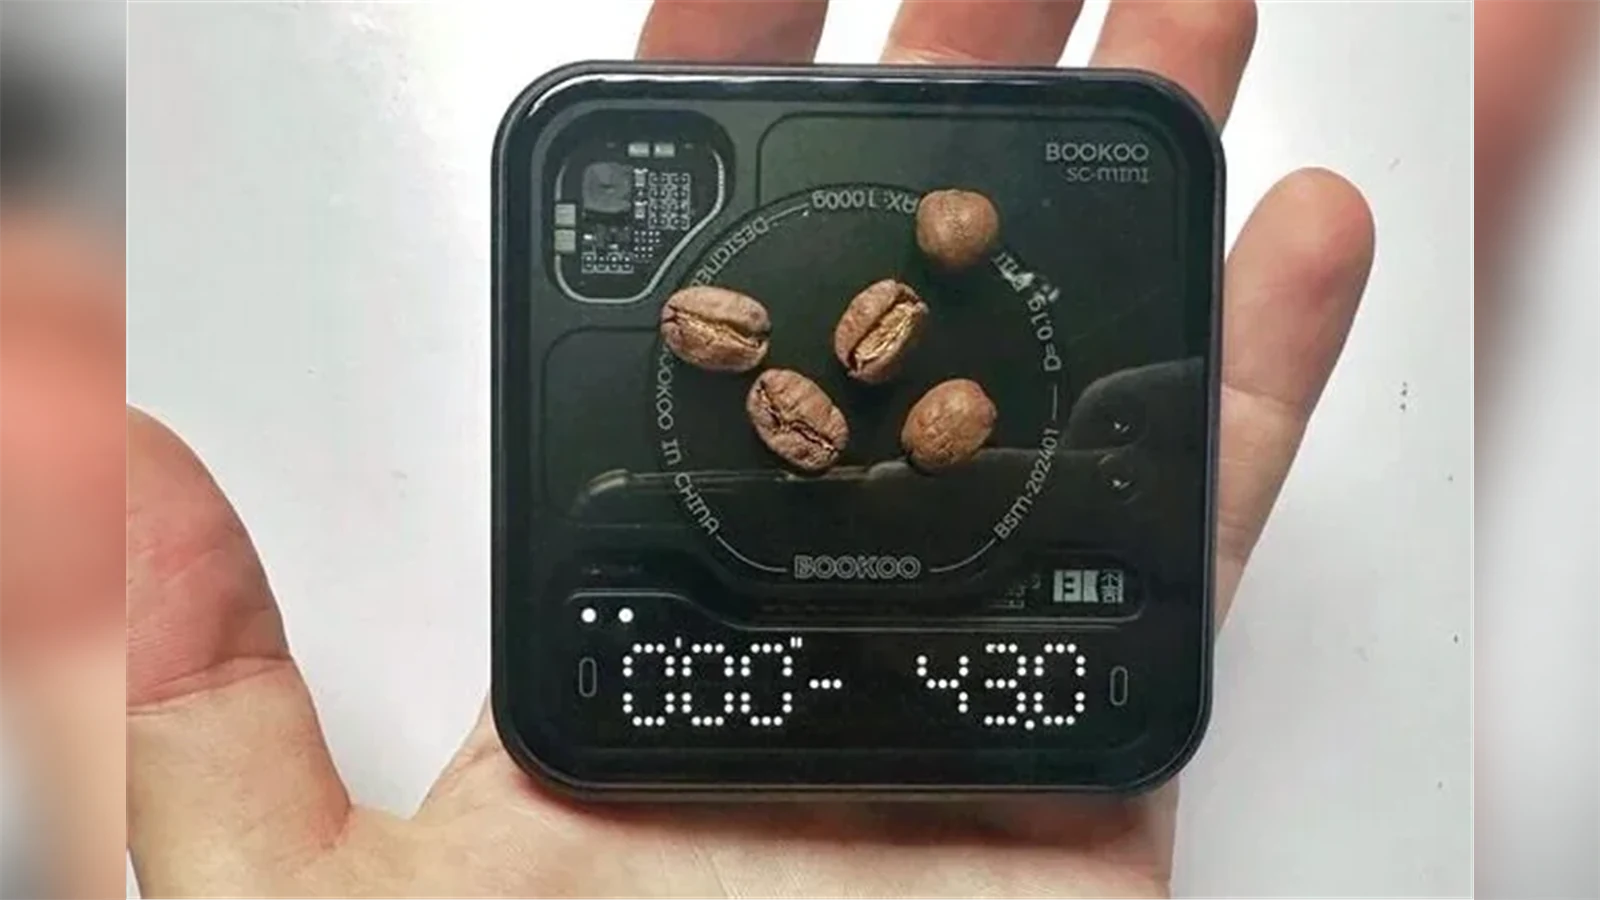
The Themis Mini is the most space-efficient square in this selection: 80 × 80 mm, with a quoted 15 mm height. That is a useful starting point for a cramped drip tray or a manual brewer with limited space around the cup. Its 1 kg maximum load is ample for many espresso cups and doses, but a heavy portafilter needs a separate capacity check.
Think of the platform as a home for one cup. A wider mug base can obscure the controls, and two cups under a double spout may need a larger surface. Before choosing it solely for its height, check that the cup stays centered while you read the display.
Manual and automatic timing work alongside optional Bluetooth recording. If you already log extractions in a compatible app, check that integration before buying. For a simple shot routine, you can operate the scale directly and watch the weight in the cup.
On a tray with wide drainage slots, check where its feet land. An 80 mm outline can fit between raised borders yet leave one foot unsupported. The cup also needs to stay clear of the machine throughout the shot.
2. Maestri House S1 Mini: a straightforward manual routine
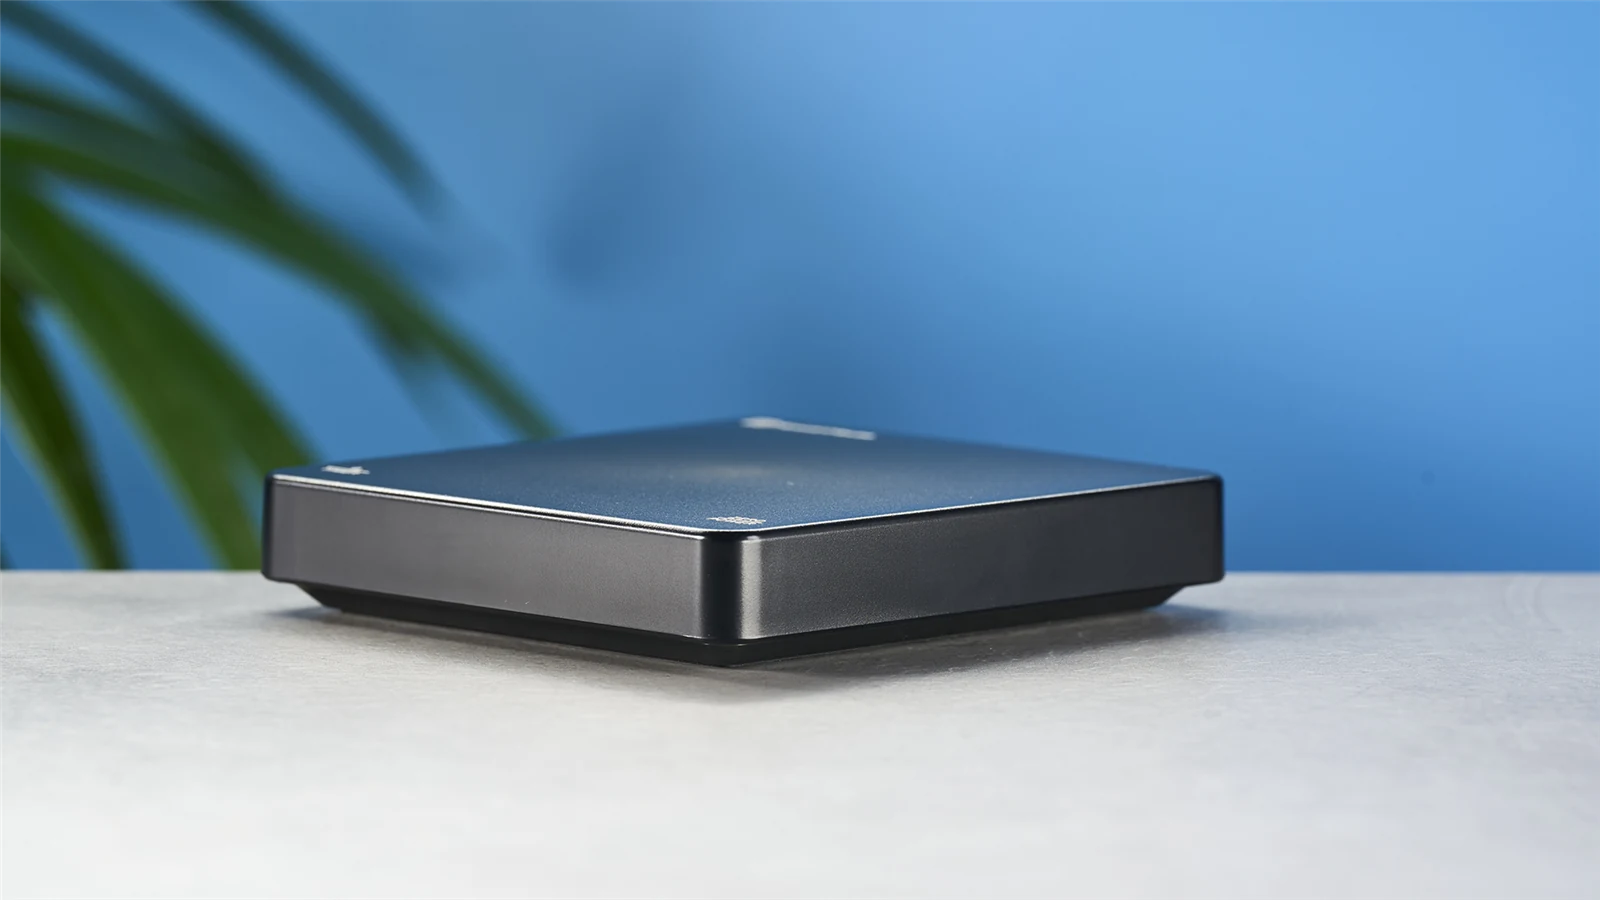
The S1 Mini, model KC200, combines a roughly 100 × 95 mm footprint and 19 mm body with a timer, 0.1 g increments and a 2 kg limit. It makes sense for a home routine that moves from weighing a dose on the counter to weighing the cup on the tray. USB-C charging keeps replaceable batteries out of that routine.
Start with manual timing. Tom’s Guide’s review found that automatic timing stopped unexpectedly during a pour-over, while manual timing worked normally. Run a complete manual shot before trying the automatic mode with your machine’s pre-infusion.
Keep the cup away from the touch controls and press them gently. A small, low body leaves limited room for fingers around a wide cup. Try taring the same empty cup a few times, then run a complete manual shot so you know how the buttons behave in the position you will use.
Match the listing to S1 Mini / KC200: other Maestri House scales have different outlines. Wipe and dry the body after spills. The removable mat can be cleaned separately, following the supplied instructions.
3. WACACO Exagram Pro: compact enough for a travel kit
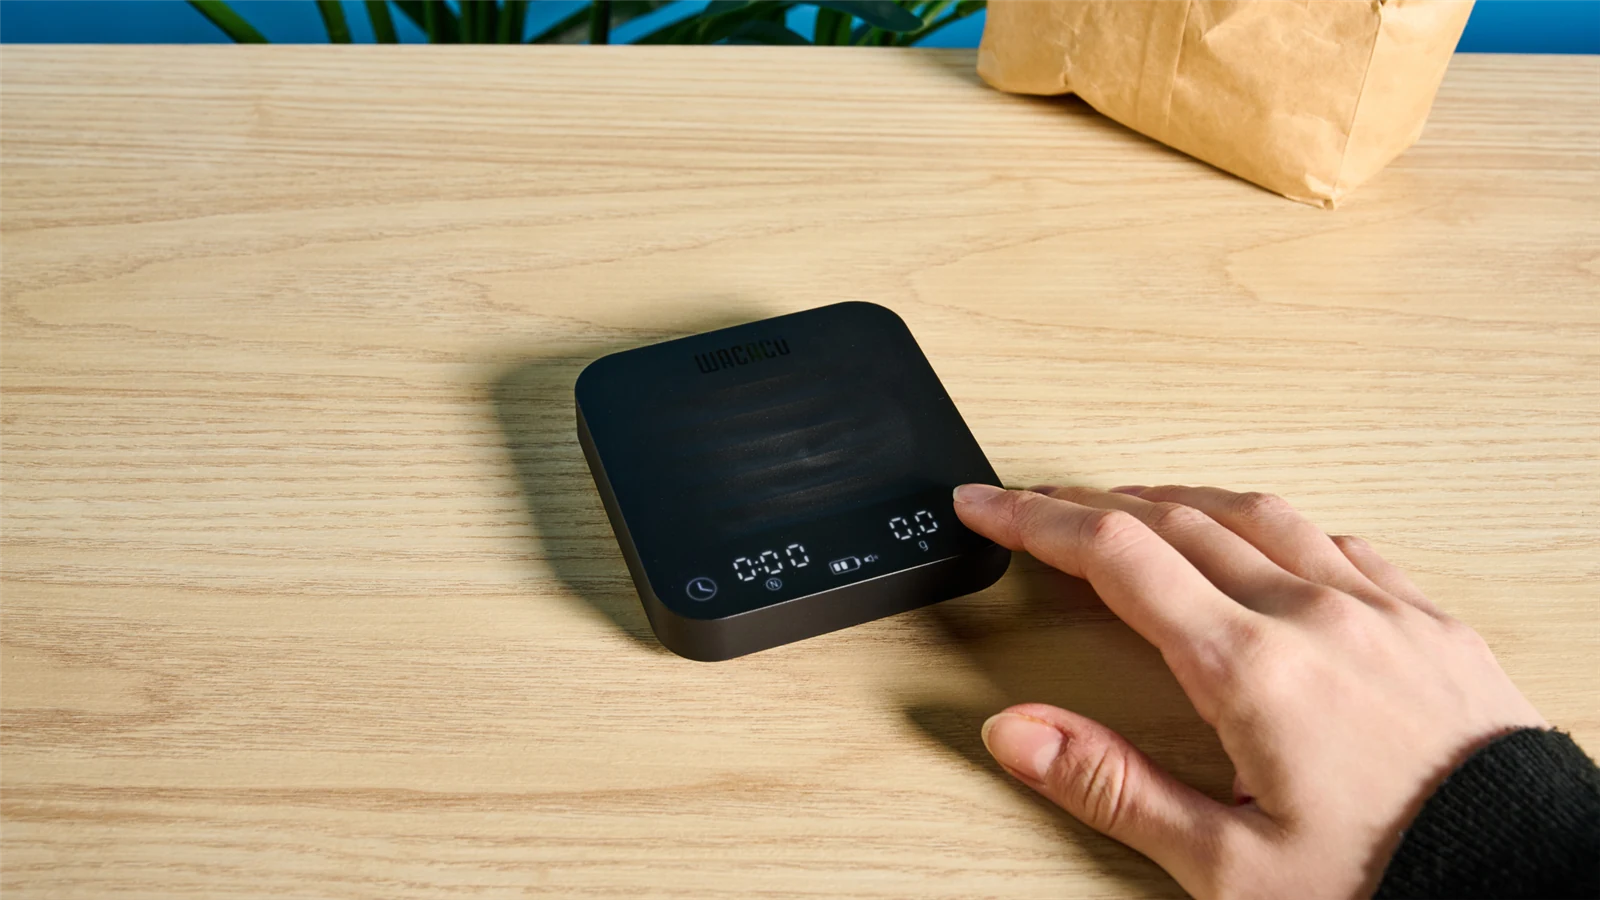
The Exagram Pro’s 95 × 90 mm outline is slightly smaller than the Maestri House’s, while its 22 mm body uses more vertical space. That distinction matters: the smaller outline can help beside the legs of a manual brewer, but it does not automatically help beneath a low spout.
The protective carrying case gives it a clear role in a portable kit. Use the bare scale, with its appropriate mat, when measuring clearance; placing it on an accessory or case changes that height. Its rechargeable battery and separate normal weighing mode also suit bean dosing away from the espresso machine.
There is a specification worth reading carefully. WACACO lists 0.1 g intervals from 0.3 to 999.9 g, then 1 g intervals from 1 to 2 kg. That is enough for a cup of espresso on the lower range. A heavy carafe or portafilter can put the sensor into the coarser range, even after you tare the display. Check the complete load if you want to use it for both espresso and large brews.
The normal weighing mode handles beans on the counter; espresso and pour-over modes add their own timing behavior. For travel, put the dry scale in its case after use so the platform stays protected inside the kit.
4. MHW-3BOMBER Cube 2.0 Mini: room for a portafilter routine
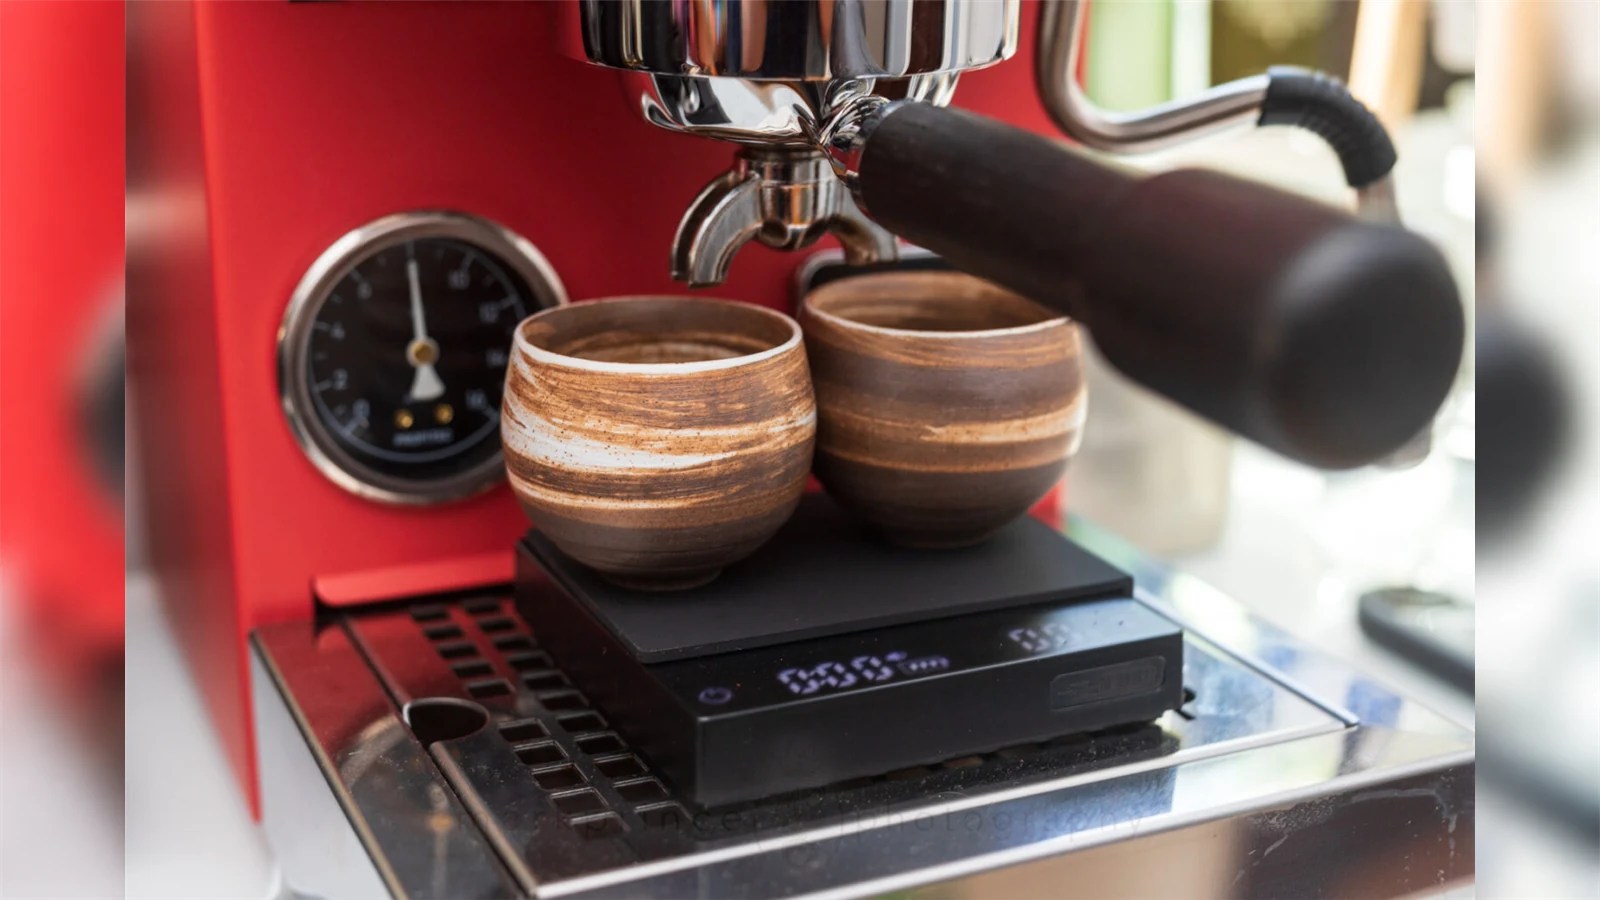
The Cube 2.0 Mini is a 104 mm square with a quoted 19 mm height. It gives a cup more platform area than the BOOKOO while keeping the body low. The tradeoff is that all four corners need room on the tray; a 104 mm square is a different proposition from an 80 mm one, despite both being called mini.
Its automatic wake function responds to a load of at least 100 g, making it useful when you begin by placing a portafilter on the scale. A bean dose on its own may be too light to trigger that behavior. Manual weighing remains useful for small containers and for learning the scale before switching to its smart shot routine.
The smart mode can help track the relationship between dose and beverage weight, but it adds button sequences to learn. Resetting, taring and starting a clock need to be unambiguous when you have only a few seconds before espresso reaches the cup. Practice with an empty cup and use manual operation if it is easier to repeat.
Check the control revision. The Cube 2.0 Mini’s timer and power/tare positions were changed within this model. The earlier unit in the review photo has the old layout; the product thumbnail shows the revised arrangement. Match the supplied instructions to the actual buttons on your unit. This entry concerns the 2.0 Mini, rather than the later Cube 3.0 models.
5. Greater Goods Espresso 750 g: narrow, with no timer
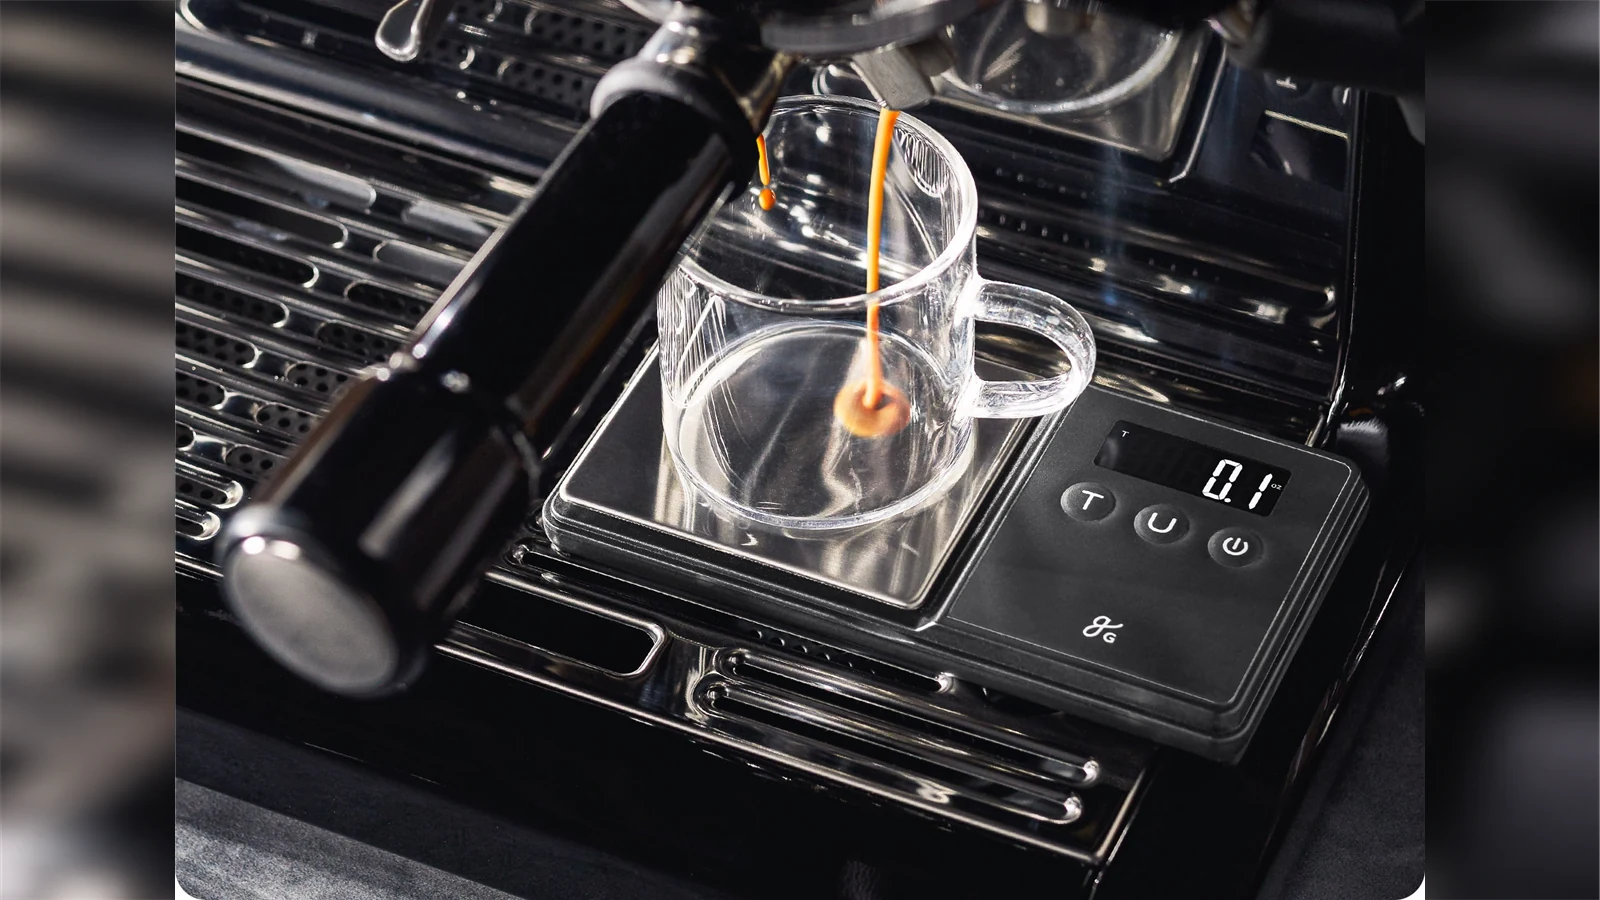
This scale is approximately 144 × 76 × 17 mm. Its narrow side can work where a 100 mm square is awkward, but the long side still needs room. Use the paper-footprint check in the orientation that leaves the display visible. A thin rectangle hanging over a tray edge is a poor substitute for supported feet.
The 750 g espresso version shows 0.1 g increments and has no built-in timer. That is a reasonable compromise when your machine already shows shot time or you are comfortable with a separate clock. You get a small weighing tool without needing to understand espresso-detection modes.
The capacity is its more significant limitation. A cup and shot are usually manageable; a substantial portafilter can consume most of the 750 g allowance before coffee enters the basket. Weigh that handle first, or use a light dosing cup. Do not assume a displayed zero means you now have 750 g of headroom left.
Select the 750 g / 0.1 g Digital Espresso Scale. Greater Goods also sells a similar-looking 300 g / 0.01 g pocket version, whose lower limit changes which vessels it can support. Confirm the capacity on the chosen listing before ordering.
6. MAXUS Espresso 1 kg: a narrow body with a manual timer
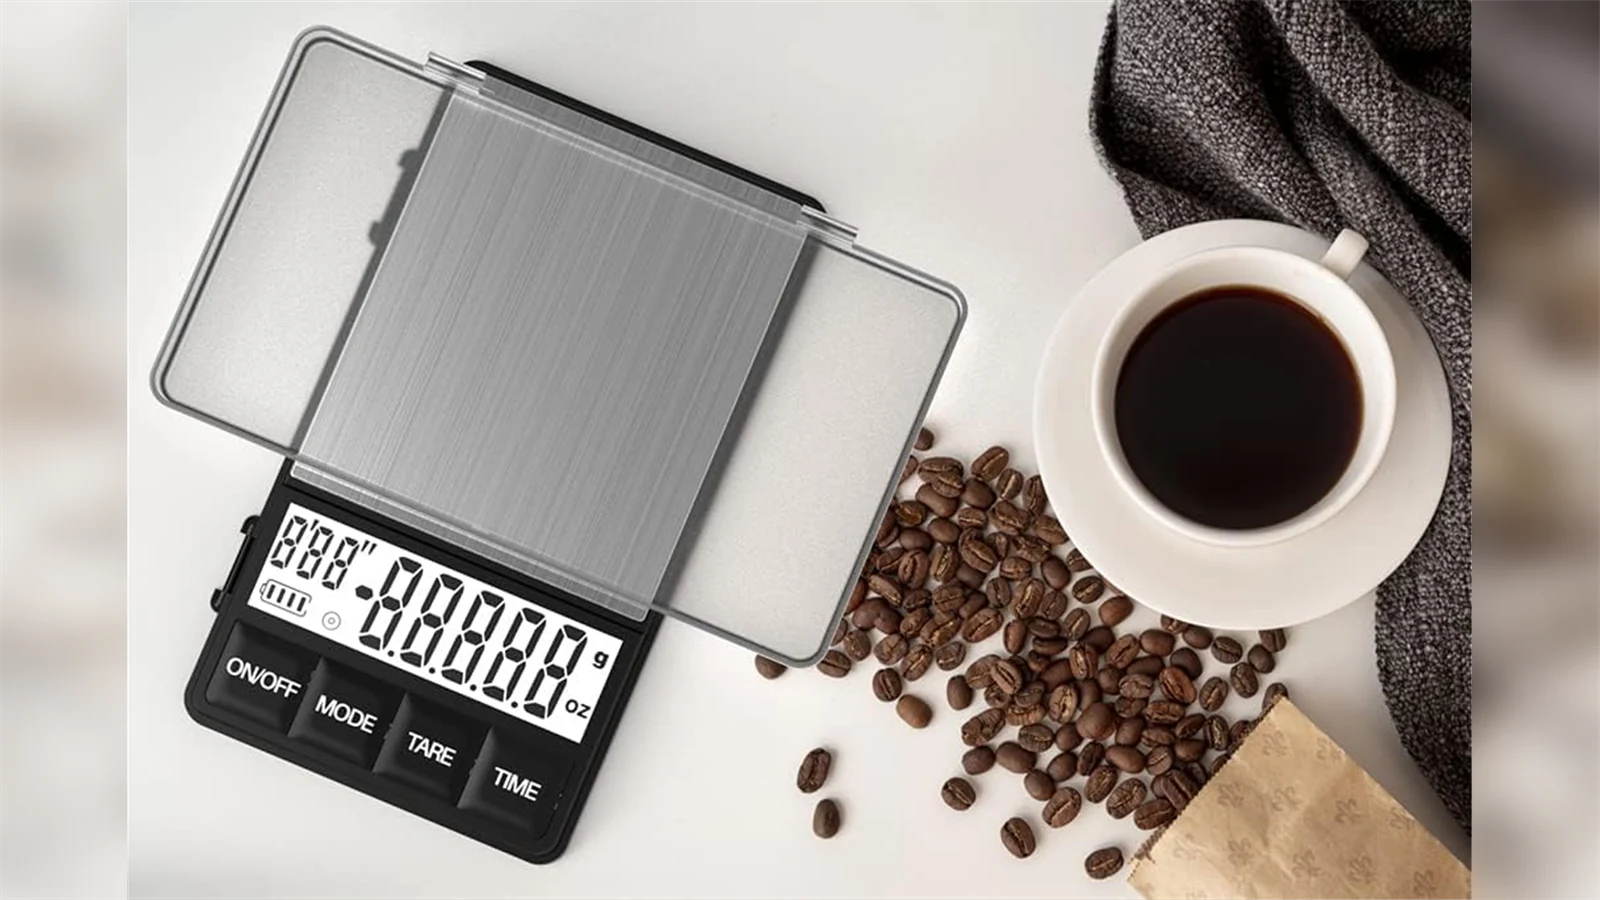
The MAXUS adds a separate TIME button to a pocket-scale layout. Its current listed dimensions convert to approximately 124 × 73 × 19 mm, with a 1 kg limit and 0.1 g display steps. That narrow side may leave room around a cup where a square platform would crowd the tray.
The hinged cover is the fit detail to resolve first. With it open, the working outline extends beyond the quoted body dimensions. Check the lid position, supported feet and cup together; a paper rectangle of the closed body will miss that obstruction.
Physical MODE, TARE and TIME controls make the manual sequence visible. Select grams, tare the cup and start the clock at your chosen point in the shot. The replaceable AAA batteries suit a station without a charging cable. Older listing photos show slightly different dimensions, so confirm the current unit if your clearance is tight.
7. Maestri House S2: a glass top with room for one cup
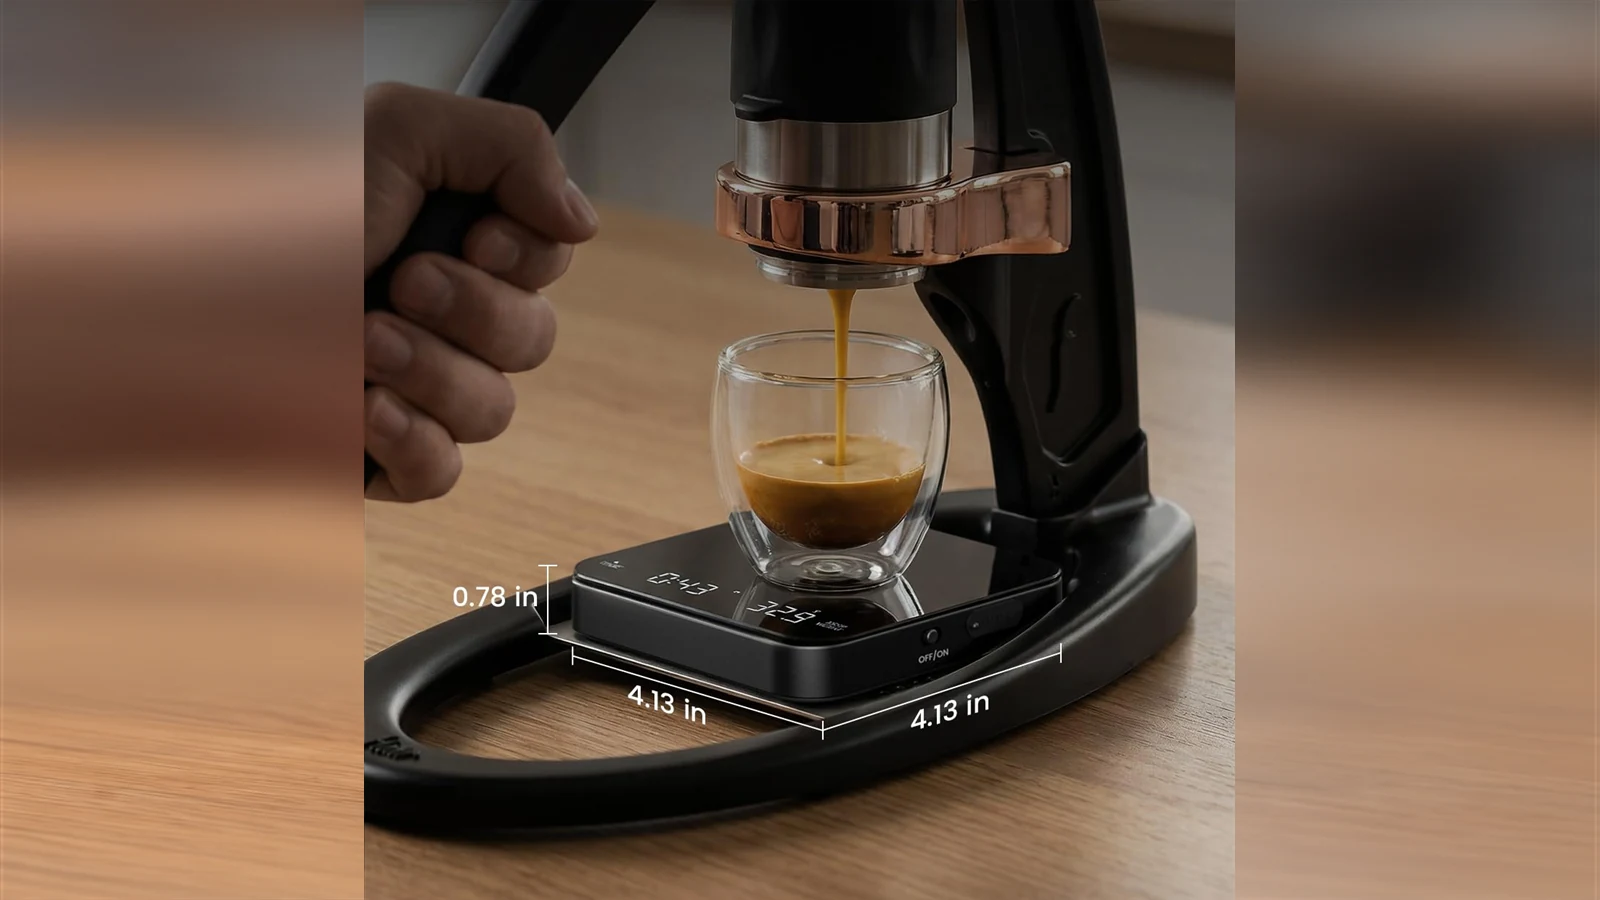
The S2 puts a glass weighing surface above a compact rechargeable body. The selected version is approximately 105 × 105 × 20 mm, with 0.1 g increments and a 2 kg limit. That square gives a small cup room to sit centrally, although it needs more tray width than either of the narrow manual-timer models.
The hidden display and touch controls keep the top easy to wipe. A removable silicone pad adds grip and separates a hot vessel from the glass. Include that pad when checking clearance, and leave the front controls uncovered: a cup can fit on the platform while making the timer awkward to reach.
Manual timing is the straightforward starting point. Tare the empty cup, let zero settle, then start the timer with the pump. Automatic timing offers another routine once you know how the scale reacts to your machine’s first drips. The mute setting is useful if you want quiet controls; use the supplied instructions for the button sequence on your revision.
Maestri House has used different dimensions within the S2 listings. Check the actual body dimensions of the selected version before ordering for a tight tray. The S1 Mini above has a smaller quoted outline; the S3 below has a much longer body and adds ratio and flow information for counter use.
8. WEIGHTMAN Espresso 1 kg: physical buttons in a slim rectangle
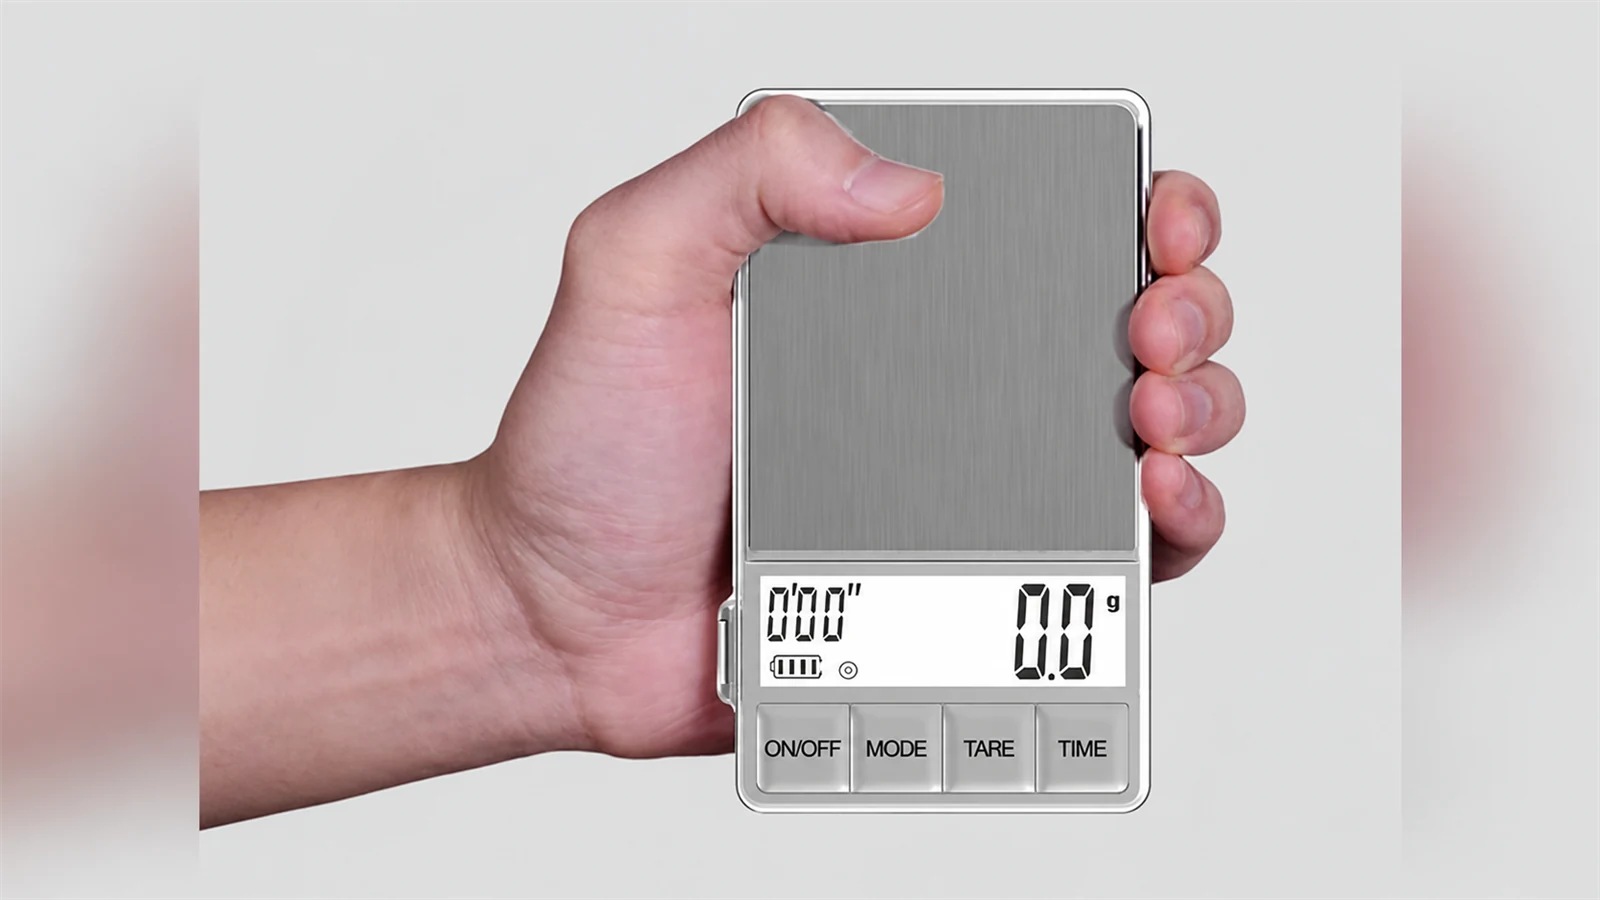
The WEIGHTMAN’s current dimension diagram gives approximately 121 × 69 × 18 mm for the closed body. That makes it particularly narrow, with a 1 kg limit, a manual timer and 0.1 g display steps. Its ON/OFF, MODE, TARE and TIME buttons make the sequence easy to follow without learning a liquid-detection mode.
Its outline belongs in the same shortlist as the MAXUS. Both use the familiar pocket-timer form, so there is little reason to own both. The WEIGHTMAN’s published narrow side is a few millimeters smaller; that difference deserves an actual measurement if your brewer has closely spaced legs or a raised tray border.
The open cover changes the working space. Allow room for it beside the body and keep it clear of the machine. The platform must move freely, the feet must stay supported and the cup must leave the screen visible. Robot owners have used this scale format between the legs, but that does not establish a fit for every cup or current housing revision.
Two AAA batteries provide power, and the timer starts by hand. A single espresso cup leaves useful capacity; a heavy handle needs its own load check. Confirm the 1,000 g / 0.1 g timer version, since WEIGHTMAN also sells pocket scales with different limits and display steps.
9. ERAVSOW K112BK: a low glass square with assisted modes
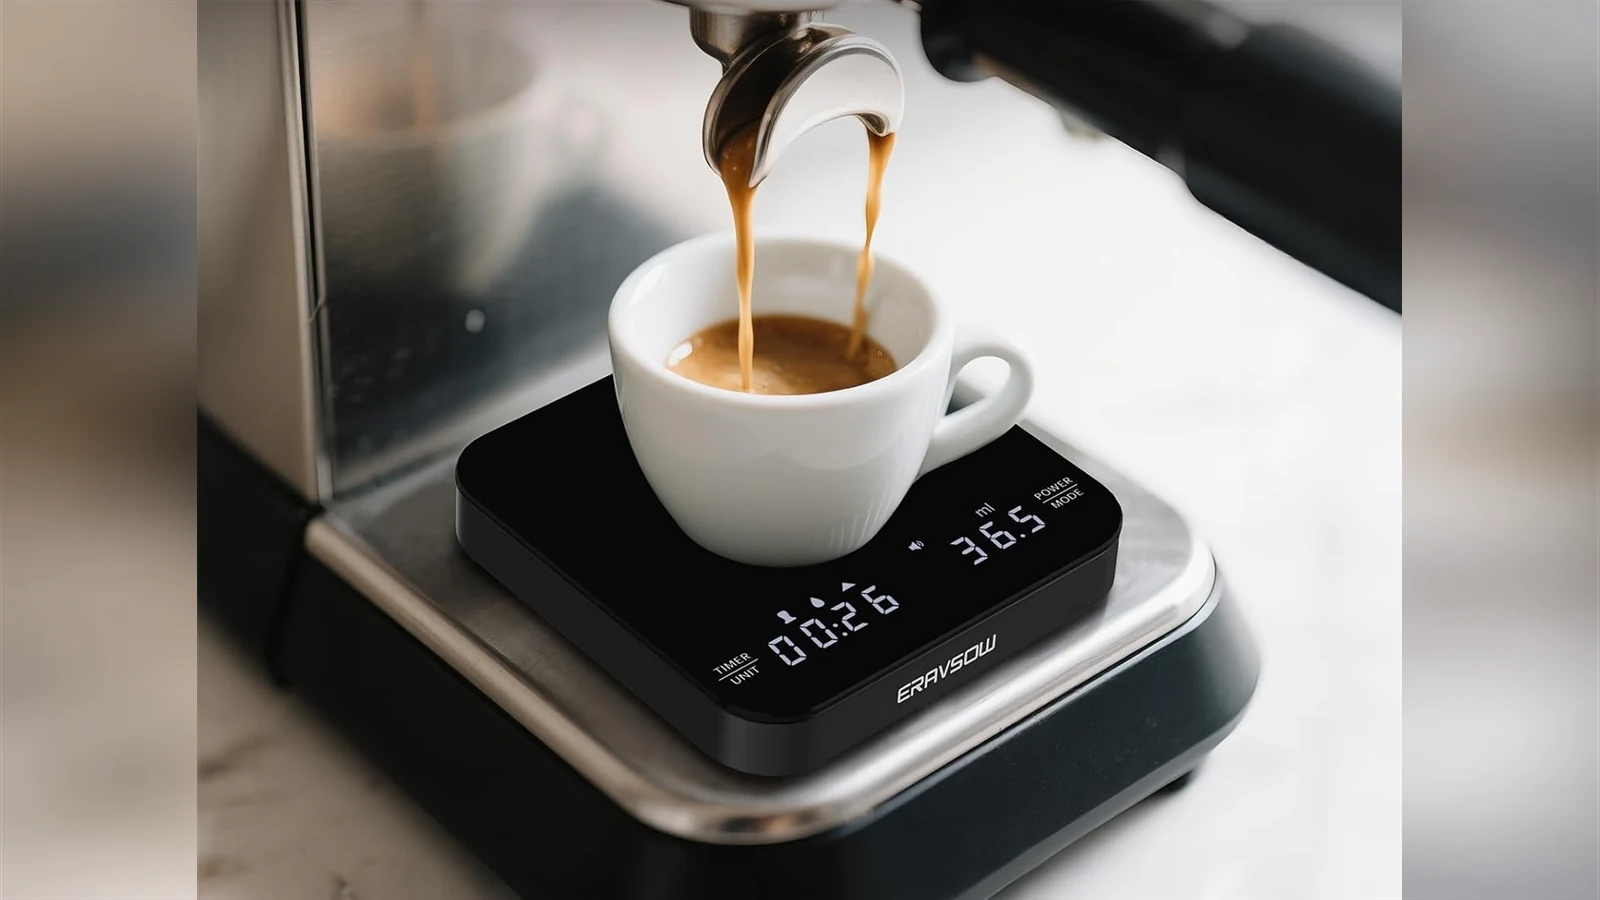
The rechargeable K112BK measures approximately 104 × 104 × 18 mm. Its 2 kg limit and 0.1 g increments give it a role under one espresso cup and on the counter for dosing. The published body is lower than the S2’s, while the two occupy almost the same square outline.
That extra clearance can matter with a spouted portafilter. It still needs checking with the silicone pad fitted: the bare-body measurement does not establish the assembled height. The glass top and detachable pad are practical to wipe after a shot; keep water away from seams and the charging connection.
ERAVSOW offers ordinary weighing alongside assisted espresso, timing and flow functions. Learn the manual routine first, then try the assisted mode without changing how you record shot time. A first-drip timer will omit the time before liquid reaches the cup; a pump-on timer includes it.
The name needs care when shopping. This entry concerns the USB-C K112BK mini with a glass top. Older ERAVSOW coffee scales use a larger stainless platform and replaceable batteries. Their measurements and owner reports cannot establish the behavior of this version. The small square is worth considering when you want extra brew modes, provided the cup leaves room to reach the touch controls.
When a narrow rectangle beats a small square
A scale’s area helps explain how much tray space its outline occupies. It cannot tell you whether that outline fits between two raised borders. The chart below calculates length × width from the dimensions in the compact-scale table; it compares the closed body, including the display area.
Tray space
Compact body outlines, from largest to smallestCalculated rectangle area for the nine compact models. Select a name to read its review.
The 80 mm BOOKOO occupies 64 cm², while a 104 mm square such as the Cube Mini occupies about 108 cm². That is roughly 69% more outline area, even though both are small coffee scales. The extra platform can be useful for a wider cup, but it must have support beneath it.
A rectangle creates a different option. For an illustrative supported tray area of 130 × 90 mm, the closed WEIGHTMAN and MAXUS outlines fit within those numbers, while a 100 mm square is too wide. Their lids and feet still need checking. The Greater Goods 750 g is narrow enough, yet its 144 mm length exceeds that example’s depth.
Draw the display on your paper footprint before placing the cup on it. Rotating the body may solve the width problem while turning the controls away from you. The useful orientation is the one you can read and operate during a shot.
Larger scales for a shared brew counter
A broad platform gives a dripper and carafe more room, though their combined weight can approach a scale’s load limit. Add the empty vessel’s weight to the water and coffee you plan to use. The display-step column describes the weight increments available at that load; height is compared in the clearance chart above.
| Image | Scale | Footprint | Total-load limit | Display step | Timer / power |
|---|---|---|---|---|---|
|
TIMEMORE Basic 2Read review | 152 × 130 mm | 2 kg | 0.1 g | Manual + automatic · USB-C |
|
Greater Goods Premium 0460Read review | Approx. 194 × 132 mm | 3 kg | 0.1 g | Manual count-up / countdown · AAA batteries |
|
RENPHO CalibaristaRead review | Approx. 150 × 130 mm | 3 kg | 0.1 g | Manual + espresso auto · USB-C |
|
Hario V60 Drip ScaleRead review | 190 × 120 mm | 2 kg | 0.1 / 0.5 / 1 g by total load | Manual · 2 × AAA |
|
Maestri House S3Read review | Approx. 160 × 130 mm | 3 kg | 0.1 g | Manual + automatic · USB-C |
|
Fellow Tally ProRead review | 177 × 150 mm | 2.5 kg | 0.1 g | Manual; Brew Assist auto-start · USB-C |
|
KitchenTour Coffee 3 kgRead review | Approx. 183 × 132 mm | 3 kg | 0.1 g | Manual · 3 AAA |
|
BAGAIL BASICS SC01Read review | 170 × 130 mm | 3 kg | 0.1 g | Manual + automatic · USB-C |
If your vessel and brew regularly exceed 2 kg, the Greater Goods 0460, Calibarista, S3, KitchenTour and BAGAIL provide another kilogram of capacity. Choose between their power and controls once the vessel fits: KitchenTour and the 0460 use replaceable batteries; the other three recharge over USB-C. The Tally adds ratio guidance and a dial, with a 2.5 kg limit and a taller body. For a smaller load, the Basic 2 keeps a shorter body than the 0460. The Hario needs a separate check: a heavy cup can put its display into coarser steps even when you are weighing a small espresso yield.
10. TIMEMORE Black Mirror Basic 2: a broad platform with flow rate
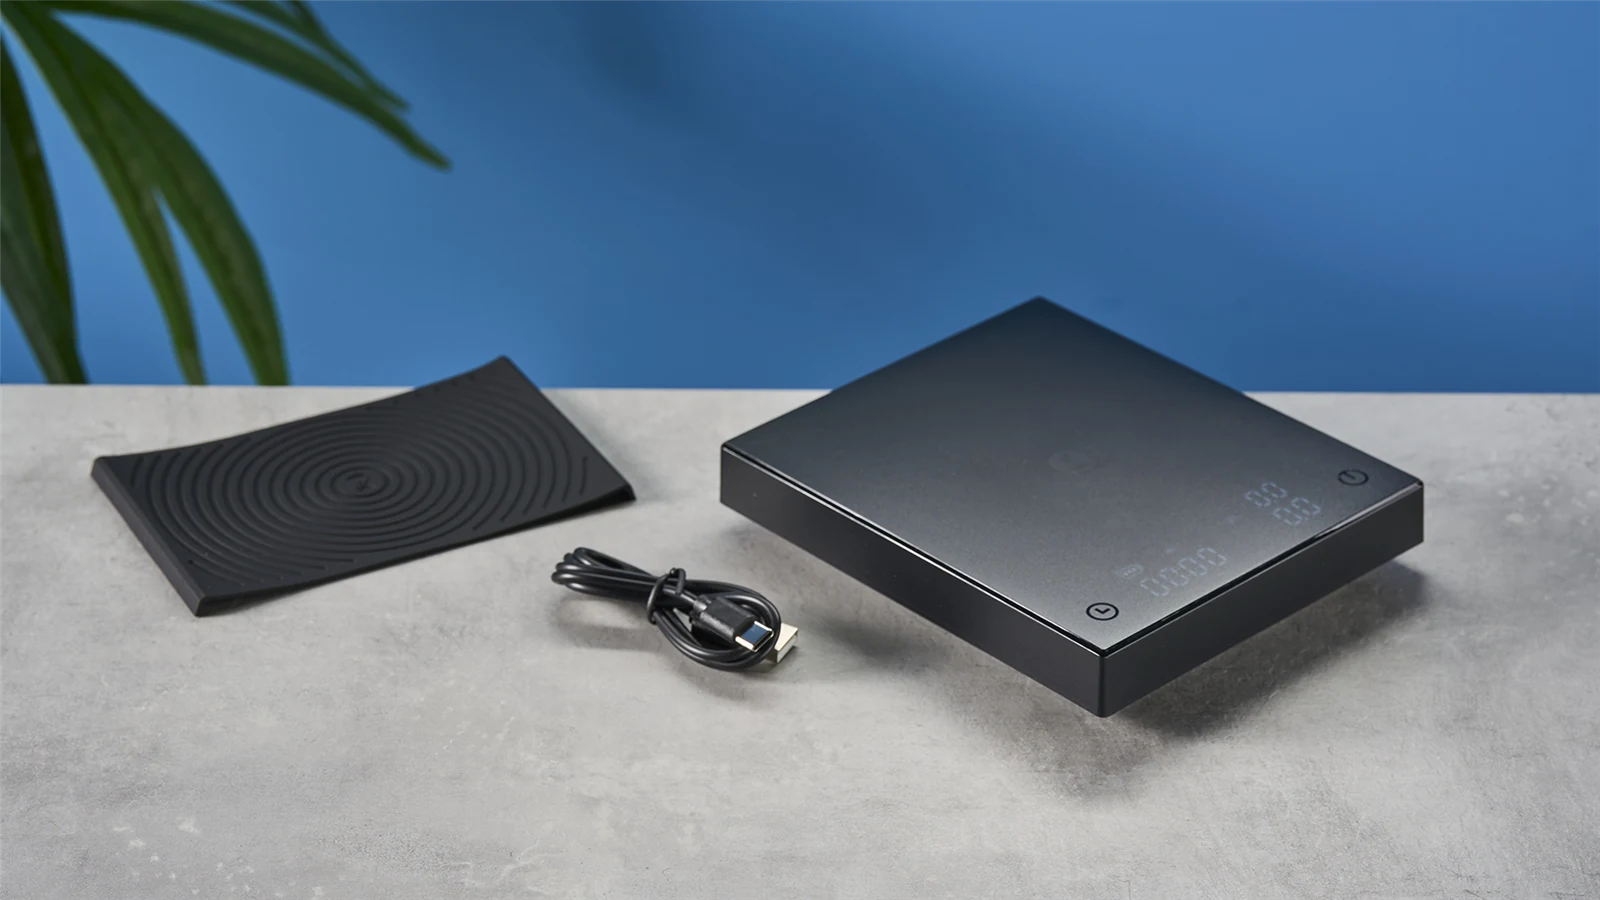
The Basic 2 occupies 152 × 130 mm and stands 26 mm high. It offers room for a brewer and carafe, along with 0.1 g increments, a 2 kg maximum load and USB-C charging. On a generous espresso tray that can be convenient; on a short tray the front edge and extra height become the main concerns.
The flow-rate display reports how quickly weight is increasing. It can help with a pouring routine or a recorded extraction experiment. During an ordinary espresso shot, you still need a clear view of the final weight and an easy way to stop the pump. A rapidly changing extra number may add little to that task.
Pay attention to the touch buttons. Tom’s Guide reported accidental taring when moving brewing equipment or wiping the surface. Keep hands and cloths away from the controls during a live measurement, and learn the button response before using automatic timing. Wipe the scale once the shot has finished and the result is recorded.
Its broad surface earns its space when a pour-over brewer and carafe share the station. For espresso, leave enough room in front of the cup to see the digits and reach the controls. Match measurements to Basic 2; the Mini and Nano have different bodies.
11. Greater Goods Premium 0460: a roomy counter scale
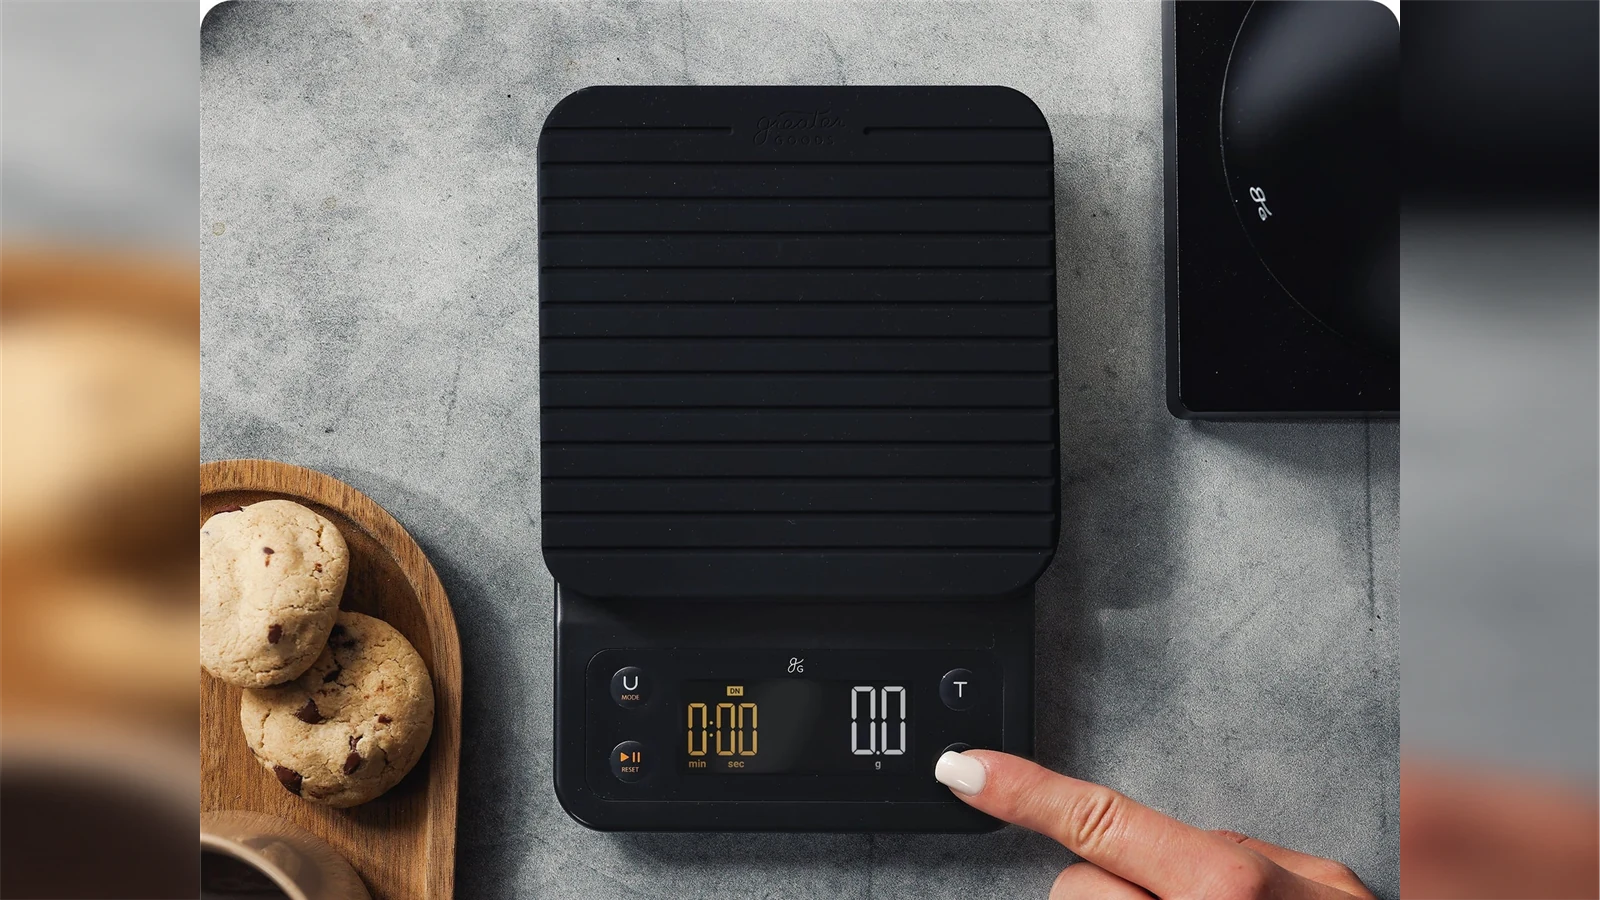
The Premium 0460’s roughly 194 × 132 mm footprint puts it firmly in the counter-scale group. Its 3 kg capacity leaves more room for a substantial brewing vessel, and separate physical buttons give you direct access to weighing and timing. A two-color display separates the timer from the weight.
That length is the first thing to consider for espresso. A tray may be wide enough for it yet too shallow to support the feet with the controls facing forward. On the counter it can weigh beans, grounds or a supported portafilter without taking space under the group. If you want to monitor beverage weight as it pours, measure the tray before treating this as a one-scale solution.
The timer counts up or down manually, and the unit uses replaceable AAA batteries. There is no charging cable to keep near the machine. The removable silicone cover can be cleaned separately; it does not make the electronic body suitable for immersion.
The 0460’s quoted inch dimensions convert to approximately 194 × 132 × 28 mm. Those rounded figures are enough to rule out a shallow tray; when only a few millimeters remain, confirm the assembled height with the mat before committing to your usual cup.
12. RENPHO Calibarista: remember the portafilter, leave room for the cup
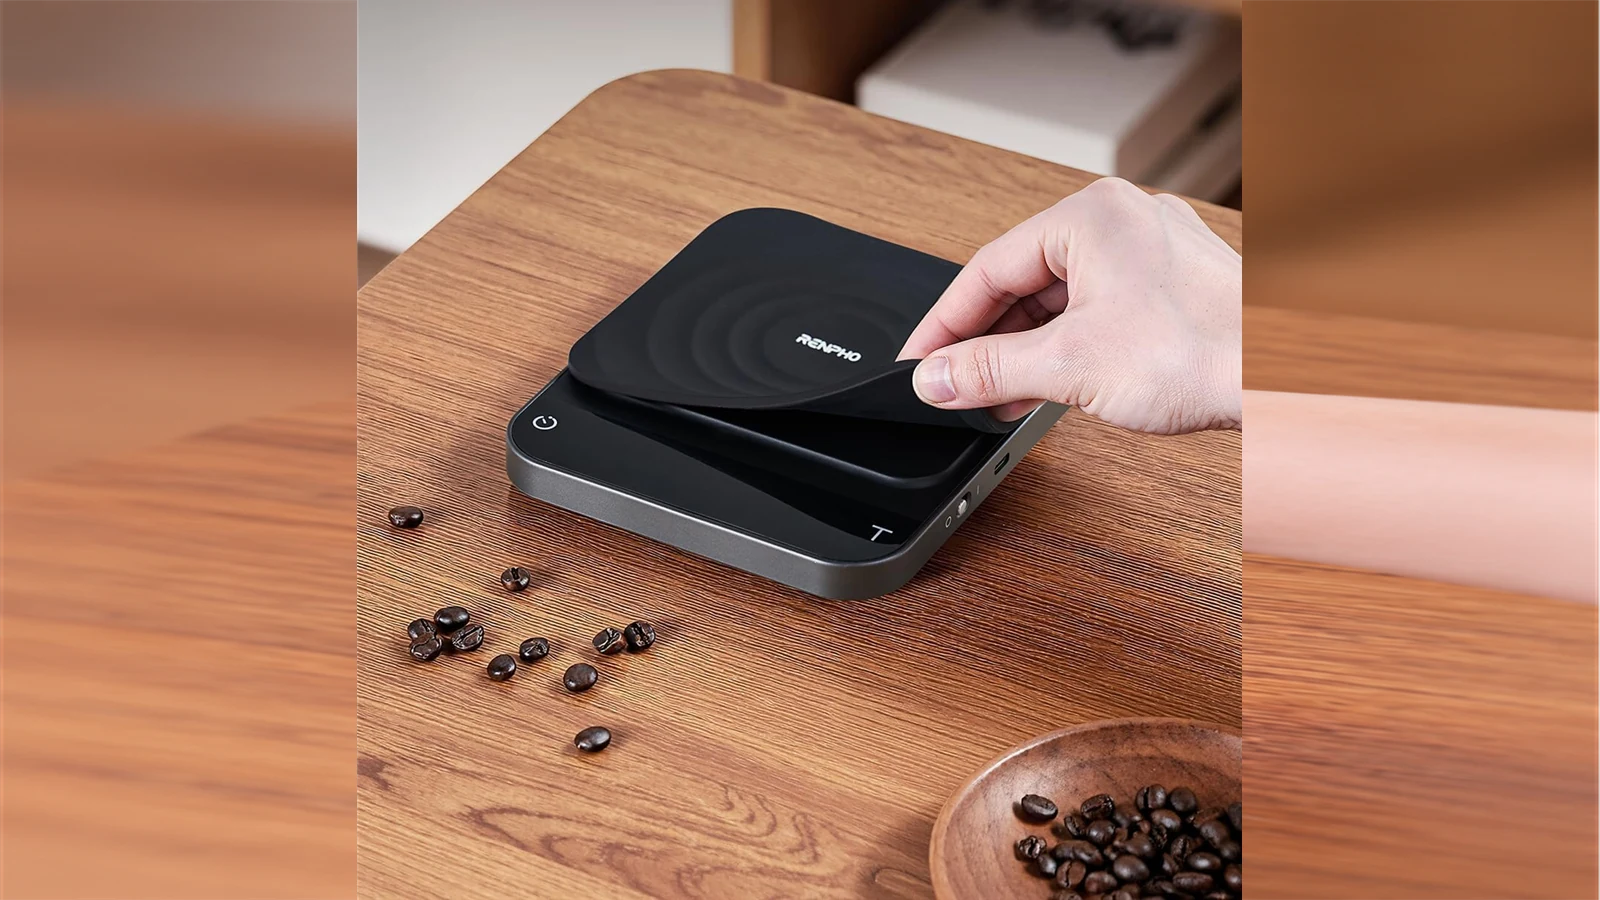
The Calibarista occupies approximately 150 × 130 × 20 mm. Its relatively low body saves vertical clearance compared with the Basic 2, while the platform still needs a broad patch of tray. The 3 kg limit accommodates a heavier vessel, and USB-C charging suits a station that already uses rechargeable accessories.
Its distinctive feature is stored portafilter tare in espresso mode. Record the empty handle as the instructions describe; when you put it back, the scale subtracts that stored weight. Record it again after changing the handle or basket. An old tare would otherwise shift every displayed dose.
The basic mode provides manual timing. Espresso mode starts the timer as coffee enters the cup and adds flow-rate tracking, so choose the mode that matches your timing notes. The silicone pad lifts off for cleaning; wipe and dry the scale body separately. The pad’s water resistance does not make the electronics washable.
13. Hario V60 Drip Scale: keep it on the pour-over side
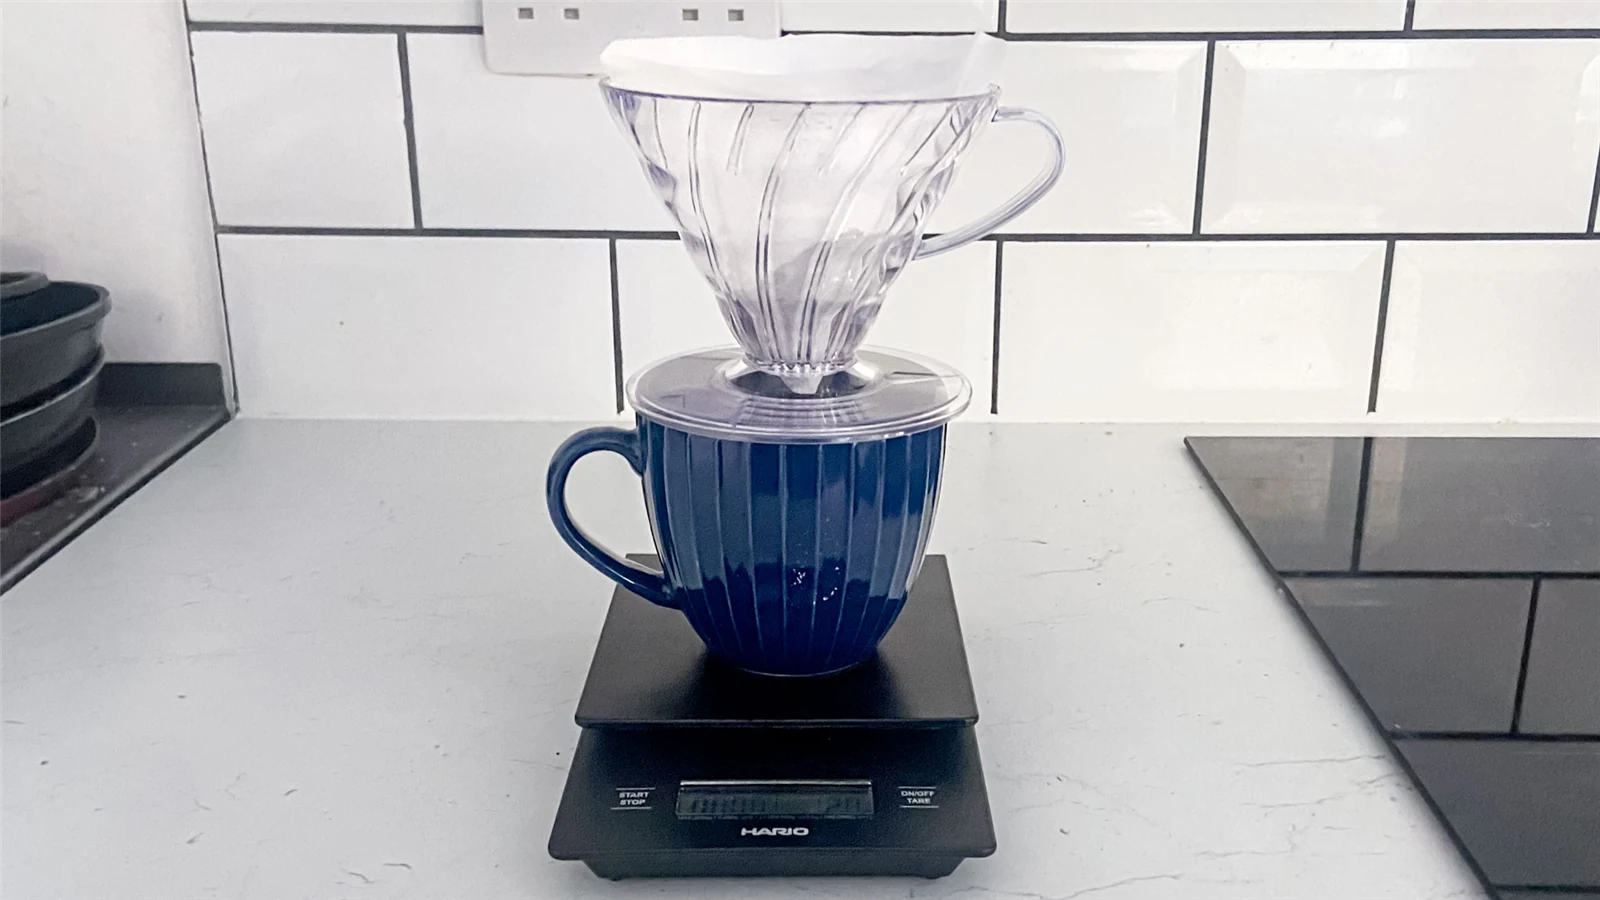
The VST-2000B’s 190 × 120 mm outline and 29 mm height suit a dripper and mug on the counter. A manual timer and two AAA batteries keep the routine simple. That long body needs substantial tray depth if you also want to weigh espresso beneath the group.
The display step changes with the complete load. Hario specifies 0.1 g from 2–200 g, 0.5 g from 200–500 g and 1 g from 500–2,000 g. The vessel counts even after tare: a cup weighing 240 g already puts you in the half-gram range before the shot starts.
Tom’s Guide also reported display lag and controls that required attention. For weighing beans, let the reading settle before transferring the dose. For live espresso yield, check the cup weight and display response first; the smaller options above offer more practical geometry for that job.
14. Maestri House S3: ratio guidance for a shared brew station
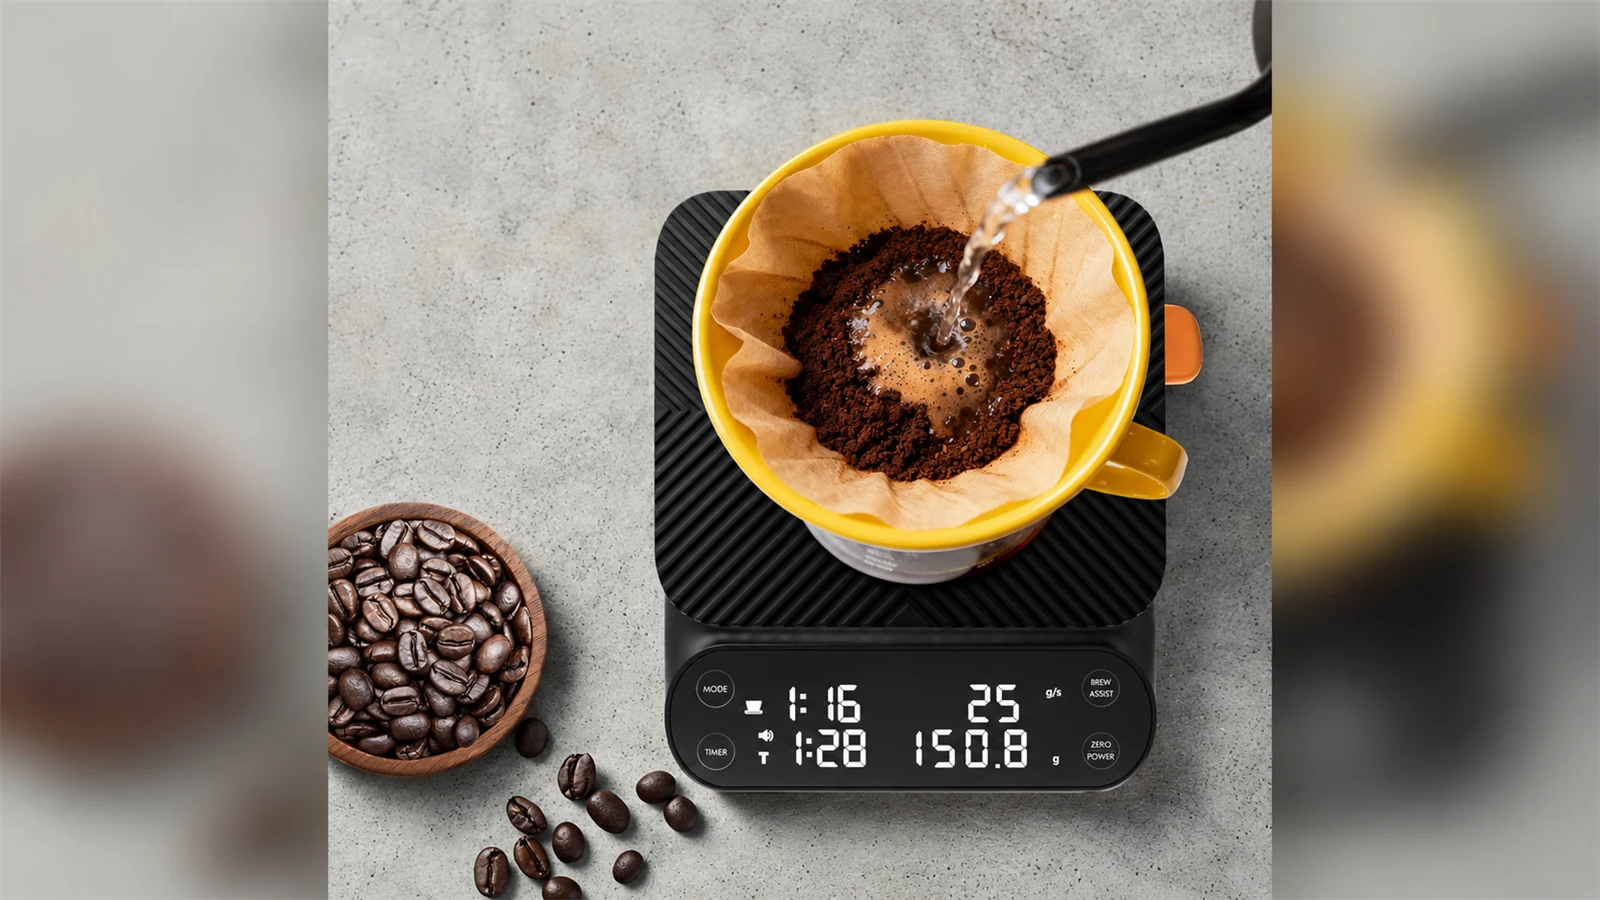
The S3, model MHCS04, occupies approximately 160 × 130 × 26 mm. Its 3 kg capacity, ratio display and live flow figure give it a clear counter role when espresso and pour-over share a station. It needs more tray depth than the compact Maestri models, even though its height matches the Basic 2’s.
The adjustable 1:1–1:18 ratio setting can help when changing a pour-over dose. If the last coffee in a bag gives you 17 g rather than your usual 20 g, a 1:16 recipe calls for 272 g of brew water. Ratio guidance keeps that target close to the weight display. For espresso, distinguish beverage yield in the cup from the water added to a filter brewer.
Check the automatic workflow against how you handle the brewer. Owners in a pour-over discussion reported that lifting the vessel to swirl interrupted timing. The favorable original poster had received a Vine review sample; the other owners’ comments give a useful reason to test cup removal and pauses before trusting an automatic session. Use ordinary weighing and manual timing when you need to lift equipment mid-brew.
The manufacturer specifies IPX4 for the display panel. That wording leaves the rest of the body, underside and USB-C port needing normal care around water. Remove the mat for cleaning and dry the charging area. The S3 earns its larger footprint if you use the ratio and flow readouts; for a cup-only espresso routine, the S2 keeps the controls closer to a much smaller platform.
15. Fellow Tally Pro: a removable pan and a useful ratio dial
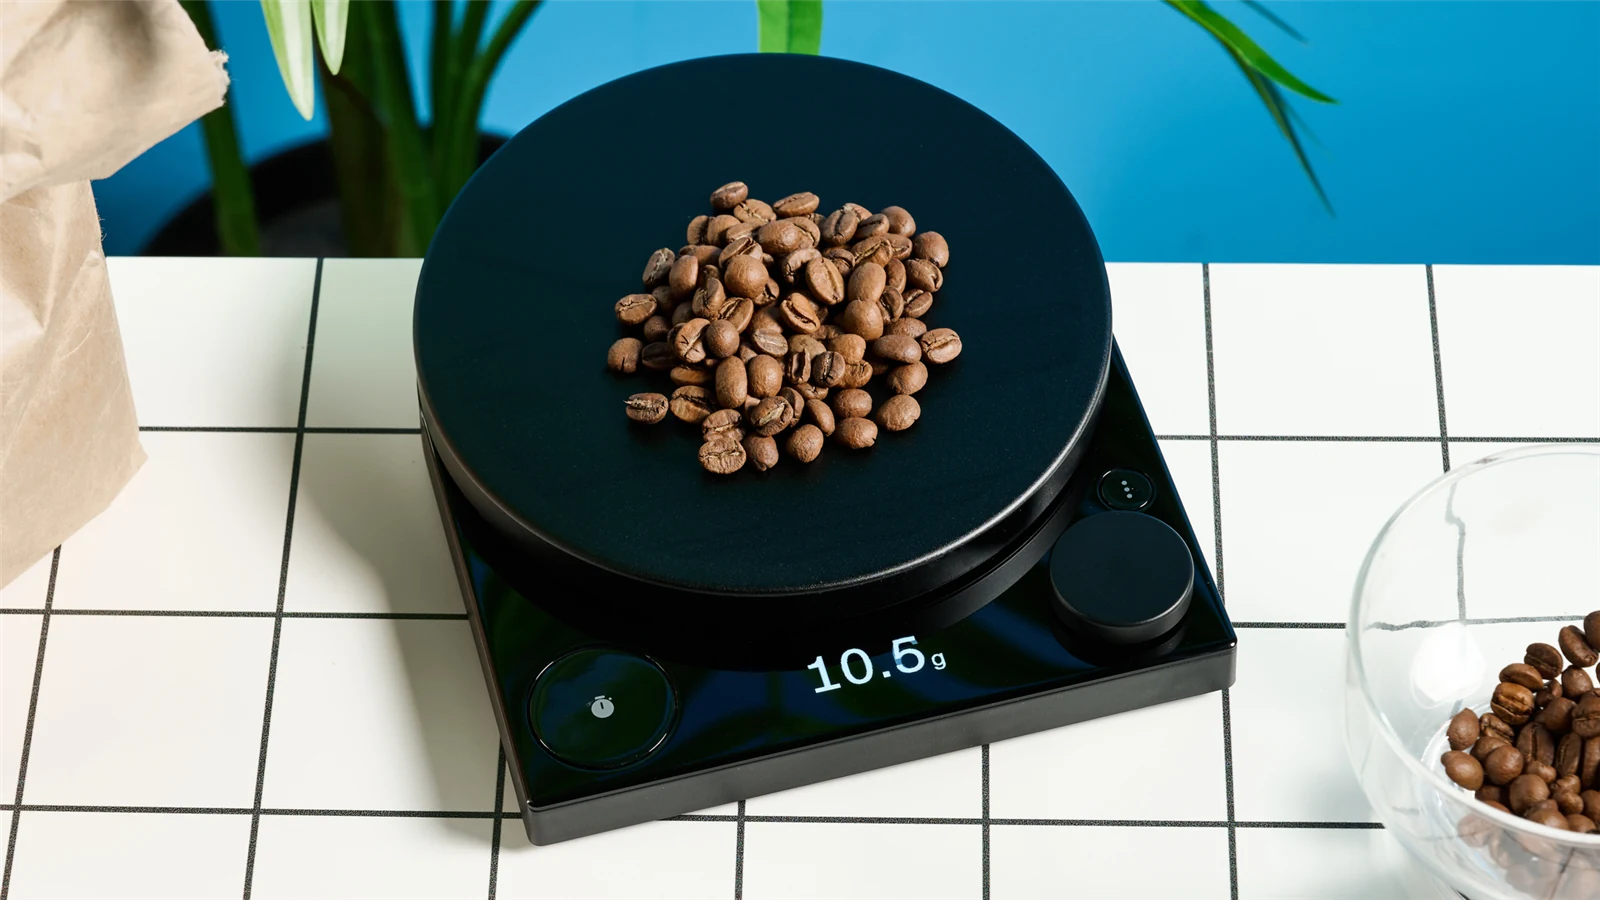
The Tally Pro Studio Edition is a substantial counter scale: 177 × 150 × 33 mm, with a 2.5 kg limit and 0.1 g readability. Its circular weighing pan sits behind the display and dial. That separation gives a carafe room while leaving the controls forward of it, although the overall body and height demand a generous espresso tray.
Brew Assist is its reason to take up that space. Weigh the grounds, choose a coffee-to-water ratio with the dial and follow the water target. It helps when doses change between coffees or when you brew the remainder of a bag. The ordinary Weight and Timer modes cover dosing and manually timed espresso without a ratio-guided sequence.
The independent reviews point to the same practical split. WIRED found the ratio workflow useful when changing recipes, while Tom’s Guide praised the display and ease of use but questioned the value for a routine that only needs weight and time. The Tally does not provide a live flow-rate display. Decide whether its dial, readable screen and Brew Assist match a task you perform regularly.
The weighing pan is removable for cleaning. Lift it off as instructed and clean the scale body separately; the electronics stay out of the sink. USB-C charging suits a fixed brew station, but allow a dry place for the cable connection.
For espresso, check the cup-plus-scale height especially carefully. A 60 mm cup on a 33 mm body already occupies 93 mm before any additional clearance. That arithmetic makes the Tally easier to recommend as a shared counter instrument than as the first choice for a low group head.
16. KitchenTour Coffee 3 kg: simple timing with a broad platform
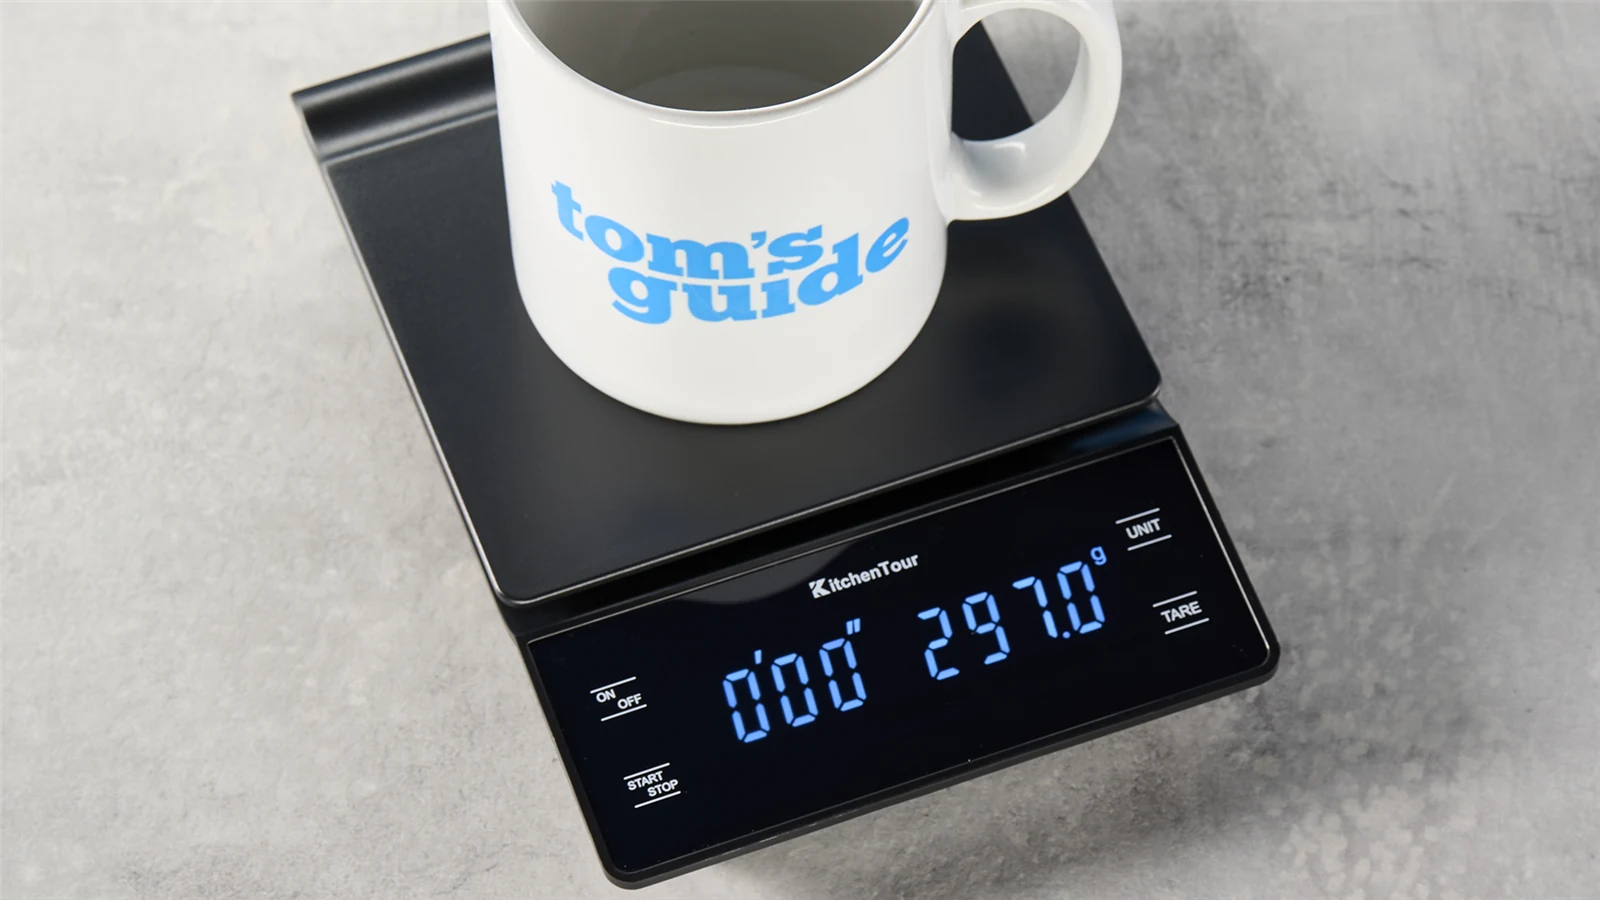
The KitchenTour combines a separate weight-and-time display, a manual timer and three AAA batteries. The selected listing’s body diagram converts to approximately 183 × 132 × 30 mm. Its 3 kg limit and broad platform suit a brewer or a supported portafilter on the counter; those dimensions also explain why it needs a deep espresso tray.
The controls sit forward of the main weighing surface. Tare the vessel, wait for the reading to settle and start the clock yourself. That gives you direct control over whether the recorded time includes pre-infusion. There is no automatic first-drip routine to align with the machine.
Tom’s Guide found the controls responsive, while noting that the initial weight could settle during the first second. The review also described slight movement under a forceful button press because the feet were uneven. Check the scale on your own level counter and tray before brewing. A cup should remain steady while you use the timer; a body that rocks needs attention before you rely on its reading.
The silicone mat provides grip and a layer between the vessel and platform. Keep it clear of the controls and clean it separately. The body has no published water-protection rating in that review, so wipe spills and dry the unit promptly.
The replaceable batteries make it convenient to keep a fresh set near the coffee station. Choose it when a straightforward manual counter routine suits you, then verify the supported depth before expecting the same scale to follow espresso yield beneath the group.
17. BAGAIL BASICS SC01: a rechargeable platform with a removable mat
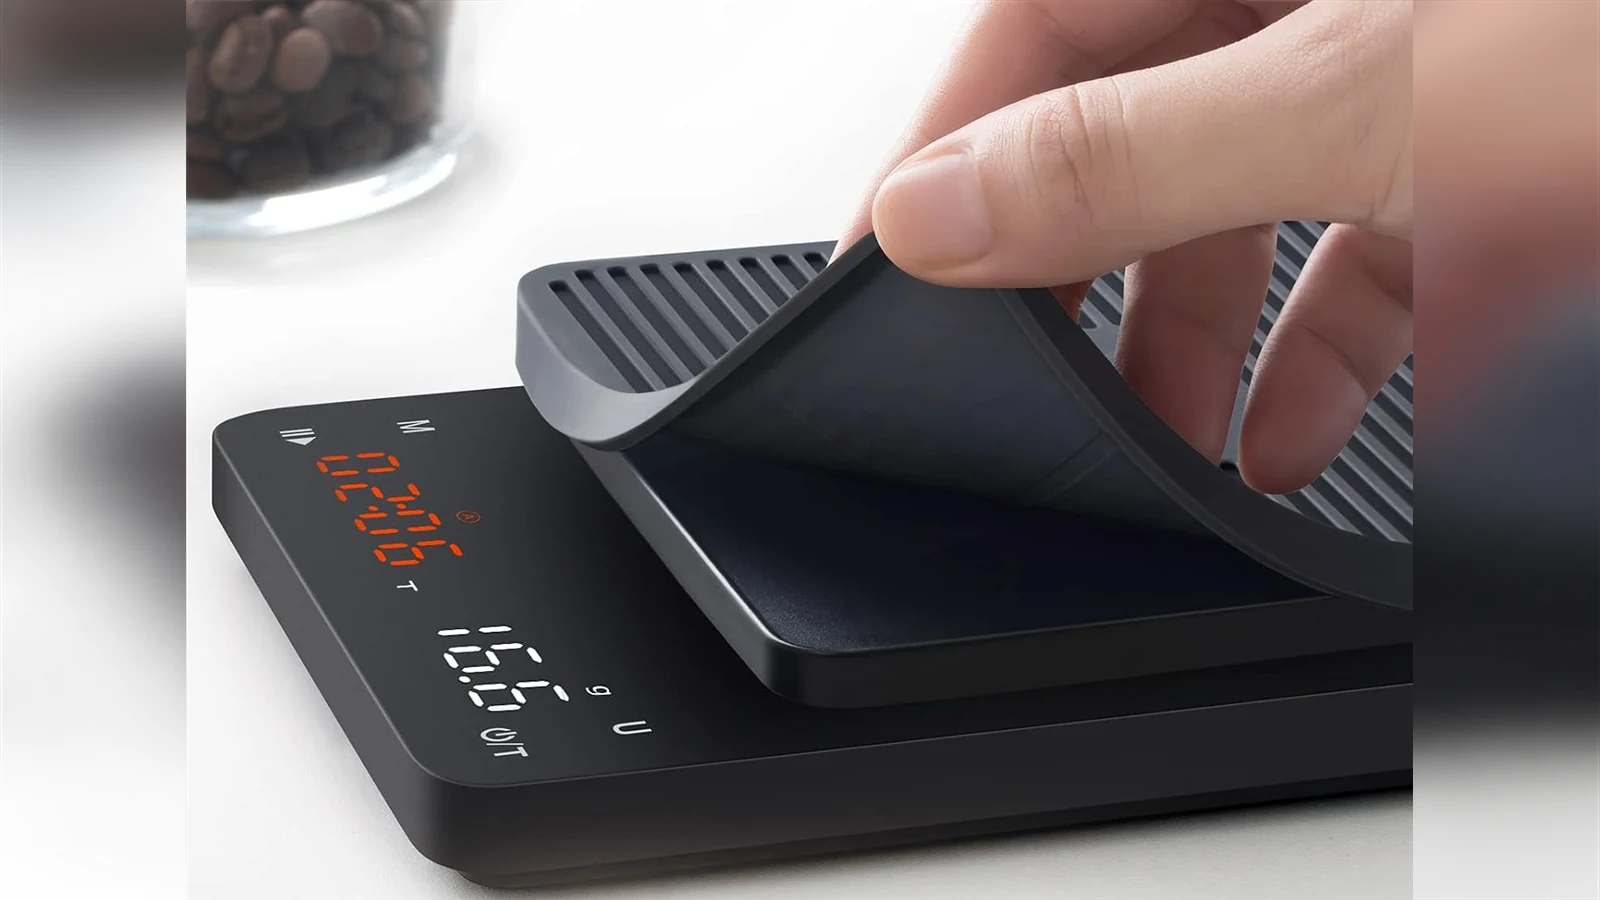
The SC01 measures 170 × 130 × 27 mm, with a 3 kg limit, 0.1 g steps and USB-C charging. It is shorter than the KitchenTour and the Greater Goods 0460, though still broad enough to deserve a tray measurement. Its ribbed silicone cover helps a vessel grip the platform and lifts off for cleaning.
Remove the four shipping plugs before the first measurement. The listing explicitly warns that leaving them in place prevents normal weighing. Do this before checking zero or interpreting an odd reading as a calibration problem; the platform needs freedom to move.
Manual and automatic timing give you two ways to follow a brew. Start by weighing and timing a shot manually, with the cup in its final position. Then test what happens when a vessel is placed, lifted or returned in the automatic mode. A brewer-removal trigger can be convenient at the end of a pour-over, yet interrupt a routine that includes lifting and swirling.
Owner discussions describe both satisfactory everyday use and complaints about response or balance when the scale overhangs a small tray. Those reports support a practical first check: put all feet on a firm surface and watch a gradual weight increase. If it behaves poorly there, address it during the return window.
The waterproof wording concerns the silicone cover, which protects the top surface. Keep the electronic body and charging port dry. The SC01 fits a shared counter routine when its rechargeable power and broad mat are useful; a compact square leaves more spare space around one espresso cup.
Which features will you actually use?
Start with a reliable zero and a readable weight
Place the scale on a dry, firm surface. Add the empty cup, tare it and wait for the display to settle. Remove and replace the same cup to check whether the reading returns consistently. If zero wanders, first check for a foot on a raised tray bar, a cup touching the machine or a mat pressing on the edge of the weighing platform.
0.1 g is a useful display step for espresso. It helps when weighing a dose and watching a small beverage yield. A claim of more decimal places does not tell you how accurately the device weighs, how quickly its screen updates or how well it behaves near a vibrating machine.
A manual timer gives you a clear starting point
Starting the timer when you start the pump lets you include pre-infusion in the recorded time. Starting at the first liquid in the cup gives a different measurement. Either can be useful, provided you label and repeat it.
Automatic timing is useful when it behaves predictably with your machine’s pre-infusion, drips and cup placement. Check what starts it, what stops it and whether lifting the cup resets the result. A scale with manual controls leaves you an alternative when the automatic routine is inconvenient.
Apps and flow rate need a job in your routine
Bluetooth can help when you already use a compatible application to record brew weight. Check compatibility with the exact app and scale version before buying for that feature. A connection by itself does not make the espresso machine stop at your target yield.
A live flow-rate figure can show changes during extraction, but you can begin dialing in with dose, final beverage weight, elapsed time and taste. Those observations are also easier to compare when moving between scales. For the grinder side of that work, see our beginner’s guide to espresso grinders.
For example, 36 g collected over 24 seconds from first flow gives an average of 1.5 g/s. A live flow display estimates how quickly weight is changing at a particular moment and can fluctuate during the shot. Those are different measurements. Keep the same starting point when comparing averages, and use the final beverage weight to judge whether you reached the recipe.
Flow information is most useful when it answers a specific question: did the shot accelerate sharply near the end, or did a pouring change alter the pattern? Record taste beside those observations. A scale measures mass entering the vessel; it cannot identify extraction quality, evenness through the puck or the reason a shot tastes sour.
Use the scale to repeat a recipe
Weigh the liquid in the cup in grams. Crema changes the apparent volume of espresso, so a mark on a shot glass can represent different amounts of beverage from one coffee to another. A tared cup lets you compare the mass of the finished shot directly.
The ratio describes coffee dose and beverage yield. Eighteen grams of grounds and 36 g in the cup give a 1:2 ratio by mass. The water passing through the puck is not an ingredient you weigh as a separate 36 g portion.
Use a dose that suits your basket. If that dose is 16 g, a 1:2 starting yield is 32 g. If it is 20 g, the corresponding yield is 40 g. The ratio is a starting point for adjustment, rather than a requirement for every roast.
Watch what happens after you stop the pump. Some espresso continues to reach the cup, and the display may take a moment to catch up. Learn the stopping point for your machine and scale over a few shots; a fixed allowance copied from another setup can miss your target.
Record the final, settled weight with the cup still on the scale. A useful note is “18.0 g dose, 36.4 g yield, 29 seconds from pump-on,” followed by what the espresso tasted like. That gives you a clear basis for the next adjustment without needing another screen.
Keep the dose and finished yield separate
With a single-dose grinder, the mass of beans going in can differ from the grounds delivered to the basket. Grounds retained inside the grinder, a few beans left in the dosing cup and transfer losses all affect that comparison. When dialing in, record the coffee actually in the basket if you can weigh it securely. A dosing cup makes the transfer easier when the handle will not balance on a small platform.
Empty and clean the basket before storing a portafilter tare. A wet basket or grounds left behind changes the reference weight. If you use a scale with remembered tare, such as the Calibarista, a different basket or handle requires a fresh reference. With ordinary manual tare, place the same empty assembly on the scale before each dose.
Use the beverage ratio to keep the next adjustment interpretable. At an 18 g dose, moving from 36 g to 45 g yield changes the ratio from 1:2 to 1:2.5. If you also change the grind substantially, you have changed two variables at once. Keep one fixed while learning what the other does to flavor, then save the combination you prefer.
Keep the platform dry and check it before calibrating
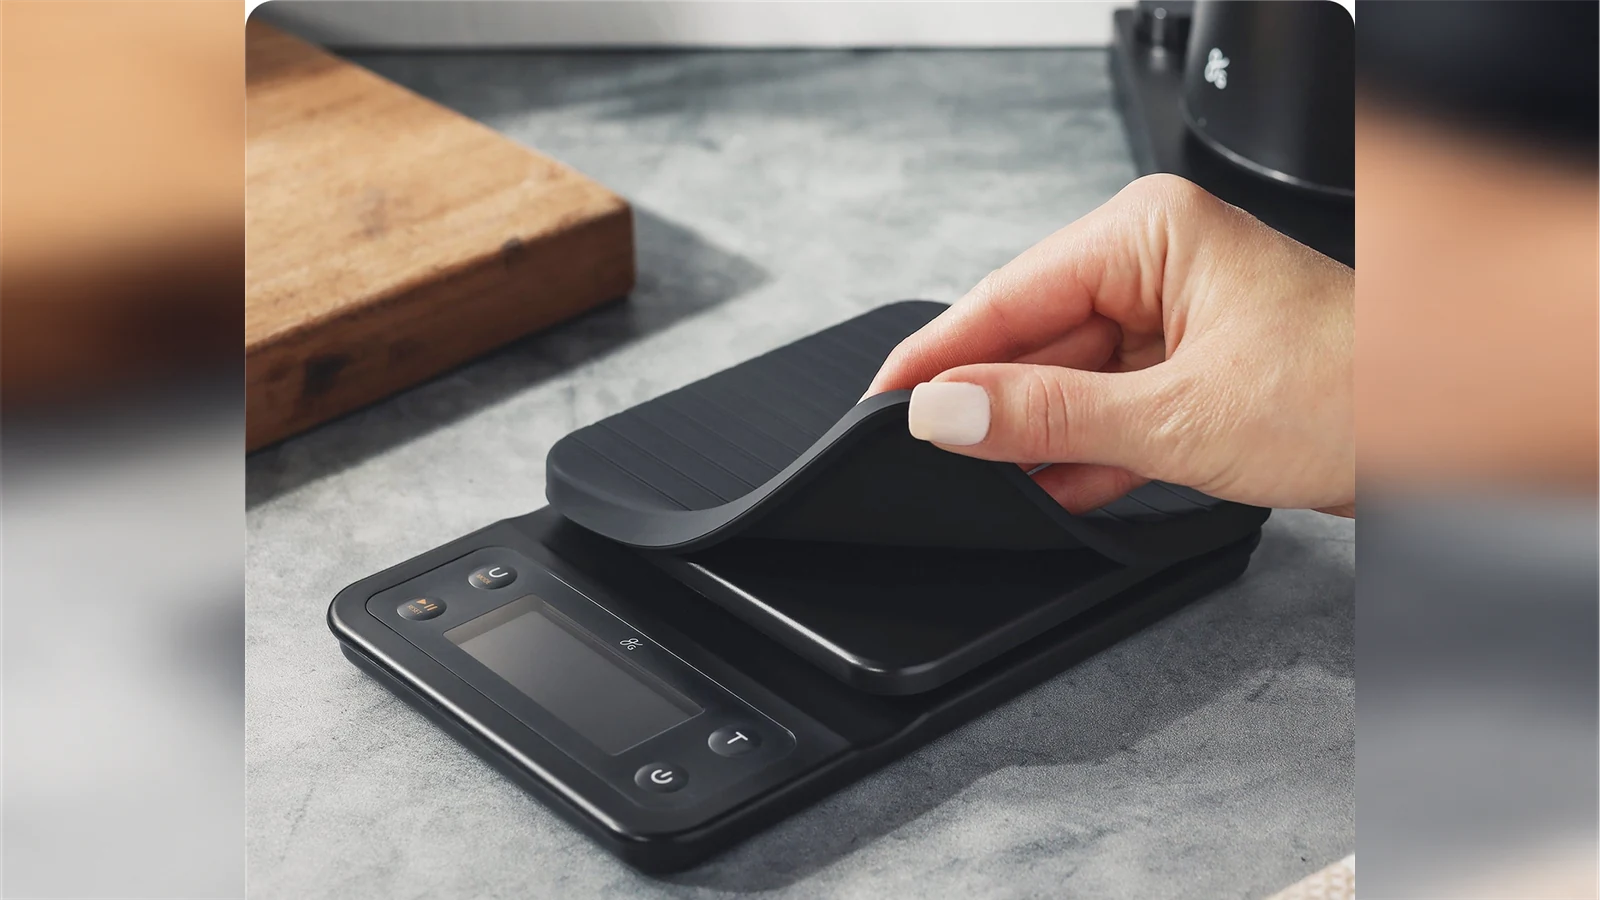
On scales with a silicone mat, remove it for cleaning and keep the electronic body out of the sink. Follow the model’s instructions for washing the mat. Wipe the body with a lightly damp cloth and dry it, paying attention to seams, the underside and any charging port. Let that port dry before connecting a cable.
A mat provides grip and protection from a hot cup, but it should sit freely on the platform. A misplaced mat that rubs against the body can interfere with a reading. Clear coffee grounds from around the platform and wipe the tray before placing the scale back on it.
Check the setup before changing calibration
- Move to a level counter. This helps separate a tray-support problem from a scale problem.
- Check power and zero. Charge the battery or replace weak batteries, then allow the empty reading to settle.
- Repeat a known load. Use the calibration weight specified for the exact model. Do not calibrate against the nominal contents printed on a bag of coffee.
- Use the correct sequence. BOOKOO specifies an F1-class 100 g calibration weight for the Themis Mini. Other models can require another mass or method; their instructions take precedence.
If a new scale continues to drift or unexpectedly resets on a stable, dry counter, deal with that during the return or support window. More decimal places and automatic modes will not make an unreliable zero easier to use.
Use the first few brews to check the controls
Place the same empty cup on a dry, level counter several times and let the reading settle. Then repeat on the machine’s tray. A difference between those locations points you toward support, contact or vibration before calibration. Turn the pump on with the empty cup in place to see whether the setup remains readable under vibration; follow the machine’s normal operating instructions.
Run the manual sequence before an automatic one: tare the cup, start the clock, brew and record the settled yield. Try cup removal and replacement afterward so you know whether the scale preserves, pauses or resets the result. Do the same with the automatic mode you plan to use. Learning that behavior with water or an ordinary practice shot is easier than discovering it while dialing in a new coffee.
Also check the view in your usual light. The backlit readout should remain visible from your standing position, and the cup should leave the tare and timer reachable. If you have to move the vessel to read the weight, a different cup or orientation may solve the problem. A persistent unstable zero on a supported counter needs a return or support request while that option is available.
Sources
Frequently asked questions
Can I use one scale with two cups under a double spout?+
Yes, if both cups sit securely on the platform, stay clear of the machine and leave the display visible. Tare the two empty cups together to measure their combined beverage yield. Do not weigh one side and assume the other side received exactly the same amount.
Can I weigh espresso after brewing if the scale will not fit?+
Yes. Record the empty cup’s weight, weigh the cup with the finished espresso and subtract the empty weight. This gives the final yield, but it cannot show you when to stop the pump during that shot. Keep milk and other ingredients out of the cup until you have recorded the espresso weight.
Does a Bluetooth scale stop the espresso machine at a target weight?+
Only when the exact scale and machine are part of a supported control system with that function. A Bluetooth connection or brew-recording app on its own does not establish automatic shot stopping. Check the documented integration before buying for this purpose.