How to Dial In Espresso at Home: Fast Method + Taste Fixes
Dialing in is simply tuning grind and yield until your espresso tastes right. This guide keeps it practical: a fast baseline, a repeatable 3-shot method, and quick taste fixes.
Quick Dial-In Checklist
Read top to bottom once, then use the jump links like a checklist at the machine.
-
Fast Answer: the baseline recipe and what to change first
↓ Jump to Section -
Expert Sources: trusted references (videos + frameworks)
↓ Jump to Section -
3-Shot Method: a repeatable dial-in workflow
↓ Jump to Section -
Troubleshooting: fixes for sour vs bitter (and channeling)
↓ Jump to Section -
Starter Kit: one budget buy that makes dial-in easier
↓ Jump to Section
The 30-Second Dial-In (Fast Answer)
Use one baseline so each adjustment has a clear meaning:
- Start recipe: 18g in → 36g out (1:2).
- Time window: roughly 25–30 seconds as a starting target.
- Adjust #1: change grind until you land in that time window.
- Adjust #2: once time is reasonable, adjust yield by taste: +2–4g for sharp/sour shots, −2–4g for bitter/dry shots.
If the shot tastes sour and bitter at the same time, don’t chase numbers first - fix puck prep (channeling) and re-test. This “baseline → grind → yield” order works because grind primarily controls flow/time, while small yield moves let you steer taste once flow is stable.
Expert Sources (Watch/Read)
- James Hoffmann: “How I Dial In Espresso” - workflow clarity.
- Lance Hedrick: dialing in by taste - taste-driven fixes.
- La Marzocco Home: brew ratios - practical ratio logic.
- Barista Hustle: Espresso Compass - “what to change next.”
- SCA: defining espresso - context and terminology.
Dial In in 3 Shots (Repeatable Method)
Keep dose and ratio fixed. Use grind to hit a reasonable flow, then use yield to polish taste.
Step 0: Lock your constants
- Same basket + same dose every shot (don’t “free-pour”).
- Same ratio (1:2) until you have a drinkable shot.
- Weigh output and stop the shot by grams, not by color.
Shot 1: Find the grind window
Pull 18g → 36g. If it runs very fast and tastes sharp, go finer. If it chokes or crawls, go coarser. Your goal is simply “in range,” not perfect.
Shot 2: Confirm and taste
Keep everything the same and taste. Decide which direction you need: more extraction (less sour) or less extraction (less bitter/dry).
Shot 3: Fix by yield
- Sour/sharp: increase yield 2–4g (36g → 38–40g).
- Bitter/dry: decrease yield 2–4g (36g → 32–34g).
Troubleshooting by Taste (Cheat Sheet)
Sour / sharp / thin
- If time is fast: go finer.
- If time is OK: add a little yield (+2–4g).
Bitter / dry / harsh
- If time is slow: go coarser.
- If time is OK: cut yield slightly (−2–4g).
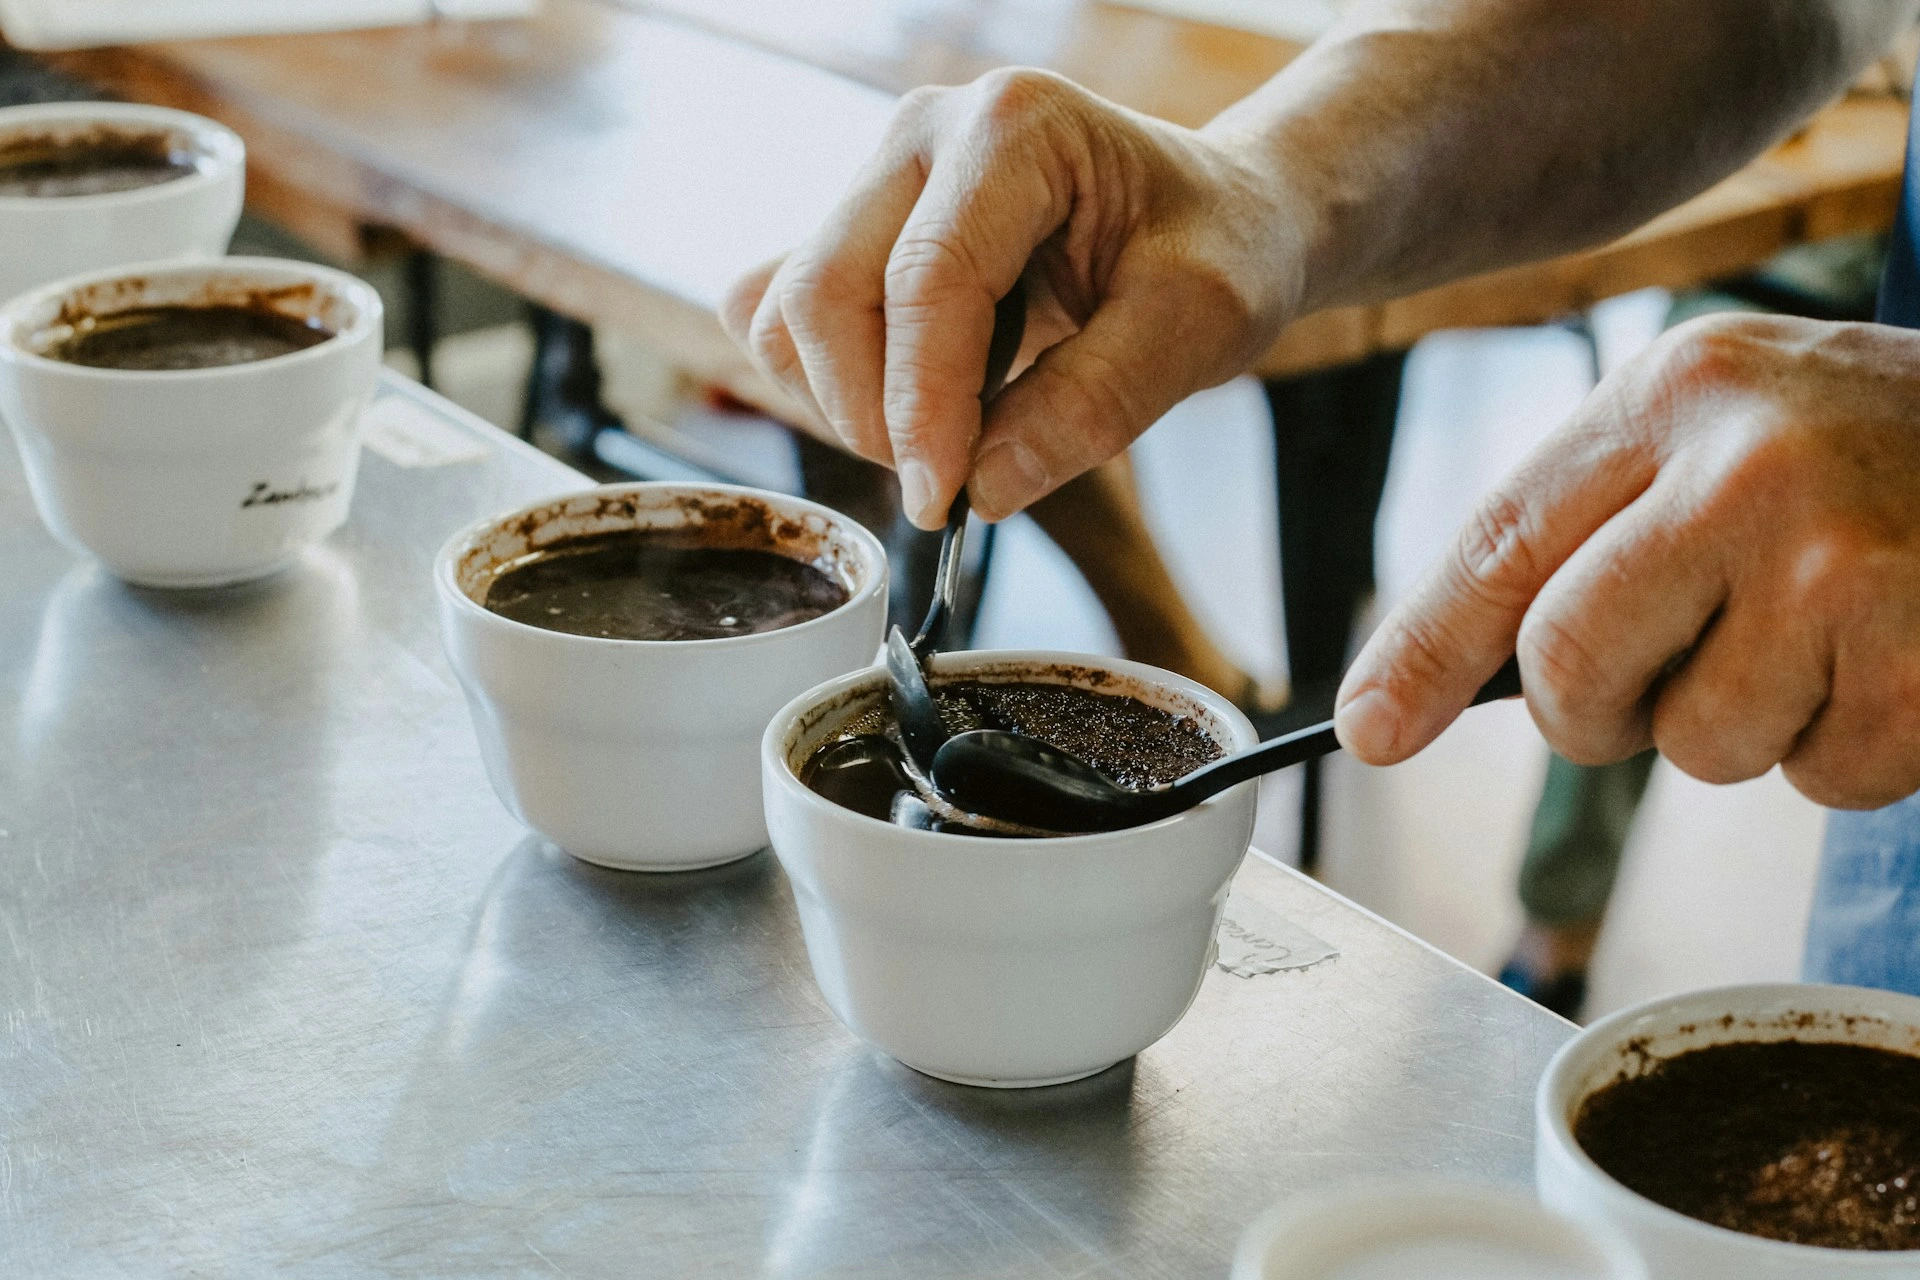
Sour and bitter together (usually channeling)
- Fix distribution: WDT, then level, then tamp the same way every time.
- Keep dose sensible: overfilling increases randomness.
Puck Prep Basics (Avoid Channeling)
If your dial-in feels random, channeling is usually the reason. The fix is not “harder tamp” or “fancier ratio” — it’s a repeatable prep routine. Your goal is simple: distribute grounds evenly, then compress them consistently.
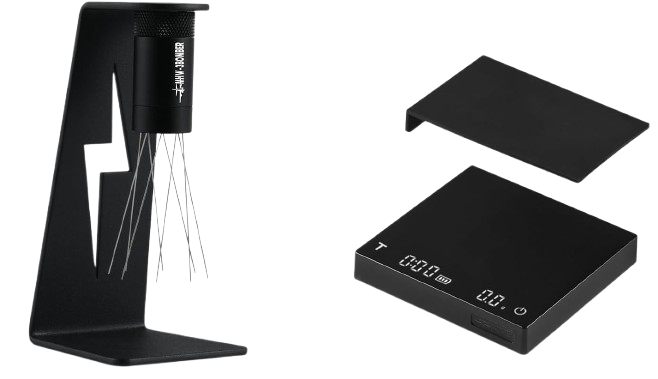
- WDT (quick stir): breaks up clumps and evens density before tamping.
- Level before tamp: a level puck is easier to tamp evenly.
- Same tamp every time: consistent pressure and a flat tamp matter more than “maximum force.”
- Keep the rim clean: grounds on the basket rim can ruin the seal and create edge channeling.
Why Dial-In Changes Day to Day
Small tweaks are normal. What you want is not “never change grind,” but “change grind in predictable, small steps.”
- Beans age: you often need slightly finer grind over time.
- Room conditions shift: humidity/temperature can change flow.
- Grinder retention: the first shot after a grind change can lie — purge a little if the grinder holds old grounds.
- Machine warm-up and flushing: temperature stability affects flow; be consistent with your pre-shot routine.
Recommended Dial-In Starter Kit (1 Budget Buy)
The fastest way to make dial-in less frustrating is measuring ratio (a small scale) and reducing channeling (WDT). This bundle covers both.
FAQ
Should I chase exactly 30 seconds?
No. Use time to find a workable grind window. Once you’re close, taste decides and yield tweaks do the fine tuning.
Is 1:2 always the best ratio?
It’s the best starting point. After you have a stable shot, explore shorter or longer ratios for your coffee and your drinks.
Do I change dose or grind first?
Grind first. Keep dose stable until you understand how your grinder behaves; dose changes can create new problems.
Bottom Line
Pick one baseline recipe, adjust grind to land in a reasonable time window, then adjust yield by taste. If results feel random, improve puck prep and measurement — that’s where most “dial-in pain” comes from at home.