A 240 ml milk frother may hold only 120 ml during a foaming cycle. The remaining room lets the milk expand. For two cappuccinos, that difference can turn one preparation into two; for a small solo drink, a large machine’s minimum fill can leave milk unused.
Automatic heating and frothing
-
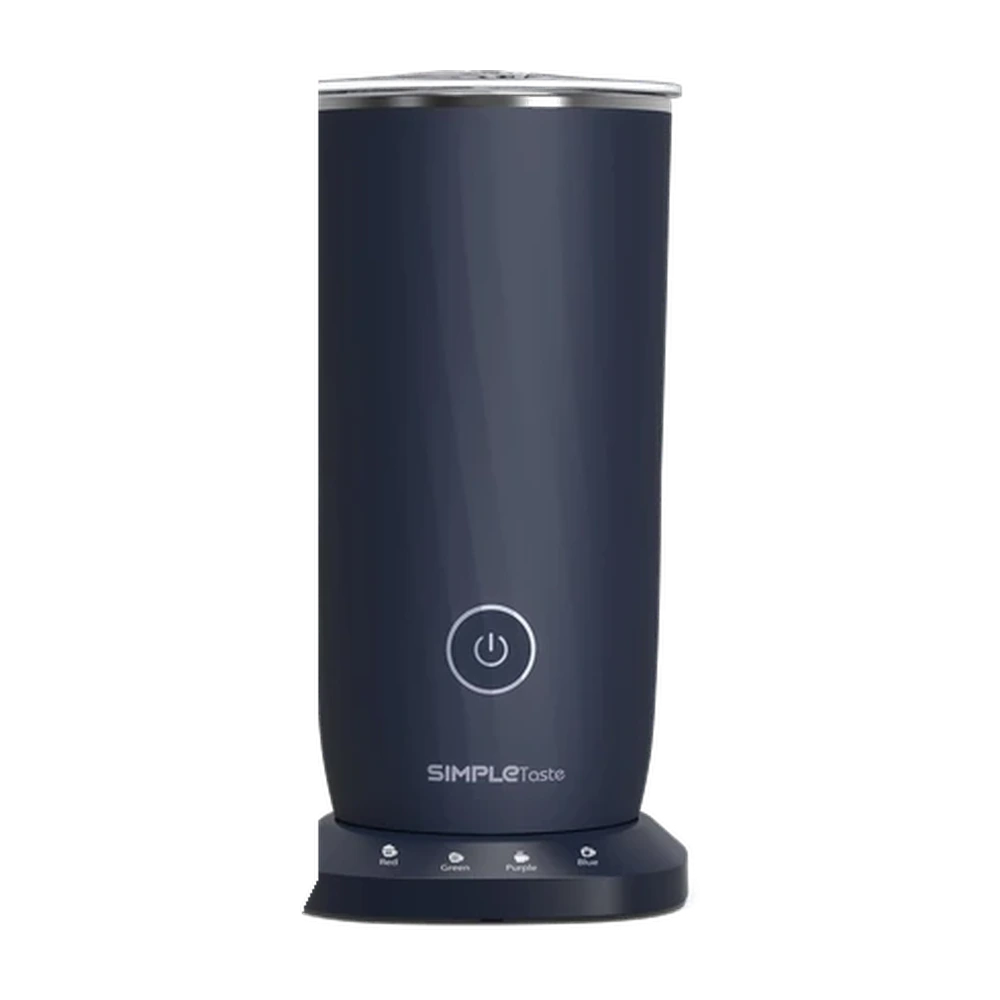 Compact hot and cold foamSIMPLETASTE Automatic Milk FrotherJump to pick ↓
-
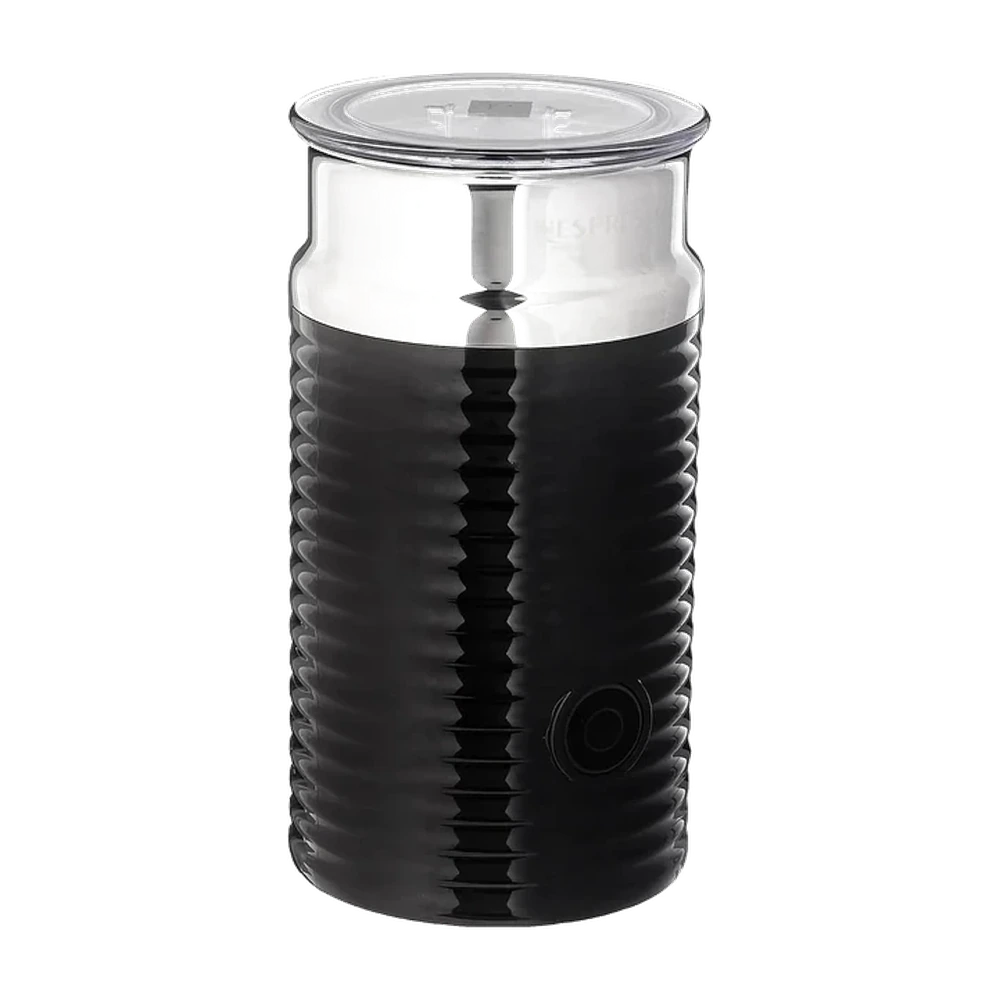 One-button hot or cold preparationNespresso Aeroccino3Jump to pick ↓
-
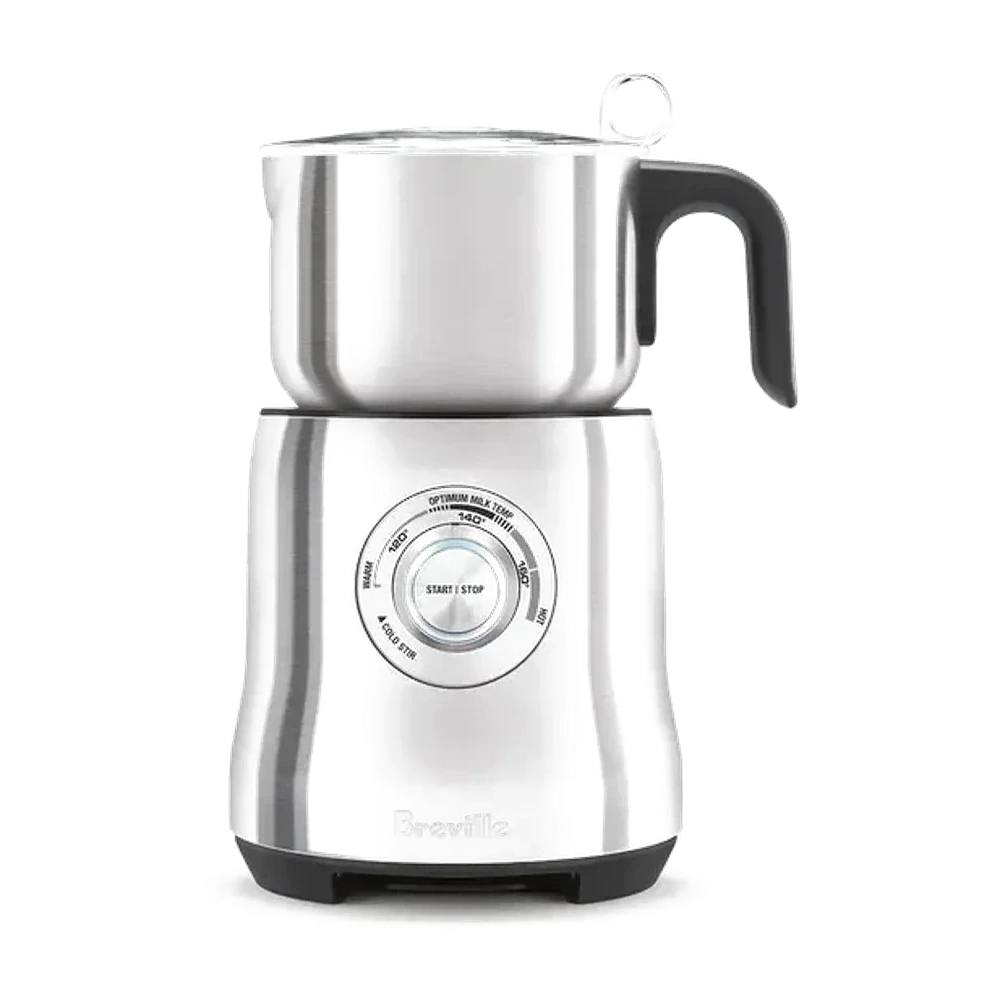 Larger batches and drinking chocolateBreville Milk CaféJump to pick ↓
-
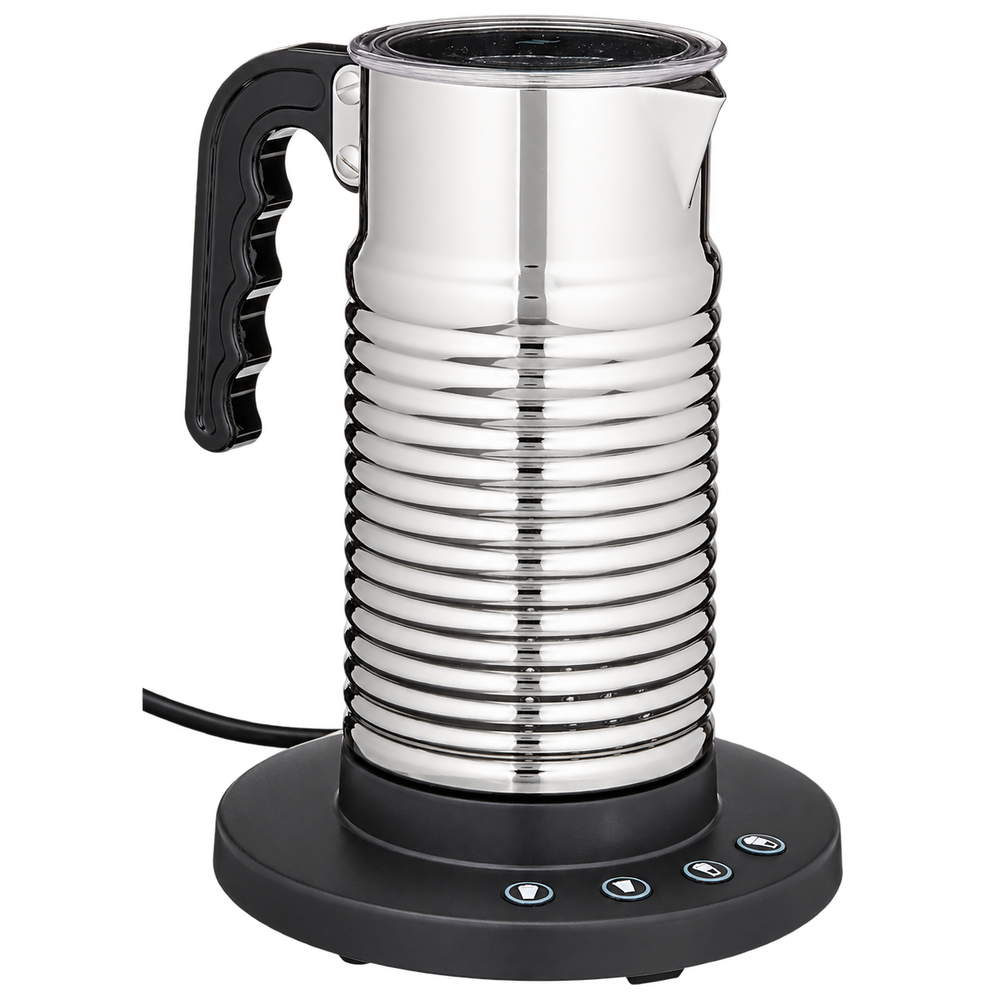 A handled, dishwasher-safe jugNespresso Aeroccino4Jump to pick ↓
-
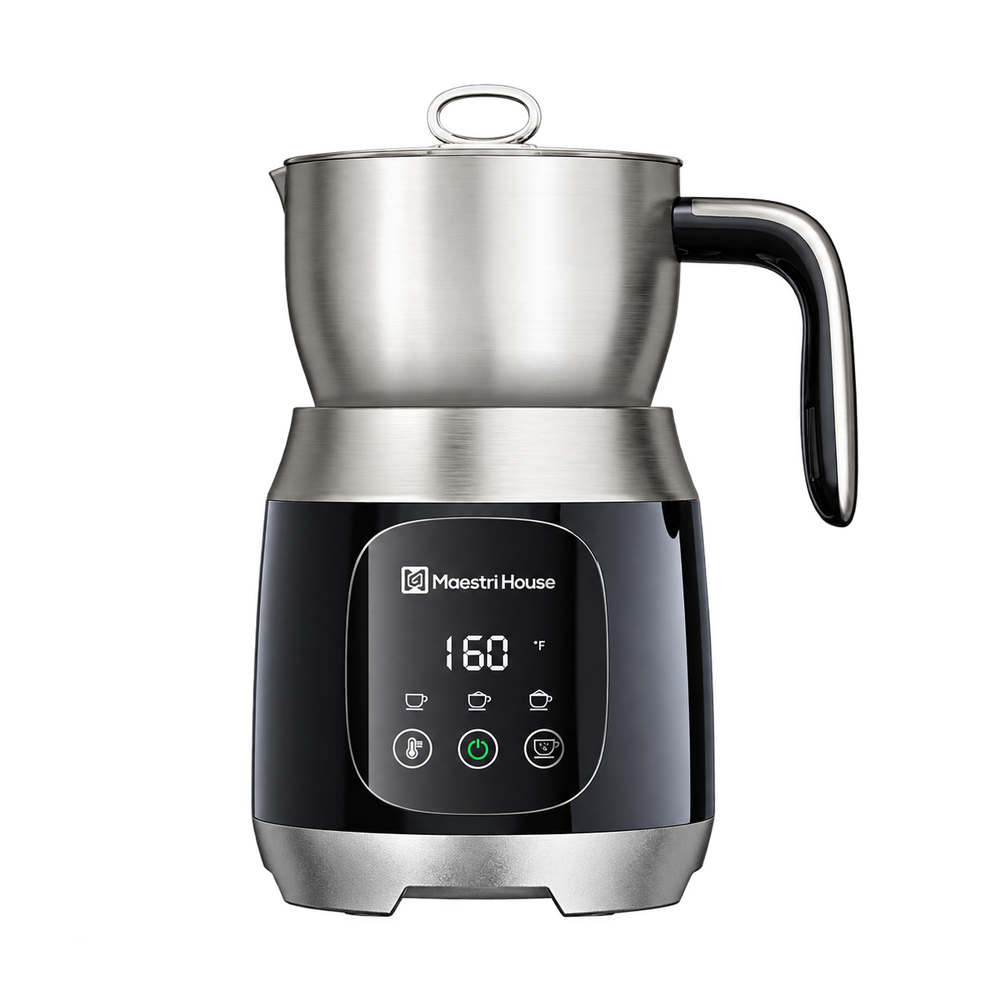 Separate temperature and foam settingsMaestri House DualFro 600Jump to pick ↓
Manual plungers and pitchers
-
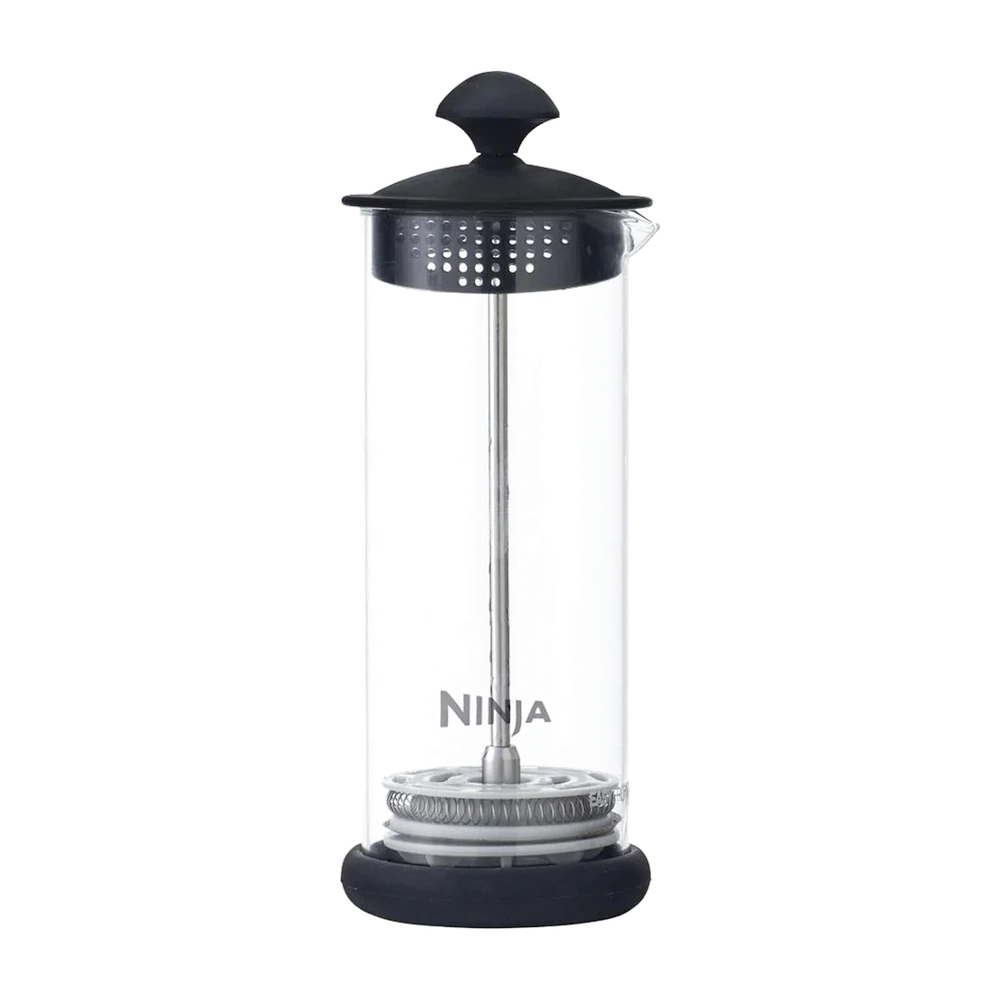 A small glass plungerNinja Easy Milk FrotherJump to pick ↓
-
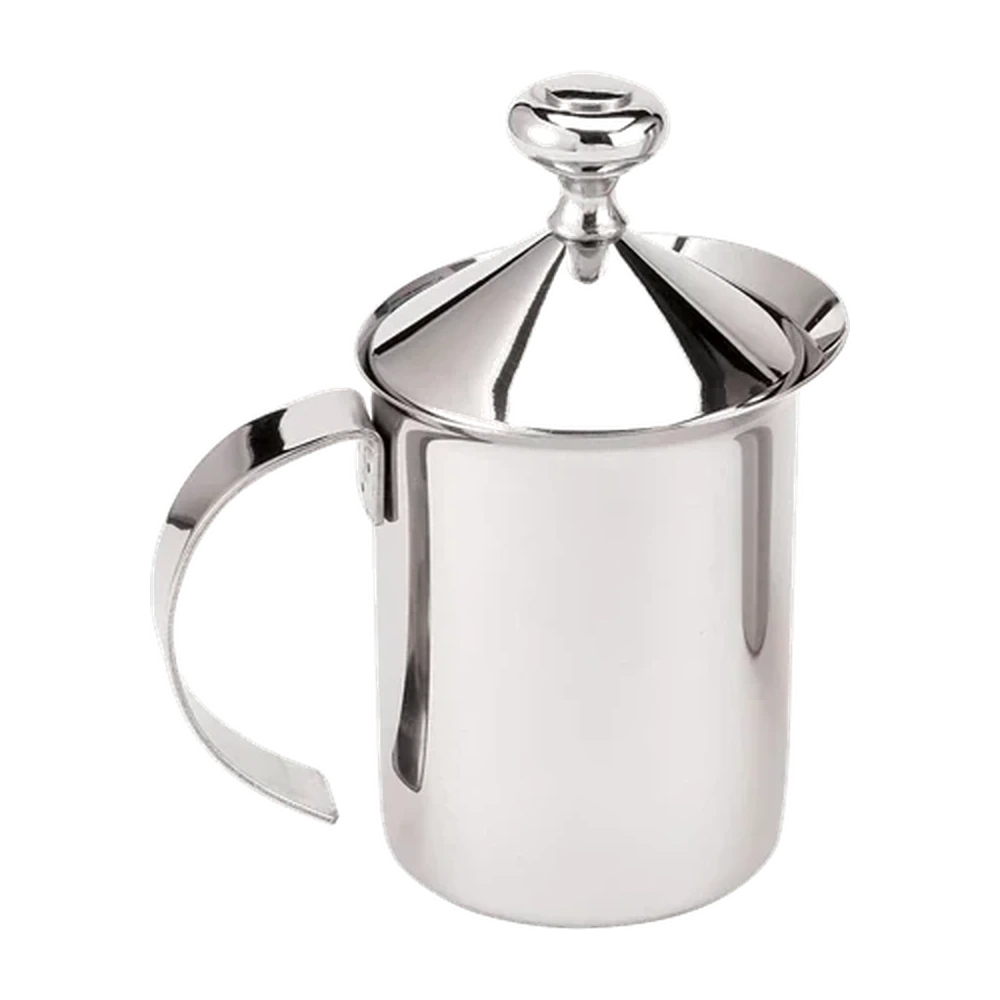 A durable steel plungerFino Stainless Steel FrotherJump to pick ↓
-
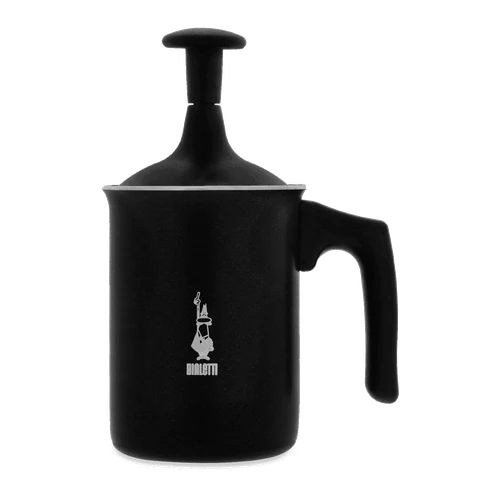 Warming on a non-induction stoveBialetti Tuttocrema (Black Aluminum)Jump to pick ↓
-
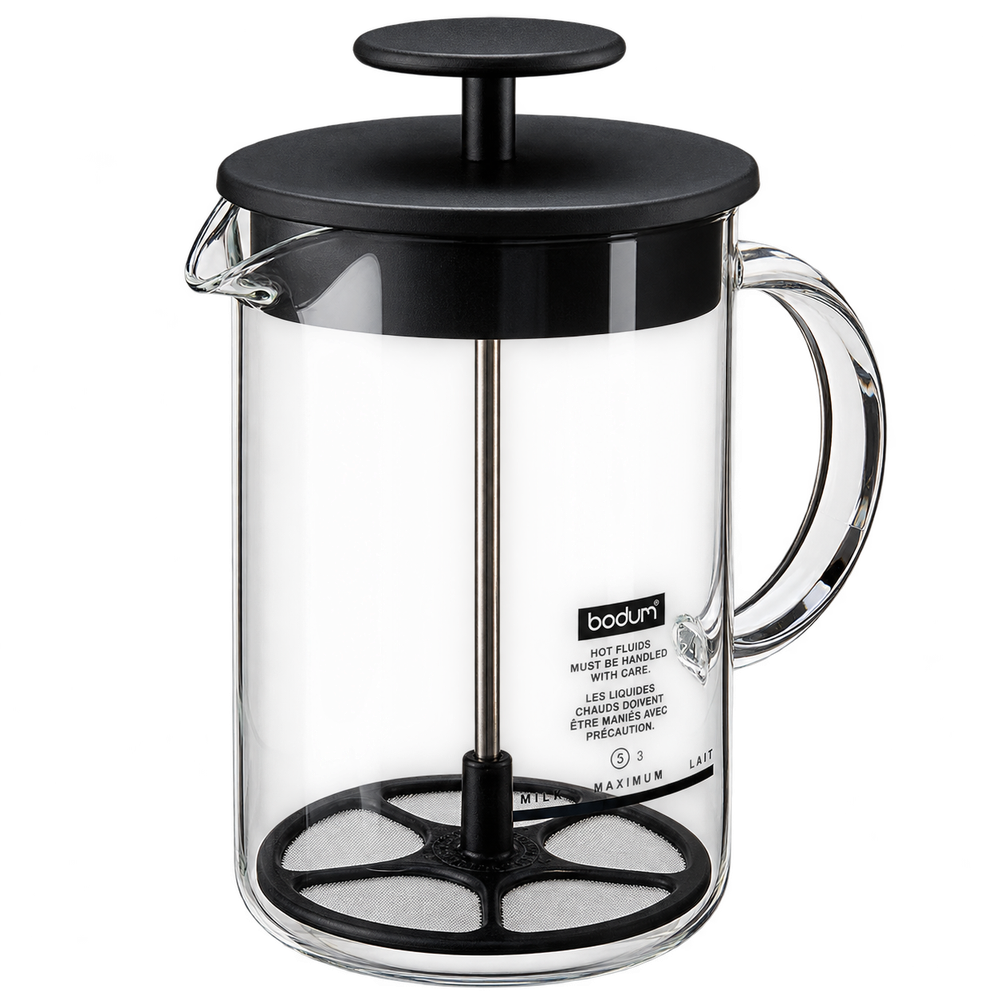 Frothing and warming in glassBodum Latteo Glass FrotherJump to pick ↓
-
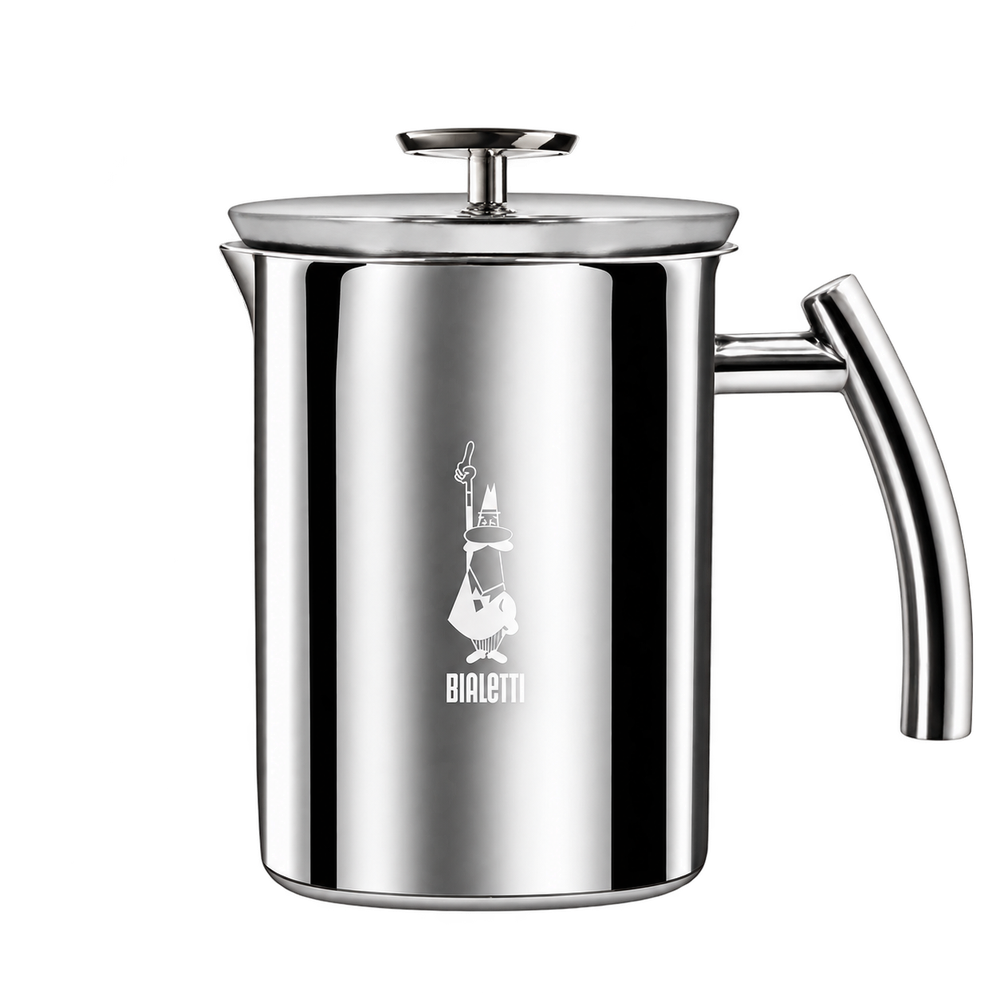 Stovetop use, including inductionBialetti Tuttocrema (Stainless Steel)Jump to pick ↓
Rechargeable handheld whisks
Handheld whisks with AA batteries
-
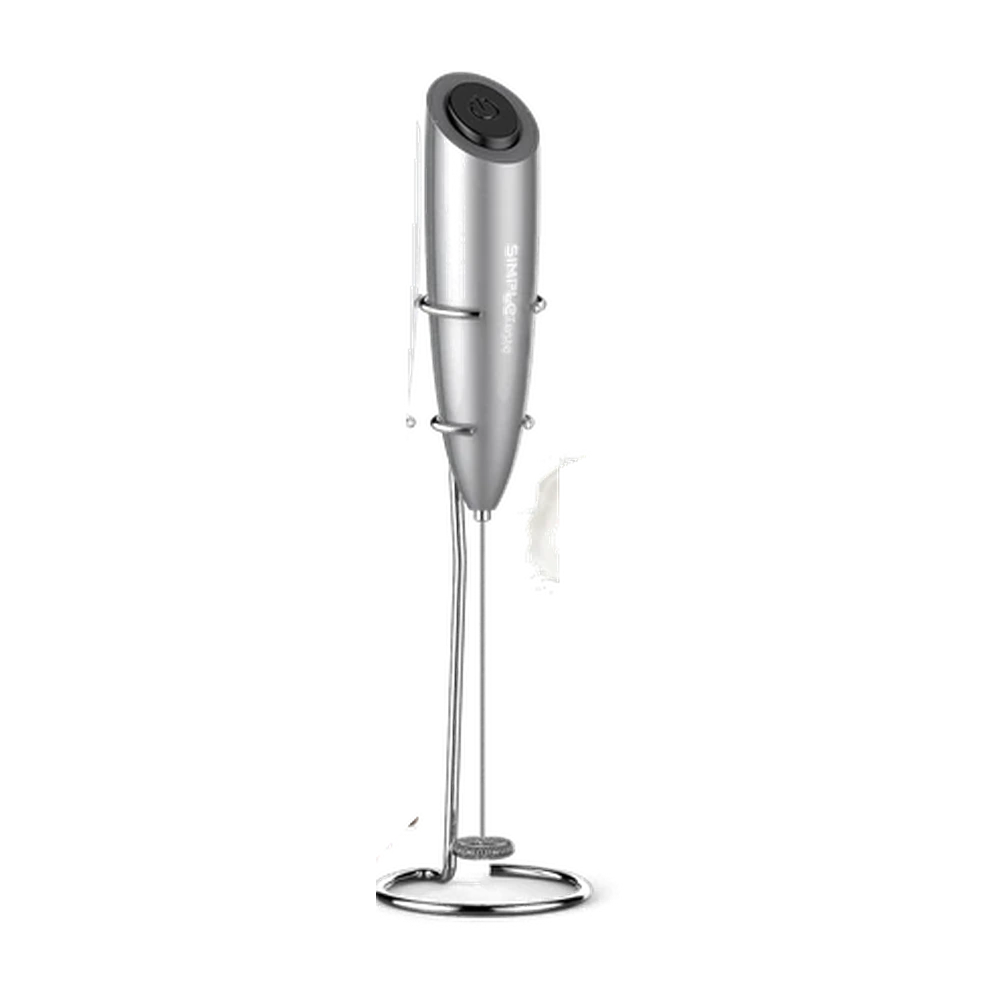 Press once to start; press again to stopSIMPLETASTE Handheld FrotherJump to pick ↓
-
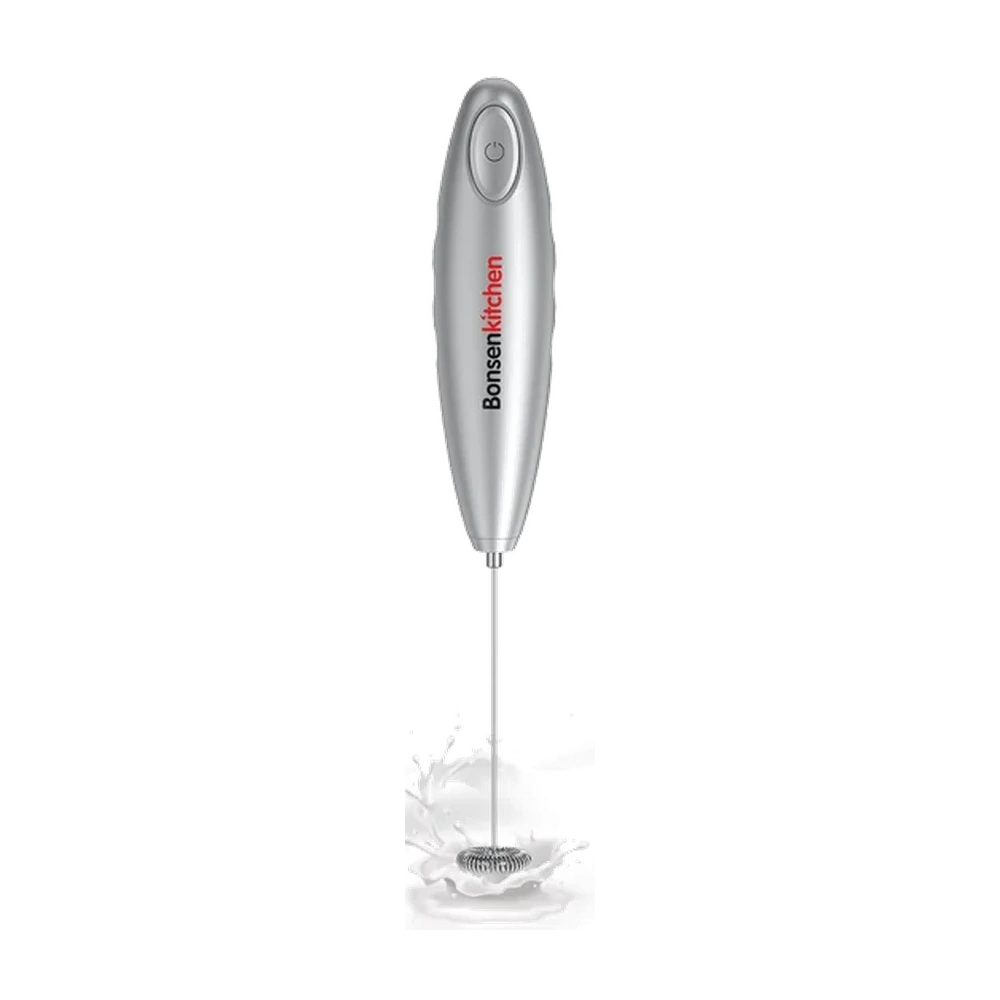 A slim wand for drawer storageBonsenkitchen Handheld FrotherJump to pick ↓
-
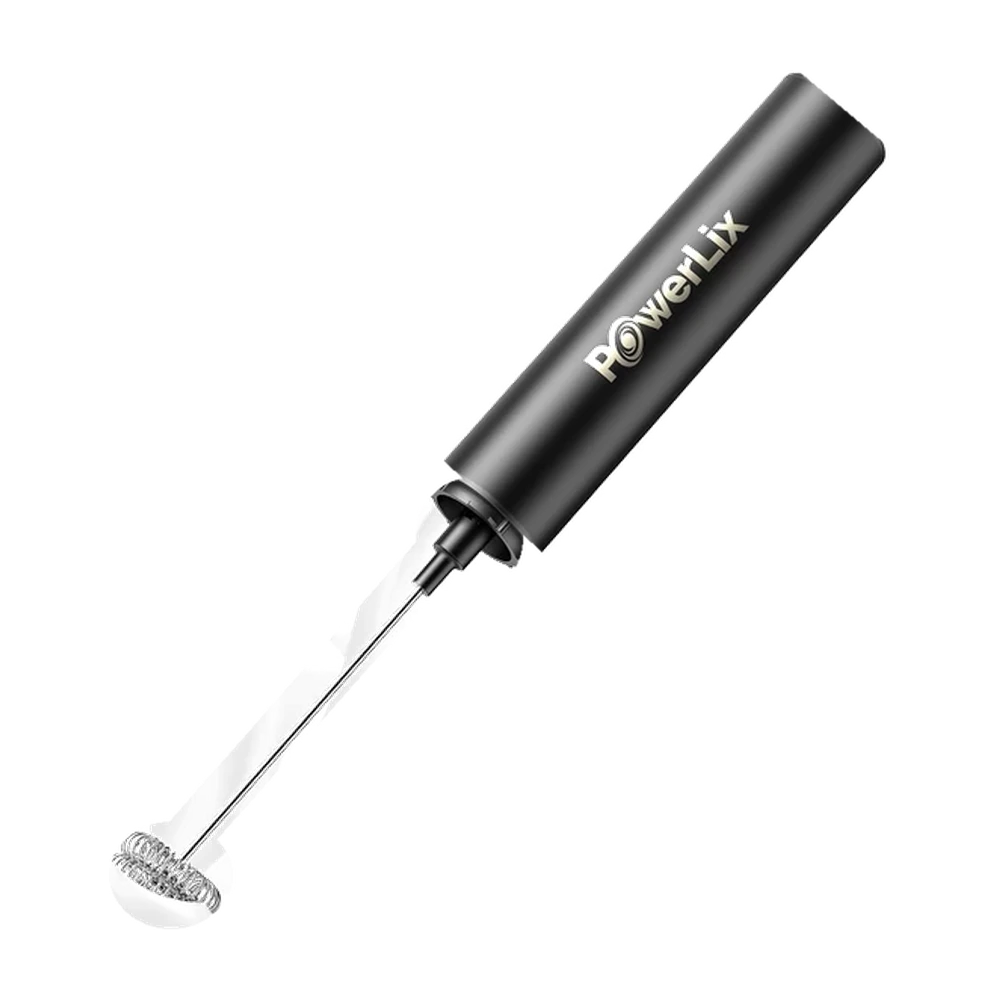 A soft-touch grip and counter standPowerLix Handheld FrotherJump to pick ↓
-
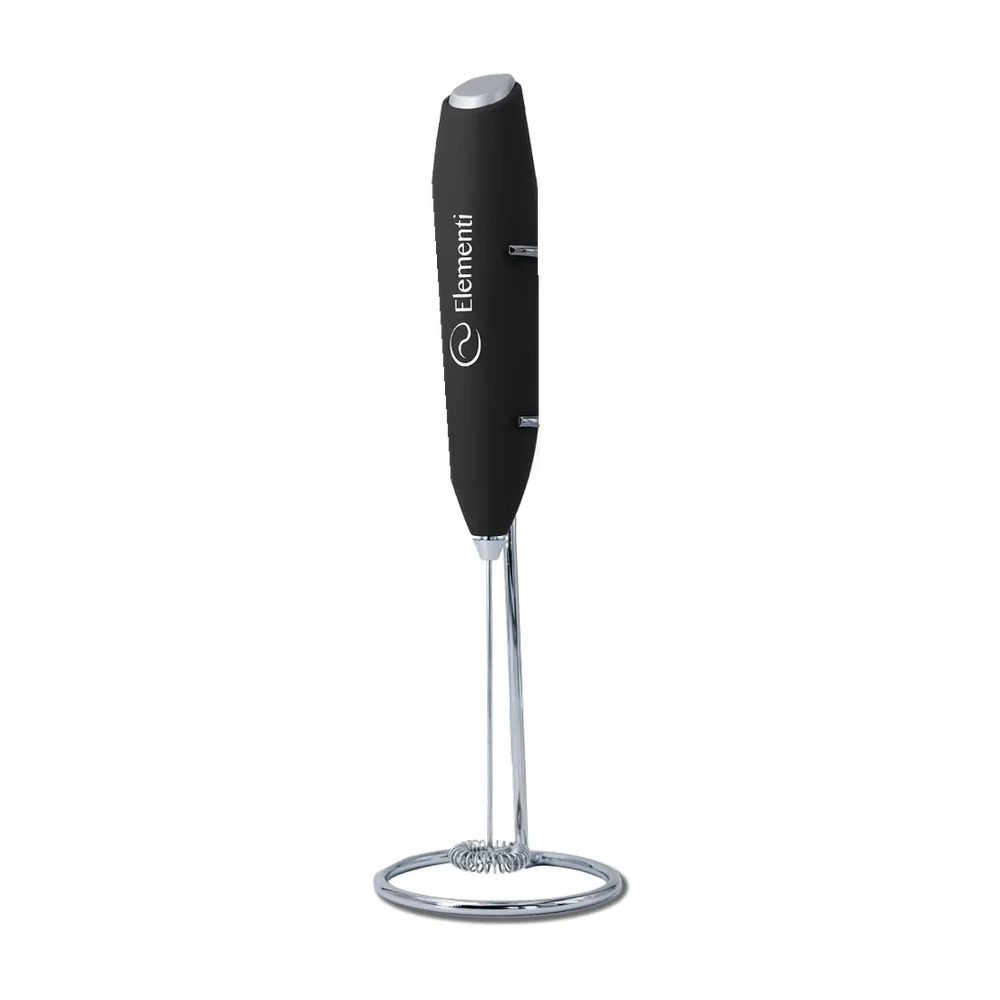 An upright place for a daily whiskElementi Frother with StandJump to pick ↓
-
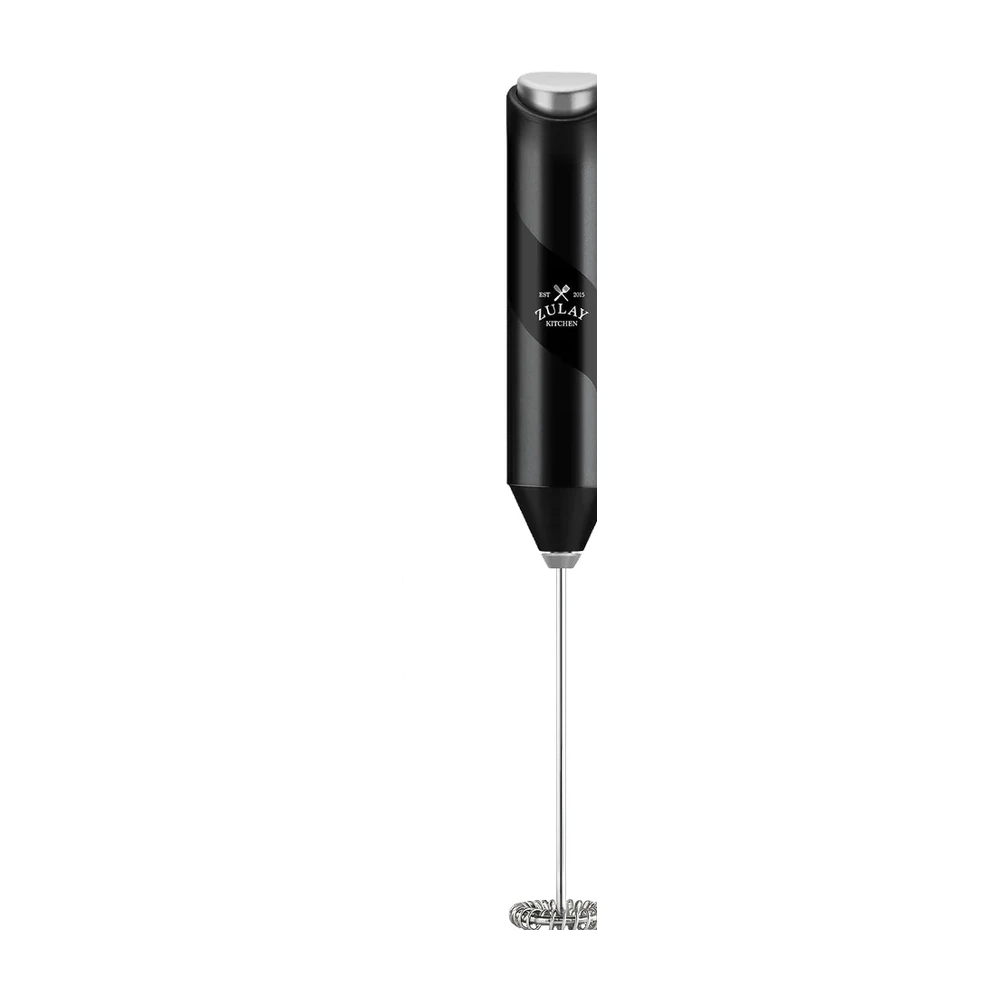 Compact storage without a standZulay FrothMateJump to pick ↓
-
 Batteries and a stand includedZulay Frother with Duracell BatteriesJump to pick ↓
-
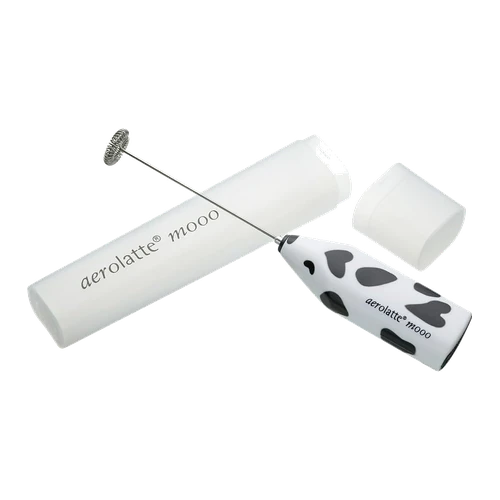 A protective case for the shaftAerolatte Mooo with Travel CaseJump to pick ↓
-
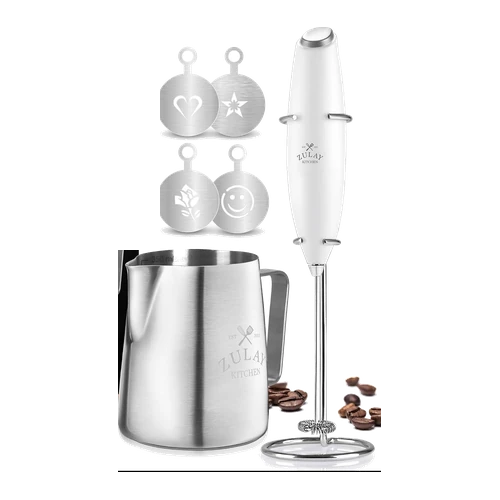 A wand with a marked pouring pitcherZulay Frother and Pitcher SetJump to pick ↓
The short answer
For milk heated and frothed in one cycle, choose an automatic frother. A single small cappuccino fits the SIMPLETASTE Automatic or Aeroccino3. The Aeroccino4 adds a handle, spout and dishwasher-safe jug at the same 120 ml frothing capacity. For two drinks using 150 ml of milk each, the DualFro 600 or Breville Milk Café can prepare the whole batch.
A manual plunger suits a thick cappuccino topping and gives you direct control over how much the milk expands. Choose Bodum Latteo for microwave warming or the stainless steel Bialetti Tuttocrema for induction. Both use the same vessel for warming and frothing, with a different sequence for each.
For cold foam or milk you already heat separately, a handheld whisk takes little space. The rechargeable LunaFro comes with a stand and spare whisk; the battery-powered SIMPLETASTE runs without holding its button down. Keurig SimpleCafé adds a microwave-safe cup and timed frothing programs. None of these handheld motors heats the milk.
A cappuccino can carry a thick foam cap; a latte needs enough liquid milk to pour freely. Stop pumping or surface whisking while the foam is still soft if you want it to mix through the coffee. With an automatic frother, start with the latte or dense-foam setting for that texture.
For free-pour latte art, a steam wand offers finer control over heating, air and circulation. These frothers can prepare enjoyable milk drinks without an espresso machine, but a large head of foam alone will not pour a heart. The milk guide below explains portions, temperature and how to avoid a dry topping.
Automatic milk frothers
An automatic milk frother heats and stirs while you make the coffee. The main buying constraint is the amount of milk allowed on the frothing program. SIMPLETASTE and the two Aeroccinos accept roughly half a cup; Breville and DualFro can handle a shared batch. Those larger pitchers also detach for washing.
Plan the drink around the frothing fill line. The higher heat-only mark leaves less room for foam. Controls matter after the portion fits: Aeroccino3 offers a single hot-foam preparation, while the other four let you alter the texture. Breville and DualFro also let you choose a temperature.
Capacity, controls and cleanup
| Image | Milk frother | Maximum milk for foam | Hot milk / chocolate limit | Programs and adjustment | Cleaning |
|---|---|---|---|---|---|
|
Breville Milk Café | 500 ml | 750 ml on the hot-chocolate recipe | Temperature dial; latte and cappuccino discs; cold stir | Jug, lid and discs: top-rack dishwasher-safe; hand-wash discs for longer life |
|
Maestri House DualFro 600 | 300 ml; minimum 100 ml | 600 ml hot milk; 500 ml chocolate | Ambient, 120, 140 or 160°F; three froth levels | Pitcher: top-rack dishwasher; wipe base |
|
Nespresso Aeroccino3 | 120 ml | 240 ml hot milk | Hot foam, cold foam or hot milk; one button and removable spring | Hand-wash vessel and whisk |
|
Nespresso Aeroccino4 | 120 ml | 240 ml hot milk | Cold foam, hot milk and two hot-foam textures | Jug and removable parts: dishwasher-safe up to 70°C / 158°F |
|
SIMPLETASTE Automatic Milk Frother | 115 ml | 240 ml hot milk | Hot dense foam, hot airy foam, cold foam or hot milk | Hand-wash fixed nonstick vessel |
Starting milk · milliliters
How much milk fits in one foaming cycle?Maximum starting milk for foam, from largest to smallest.
Two drinks with 150 ml of milk each need a 300 ml batch. DualFro reaches that amount in one frothing cycle, and Breville has capacity left over. The compact frothers need separate cycles. Small servings create the opposite constraint: Breville’s minimum is about 180 ml, while DualFro can start at 100 ml. Measure your usual milk portion before choosing a larger jug.
1. SIMPLETASTE Automatic Milk Frother
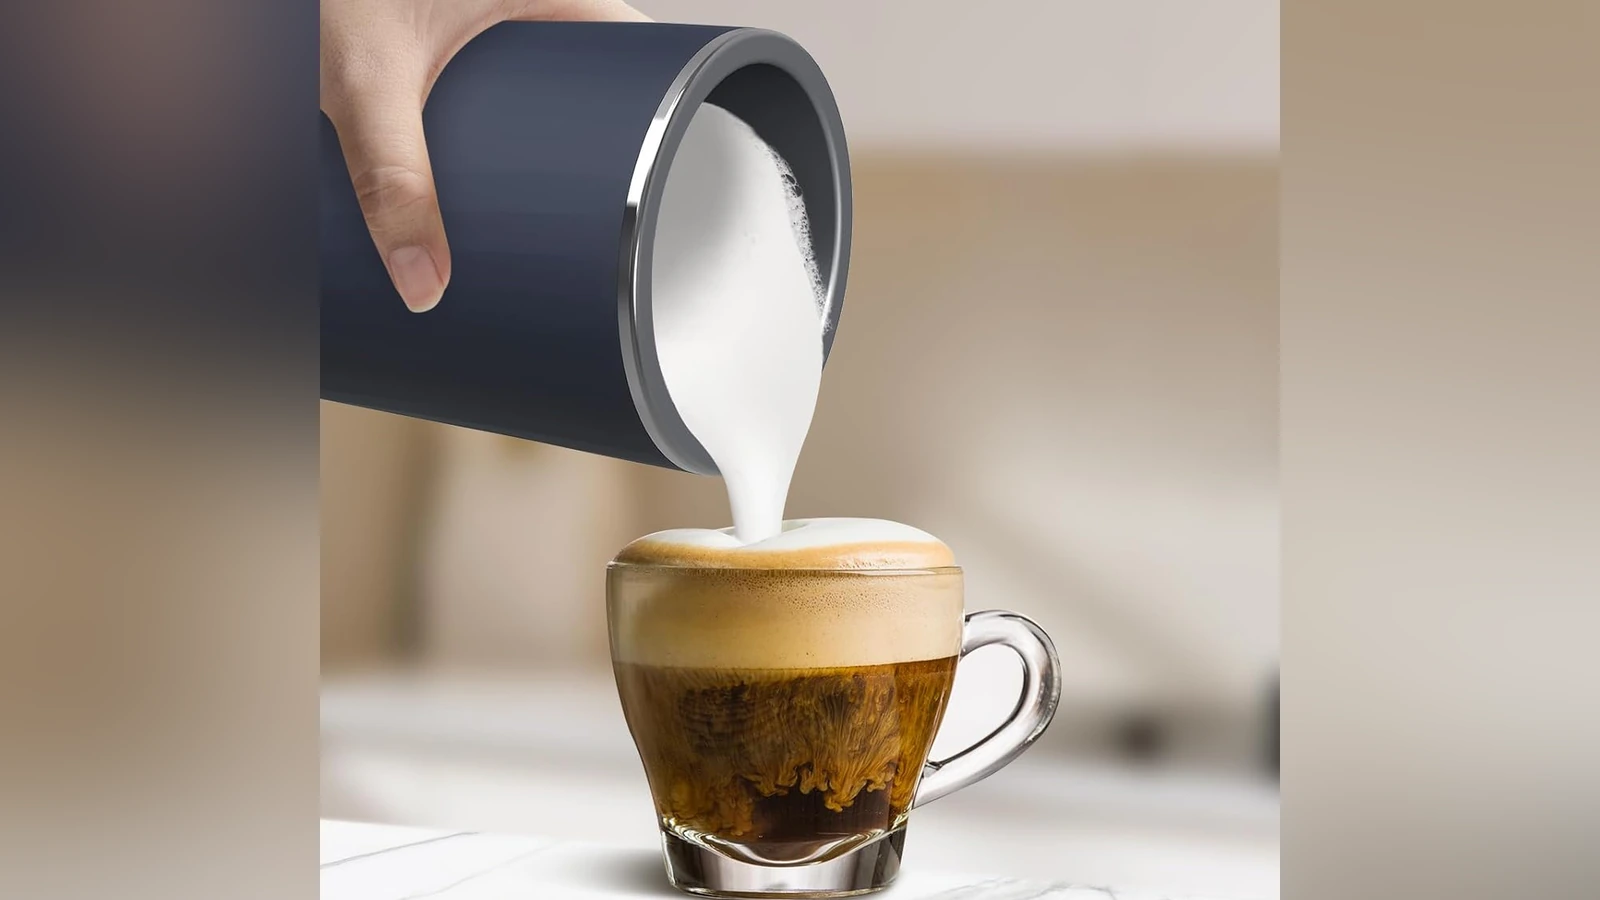
SIMPLETASTE warms and froths a small serving while the coffee brews. Its four modes produce warm dense foam, warm airy foam, cold foam or hot milk. The dense setting is the useful starting point for a latte; airy foam gives a cappuccino a taller cap. A single button cycles through the choices, so the sequence takes a little more attention than Aeroccino3’s hot-or-cold control.
The frothing limit is 115 ml, roughly half the 240 ml heat-only allowance. That lower mark determines whether your milk portion fits in one cycle. Two drinks using 100 ml apiece require separate runs; plain hot milk for one larger coffee can fit below the upper line.
The vessel stays attached to its electrical housing. Wipe the nonstick interior with a soft sponge after it cools, paying attention to the whisk post, and keep the housing out of the sink. This is a compact choice for a single drink when you can rinse it promptly.
2. Nespresso Aeroccino3

Aeroccino3 keeps the controls short: press once for a hot preparation, or hold the button for about two seconds for cold foam. The whisk’s removable spring changes how much air enters the milk. Leave it fitted for foam; remove it for the hot-milk preparation, following the fill mark for that setup.
Its narrow cylinder fits beside a capsule machine, though the smooth rim gives less pouring control than Aeroccino4’s handle and spout. Both hold 120 ml for frothing and 240 ml for heating, so moving to the more expensive model buys different controls and cleanup rather than a larger serving.
The small spring needs a safe place while you wash the whisk. Rinse residue from around the center post and use a soft cloth on the coating. Milk left to dry there is harder to remove without rubbing the nonstick surface.
3. Breville Milk Café

Breville’s Milk Café heats by induction beneath a removable stainless steel jug. The temperature dial gives you control over warmth, and the two supplied discs change the amount of aeration: use the latte disc for a more fluid pour or the cappuccino disc for a thicker topping. The cold-stir setting mixes without heating.
The maximum starting milk for frothing is 500 ml. Two 150 ml portions fit in one batch. The minimum fill is about 180 ml, so a small solo cappuccino can leave surplus milk. Measure your regular serving before choosing the larger jug.
The hot-chocolate recipe allows up to 750 ml and lets you add chocolate through the lid’s measuring cap after stirring begins. That makes this a useful shared-drink appliance as well as a coffee accessory. The jug, lid and frothing discs are dishwasher-safe on the top rack only. Breville recommends hand-washing the discs to extend their life. Wipe the powered base separately.
4. Nespresso Aeroccino4

Aeroccino4’s four buttons separate cold foam, hot milk and two hot-foam textures. The denser hot setting suits a more fluid latte topping; the airier one suits cappuccino. The linked version has the buttons arranged around a broad base, with a handled steel jug above it.
Dishwasher-safe removable parts are the substantial upgrade over Aeroccino3. The handle also gives a firmer grip when pouring, and the spout directs the milk more neatly. Capacity remains 120 ml for frothing or 240 ml for heating, so a second substantial cappuccino still means another cycle.
Let the jug cool and remove the small parts before washing. Use a dishwasher program no hotter than 70°C / 158°F, as Nespresso specifies for this version. Dry the underside before returning it to the powered base. For one drink at a time, that washing routine can justify the larger base; for two milk-heavy drinks, Breville or DualFro gives you more room.
5. Maestri House DualFro 600

DualFro lets you choose temperature and foam level separately. Its settings cover unheated mixing, 120°F, 140°F and 160°F, with three froth levels. Begin around 140°F for dairy milk and adjust after tasting; the cooler setting may suit a drink you want to serve immediately, while hotter settings require more care with heat-sensitive plant milks.
Its frothing range is 100–300 ml. That accommodates a small single portion or two drinks using 150 ml each. The 600 ml capacity in the name applies to plain heating, and the hot-chocolate preparation has a 500 ml maximum. Use the mark for the program you select.
The steel pitcher lifts off the base for pouring and top-rack dishwasher cleaning. A handle and spout help divide a batch between cups without picking up the electrical housing. Rinse out milk residue and let the appliance cool as instructed before starting another heated cycle.
Manual milk frothers and pitchers
A manual milk frother traps air as its mesh plunger moves through the milk. You can watch the foam rise through Ninja’s and Bodum’s glass walls; with a metal pitcher, pause and lift the lid to check. A few controlled strokes give you a softer topping than prolonged pumping.
For hot drinks, choose the vessel around your heat source. The two Bialetti pitchers can go on a stove, and the stainless steel Tuttocrema works on induction. Ninja and Bodum use microwave-safe glass, although Bodum’s instructions put heating after frothing. Fino is useful when you already warm milk in another vessel and want a sturdy steel frother.
Which pitcher fits your heating routine?
| Image | Milk frother | Vessel | Preparing a hot drink | Cleaning | Practical difference |
|---|---|---|---|---|---|
|
Bialetti Tuttocrema (Stainless Steel) | Stainless steel; 330 ml starting milk | Heat on gas, electric, ceramic or induction; remove from heat, then pump | Hand-washing recommended; rinse both mesh layers | Largest stated working portion of these manual pitchers |
|
Bialetti Tuttocrema (Black Aluminum) | Coated aluminum; 150 ml starting milk | Heat on gas or electric; remove from heat, then pump | Soft sponge for coated vessel; rinse double mesh | A small portion warmed and frothed in one pot |
|
Bodum Latteo Glass Frother | Handled borosilicate glass; 250 ml cold fill | Froth cold; remove lid and plunger; microwave bare jug | Dishwasher-safe parts | A handle and clear view of the expanding foam |
|
Ninja Easy Milk Frother | Clear glass beaker with mesh plunger | Microwave milk in bare glass; fit lid and plunger, then pump | Wash glass, lid and mesh after use | A compact beaker for a small milk portion |
|
Fino Stainless Steel Frother | 18/8 stainless steel; 14 fl oz vessel | Warm milk in a separate vessel; transfer and pump | Top-rack dishwasher-safe | A sturdy pitcher with a double-mesh plunger |
The steel Bialetti is the practical choice for induction or two smaller drinks: its 330 ml working portion is more than twice the black version’s 150 ml. For microwave use, Bodum’s handle helps when removing the warm jug, while Ninja’s compact beaker is easier to accommodate in a small cupboard. Fino suits a kitchen with an existing milk-warming routine; its steel body removes the concern of knocking a glass beaker against other dishes.
6. Ninja Easy Milk Frother
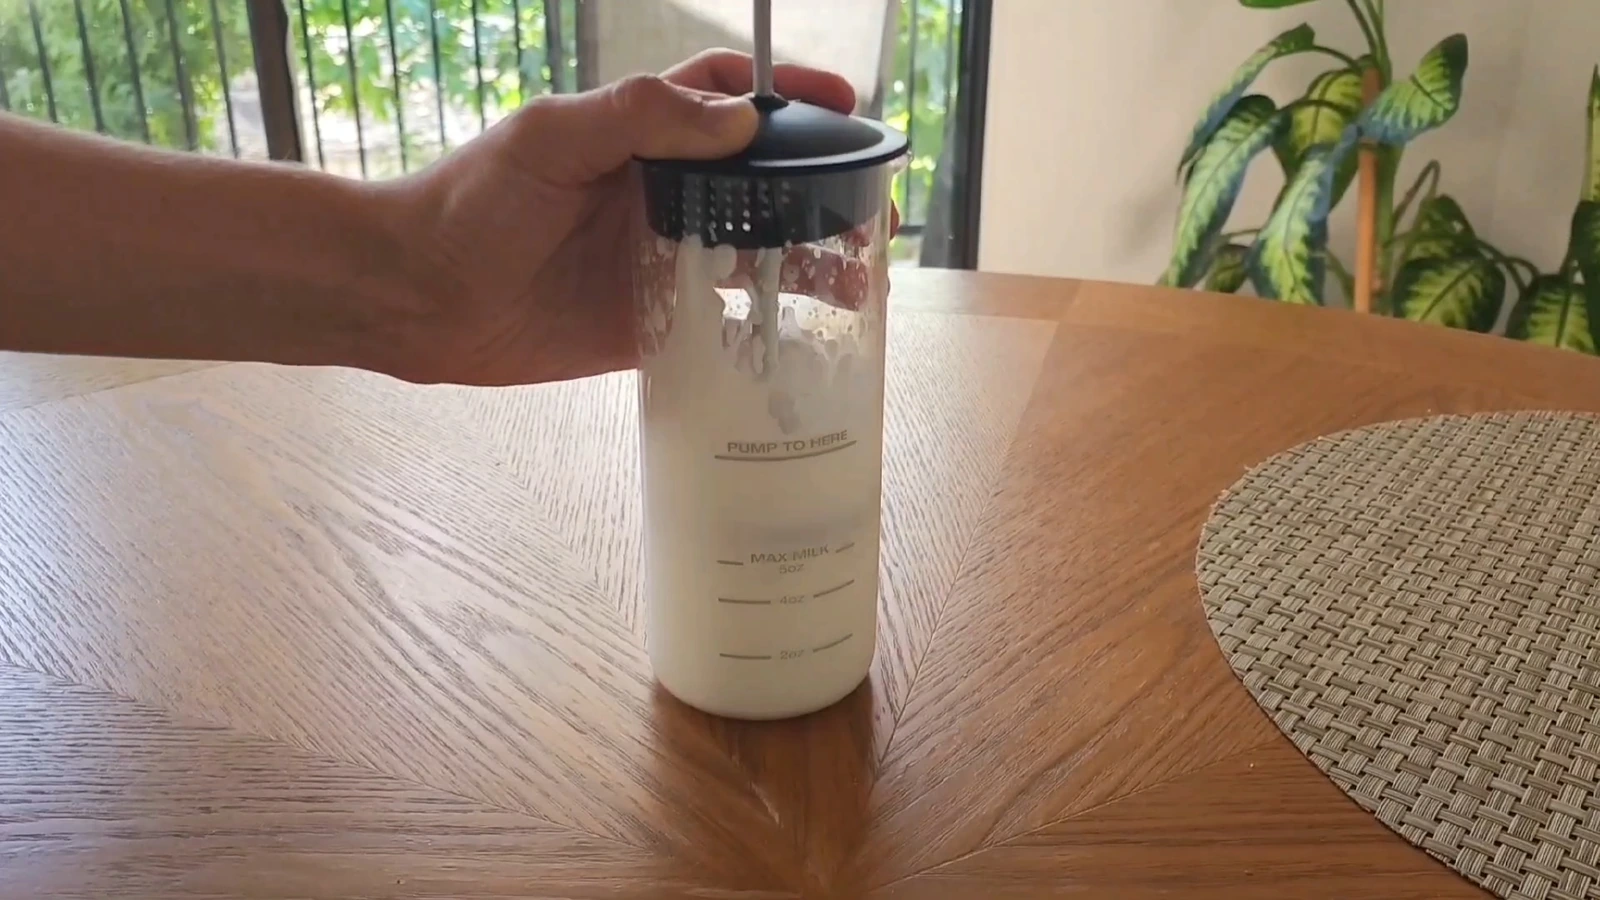
Ninja’s clear beaker shows the milk rising as you pump the mesh through it. That makes the stopping point easier to judge than in an opaque steel pitcher: you can see the liquid beneath the cap and stop while the foam is still soft enough to pour.
The small beaker suits a modest cappuccino portion. Warm the milk in the microwave-safe glass with the lid and plunger removed, then assemble the frother and pump on a stable surface. Use the vessel’s fill guidance and leave room for expansion; filling to the rim defeats the lid’s purpose.
Rinse the screen straight away, then wash the lid, shaft and glass. The beaker offers a clear view of the texture but needs space in the sink away from heavy dishes. Bodum Latteo provides a larger glass vessel and a handle if you want more milk per preparation.
7. Fino Stainless Steel Frother

Fino’s stainless steel pitcher tolerates a busy sink better than a glass beaker. Its double-mesh plunger pushes air through the milk without a motor or charger. Pumping produces a substantial topping for cappuccino, hot chocolate or cold coffee; stop while the foam still moves freely if you intend to pour it.
The advertised 14 fl oz describes the whole vessel. Start with a modest portion well below halfway, seat the lid and pump with controlled strokes, leaving the upper space for the rising foam. For a hot drink, warm the milk in a separate suitable vessel before transferring it.
The pitcher, lid and plunger are top-rack dishwasher-safe. Rinse between the mesh layers before loading them, since dried milk can remain caught there even after the exterior looks clean. Fino makes sense when a durable steel vessel matters more than seeing the milk rise through glass.
8. Bialetti Tuttocrema (Black Aluminum)
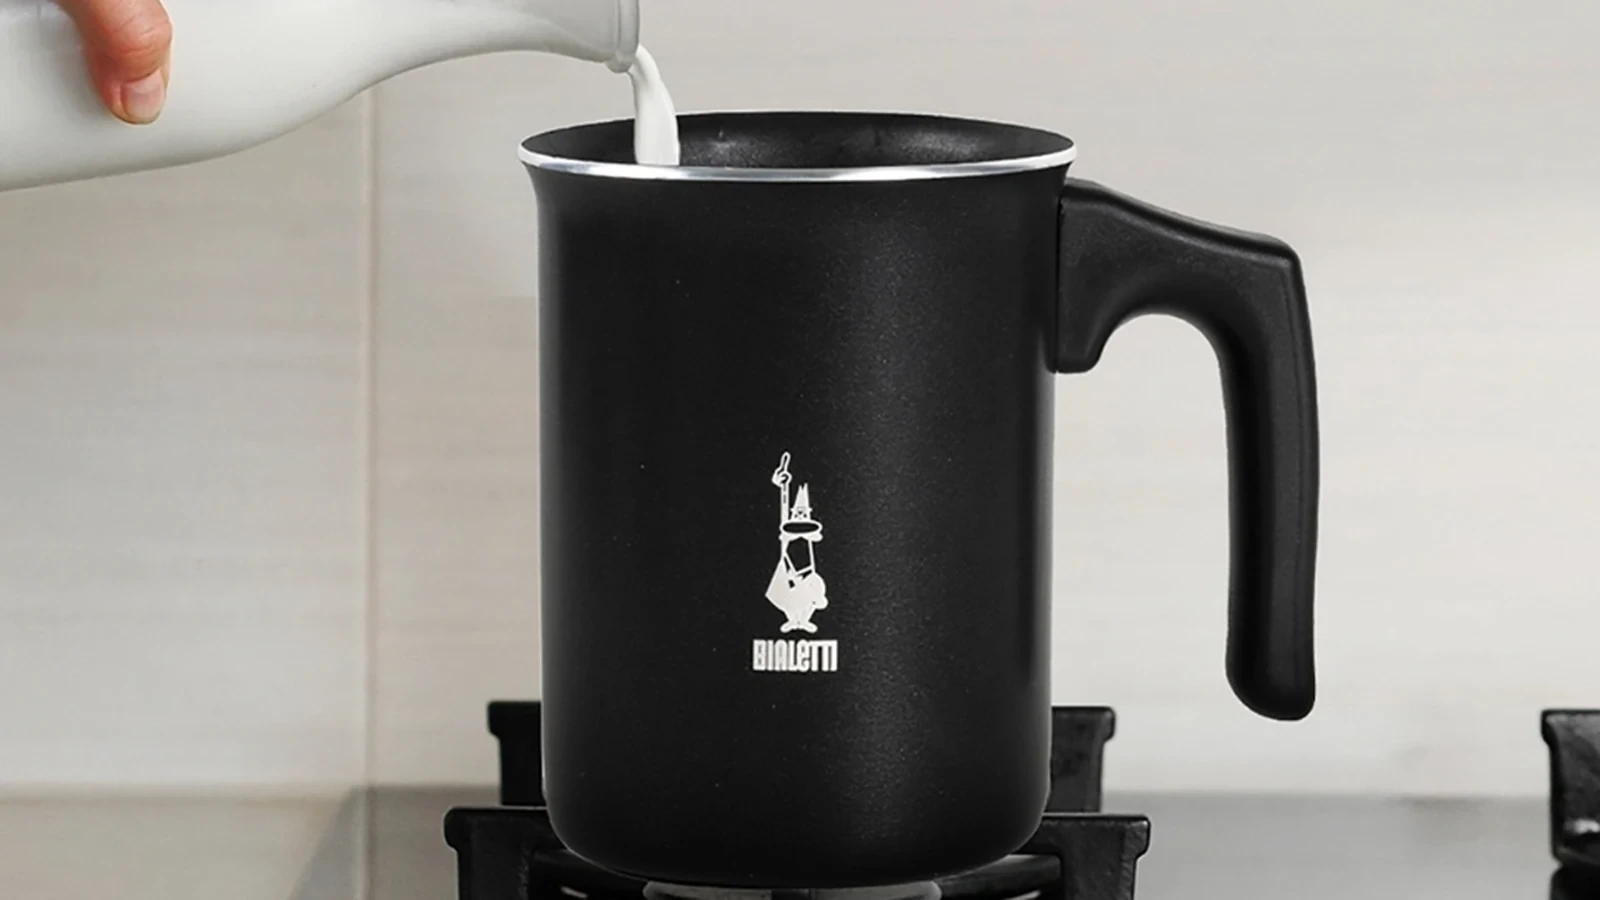
The black aluminum Tuttocrema combines stovetop warming with a hand-pumped double screen. Heat the milk gently, lift the pot off the burner, fit the plunger and pump. Keeping both steps in one vessel saves the transfer from saucepan to frother.
Allow about 150 ml of starting milk in this small version. The empty space above it accommodates expansion, making the pot better suited to a modest cappuccino than a large milk-heavy latte. Aluminum warms readily, so keep the heat low and watch the milk; there is no thermostat to stop it for you.
This black aluminum version does not work on induction. The stainless steel Tuttocrema below does. Rinse both screens and use a soft sponge inside the coated pot. Avoid abrasive pads, and hold the handle when pouring because the vessel remains hot after frothing.
9. Bodum Latteo Glass Frother
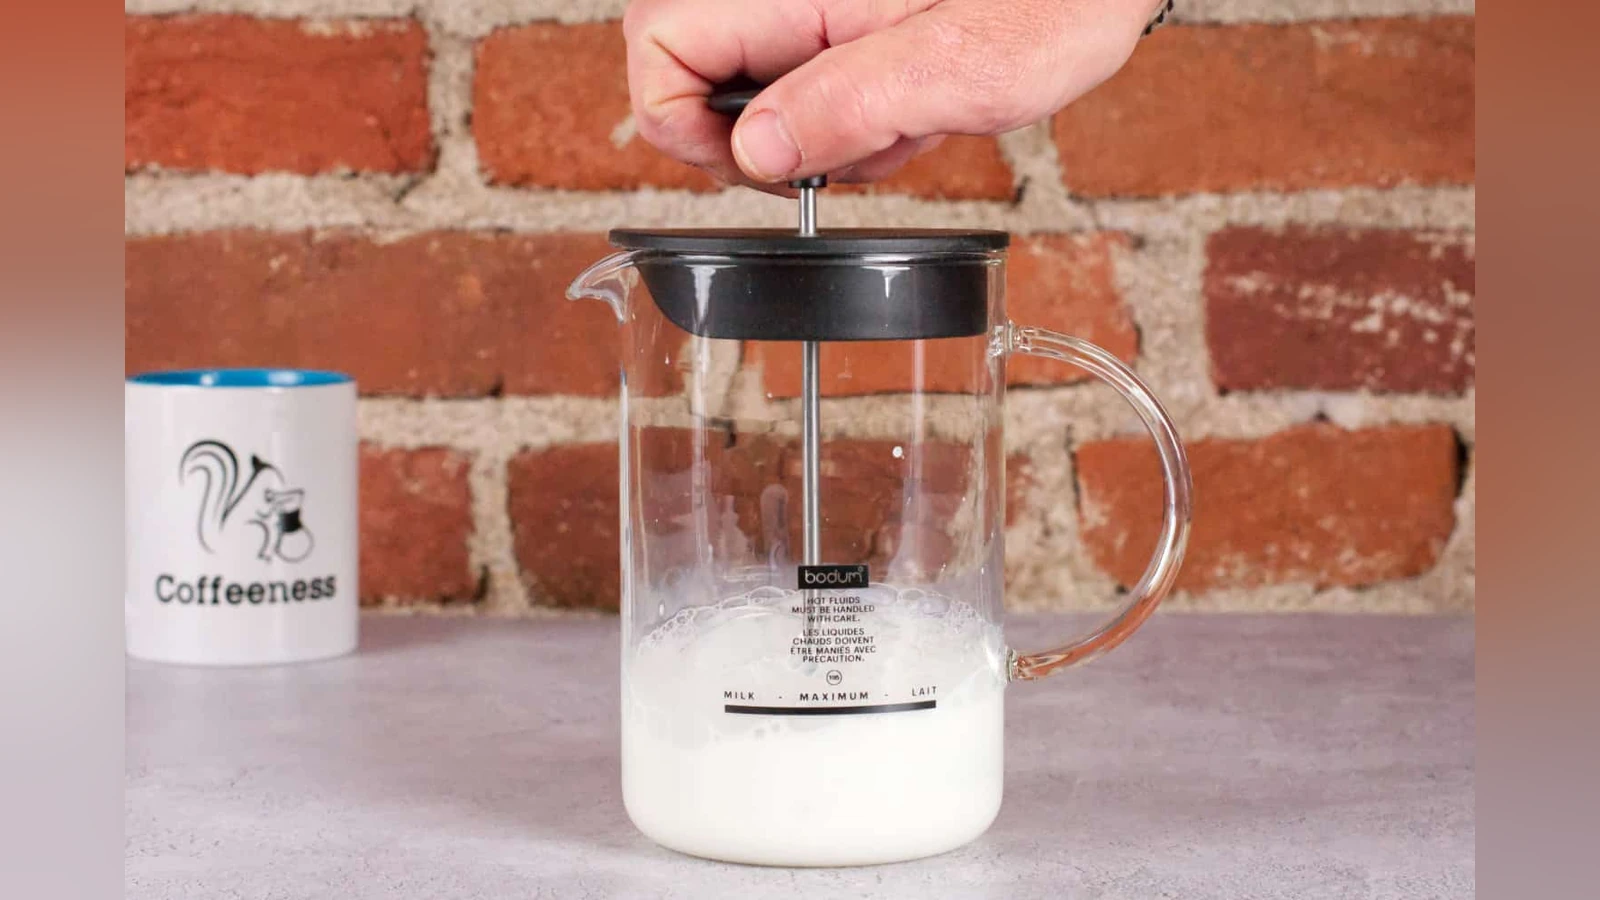
Latteo’s glass handle and 250 ml milk allowance make it roomier than Ninja’s small beaker. The clear sides reveal how much liquid remains beneath the foam, helping you stop before the plunger produces a stiff cap. A few controlled strokes are easier to judge through glass than a fixed count performed blindly.
Bodum’s sequence starts with cold milk. Pump, let the foam settle briefly, then remove the lid and plunger before warming the bare glass jug in the microwave. The brand suggests 30–50 seconds; check the temperature because the result depends on your microwave and milk portion.
The parts are dishwasher-safe. Give the mesh an immediate rinse and keep the glass clear of heavy dishes. For a kitchen where milk is warmed in the microwave, the same handled jug covers frothing, heating and pouring with little extra washing.
10. Bialetti Tuttocrema (Stainless Steel)
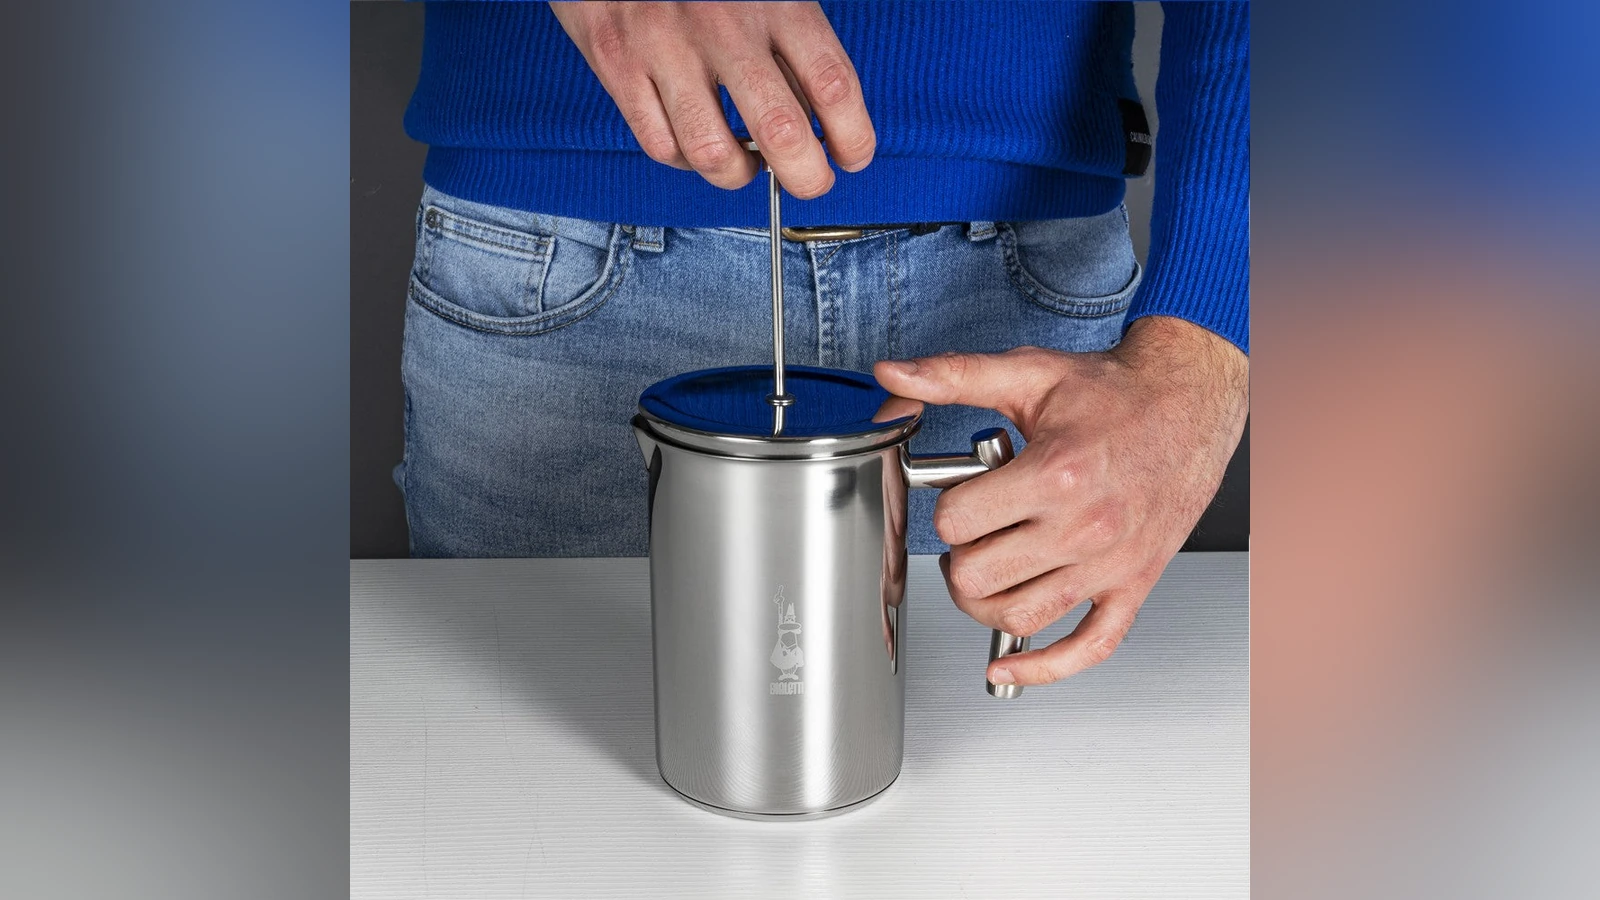
The steel Tuttocrema can warm milk on an induction hob as well as gas, electric or ceramic heat. Its wider stainless body also accommodates more starting milk than the small black aluminum version. You heat the milk, take the pot off the hob and then work the double-mesh plunger.
Bialetti specifies 330 ml of milk, about one-third of the vessel. That leaves the upper space for expansion and can cover two smaller milk portions. The pot has no temperature control: stir and check the milk while it warms, especially on an induction setting that heats quickly.
Look for the stainless steel body and stated induction compatibility when choosing between Tuttocrema versions. The black aluminum one serves a different hob setup. Bialetti permits dishwasher cleaning but recommends hand-washing to preserve the finish; rinse both mesh layers before milk dries between them.
Rechargeable handheld frothers
A rechargeable handheld frother still needs a separate source of heat. Its advantage is a handle you can recharge by USB-C and a removable whisk that is easier to rinse. Among these four, the bigger decision is how much of the process you want to control.
LunaFro runs at one speed until you press stop. YUSWKO and CIRCLE JOY add three speed settings and attachments for mixing powders or small amounts of eggs and cream. Keurig goes further toward an automatic routine: its cup lid holds the wand in position and its Latte and Cappuccino programs stop on their own.
Controls, attachments and the cup you need
| Image | Milk frother | Control | Included whisk heads | Cup and storage | Cleaning |
|---|---|---|---|---|---|
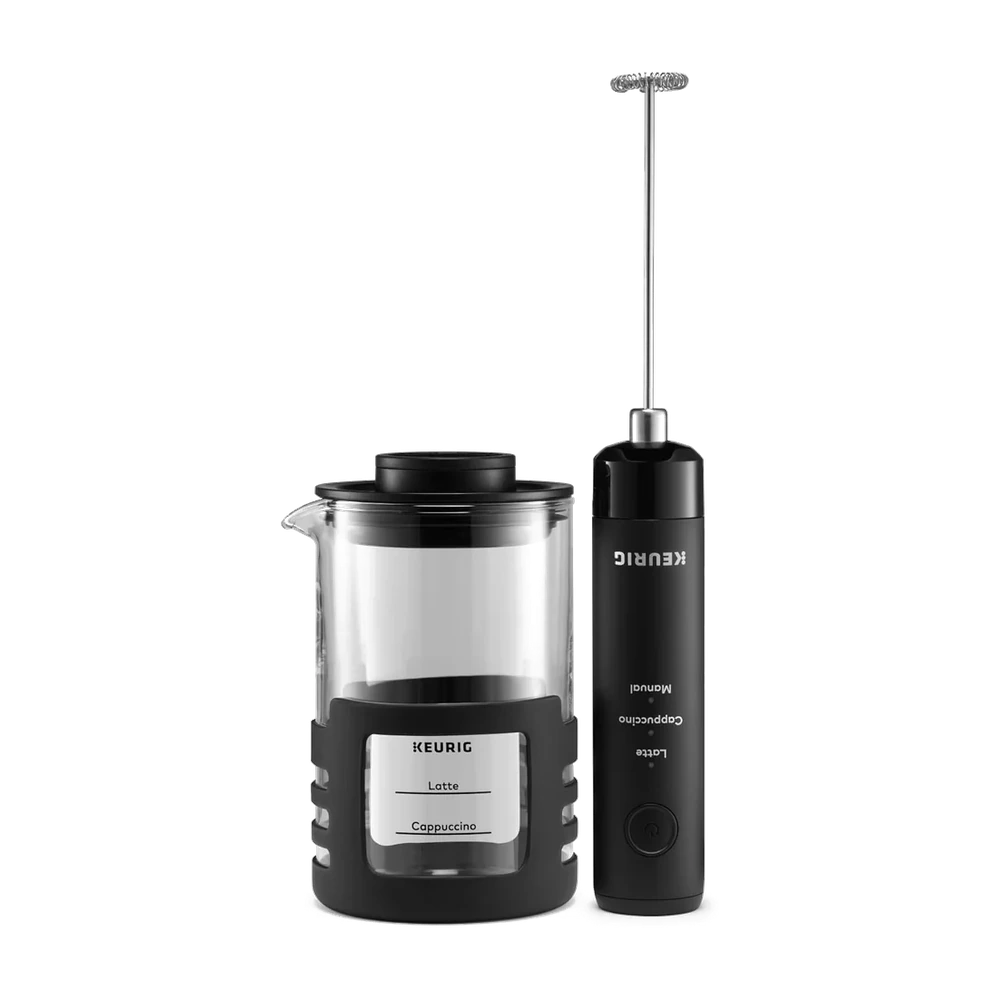 |
Keurig SimpleCafé | Latte and Cappuccino: automatic stop; Manual mode | One detachable milk whisk | Measured microwave-safe cup; lid supports wand | Cup, lid and whisk: top-rack dishwasher; wipe handle |
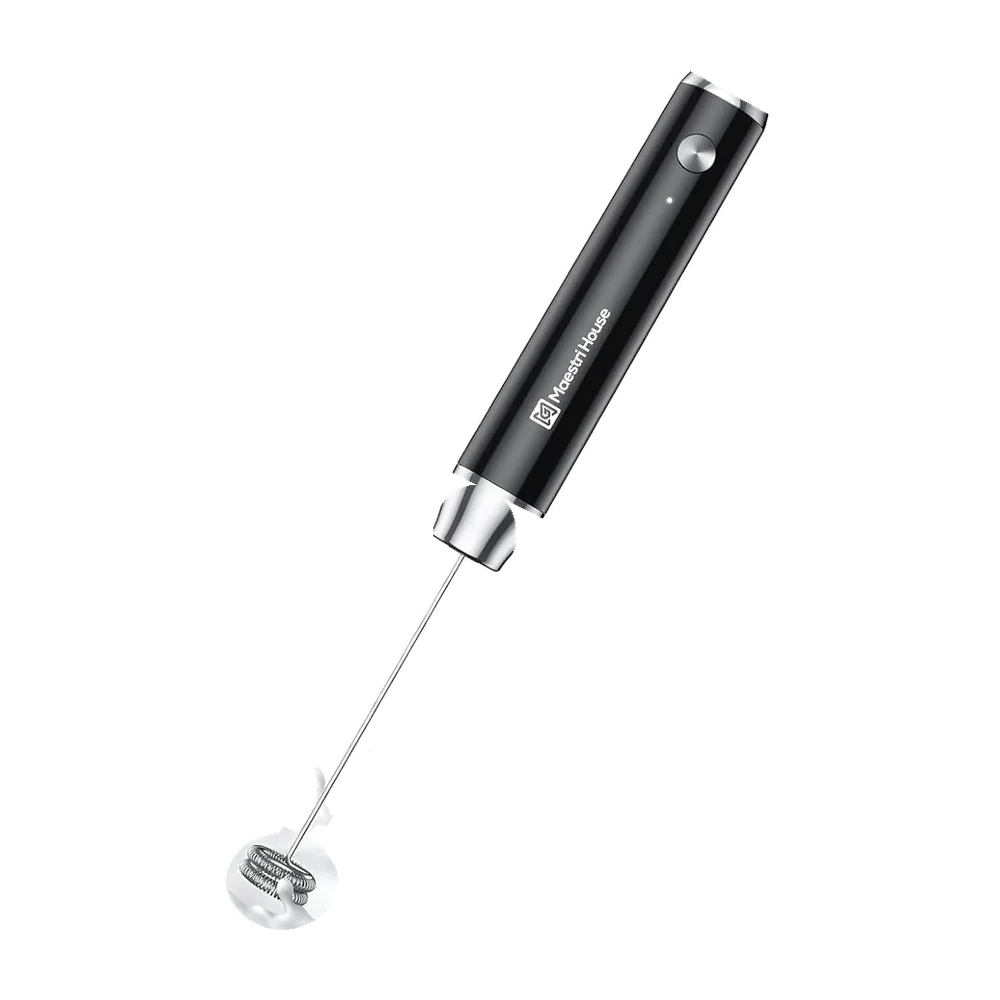 |
Maestri House LunaFro | One speed; press to start and stop | Two identical milk whisks, including a spare | Counter stand; use your own cup | Detach and rinse whisk; wipe handle |
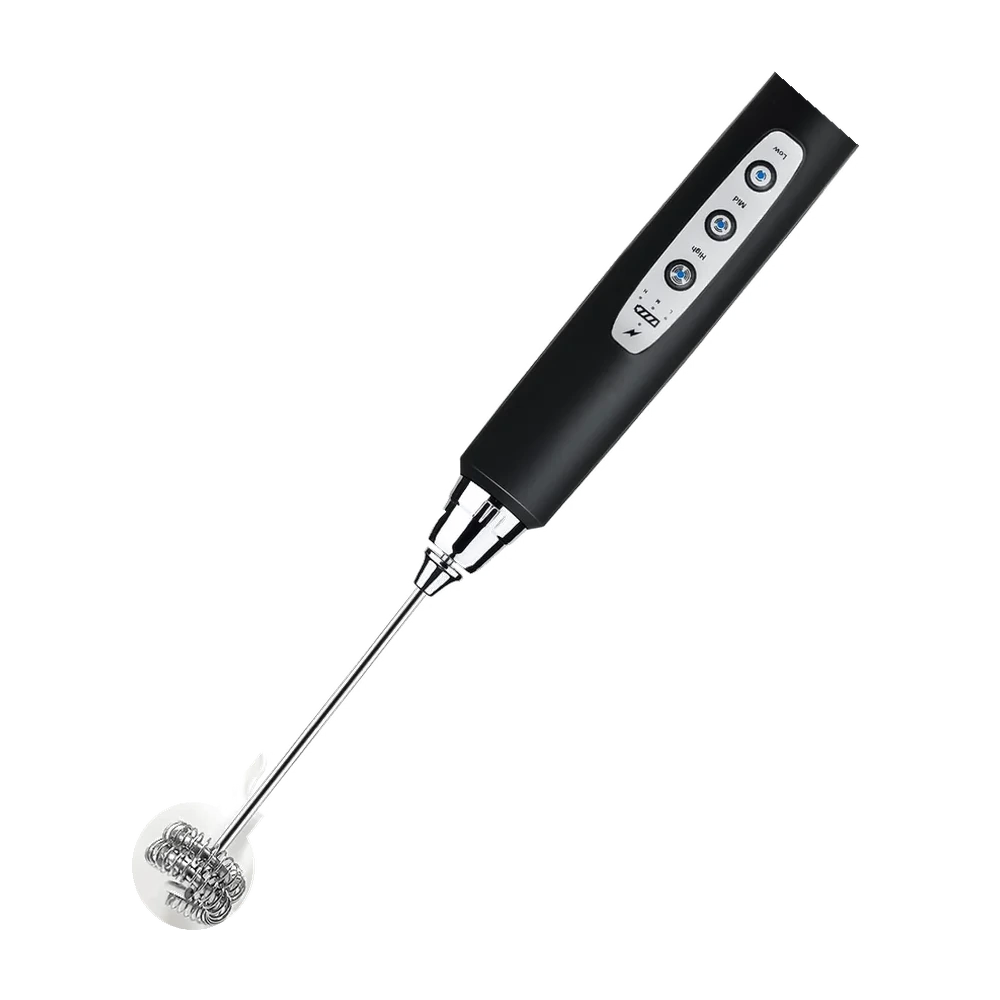 |
YUSWKO Three-Speed Frother | Three speeds; separate speed buttons; battery indicator | Milk spring, powder hook and balloon whisk | Freestanding handle; use your own cup | Detach and wash used head; keep handle dry |
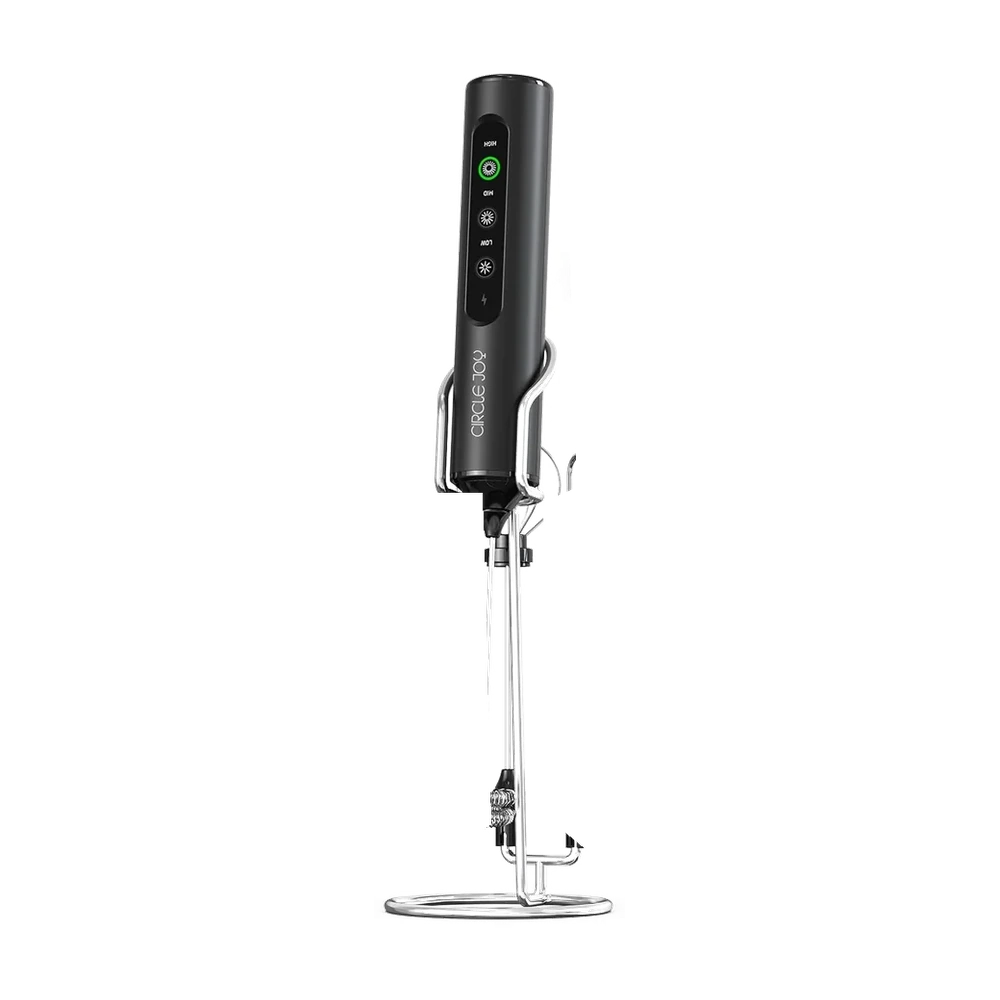 |
CIRCLE JOY Three-Speed Frother | Three speeds; press selected button again to stop | Double-ring milk whisk, powder hook and balloon whisk | Stand and storage box; use your own cup | Detach and rinse heads; dry before closing box |
Keurig is the only one here that supplies a cup and ends its two preset cycles automatically. LunaFro is easier to keep to a single milk recipe: one speed, one button and a spare of the same whisk. YUSWKO and CIRCLE JOY make more sense if you will use the other attachments too. CIRCLE JOY’s box keeps those pieces together. YUSWKO stands upright on its own, but its spare heads need a separate storage spot.
11. Maestri House LunaFro

LunaFro runs at one speed from a single button: press once to start and again to stop. You can move the coil between the surface and the deeper milk without keeping a finger pressed down. That makes it a straightforward rechargeable choice for a repeated daily portion.
The two supplied frothing heads have the same shape. Keep one as a spare, or reserve it for strongly flavored mixtures. Both detach from the handle for washing, so dried milk around the spring can be cleaned without bringing the powered body to the sink.
A USB-C cable charges the 1,200 mAh handle, and the stand holds the fitted whisk clear of the counter. There is no speed adjustment; the amount of air depends on whisk depth and frothing time. If you also want a balloon whisk for eggs or cream, YUSWKO and CIRCLE JOY supply one.
12. YUSWKO Three-Speed Frother
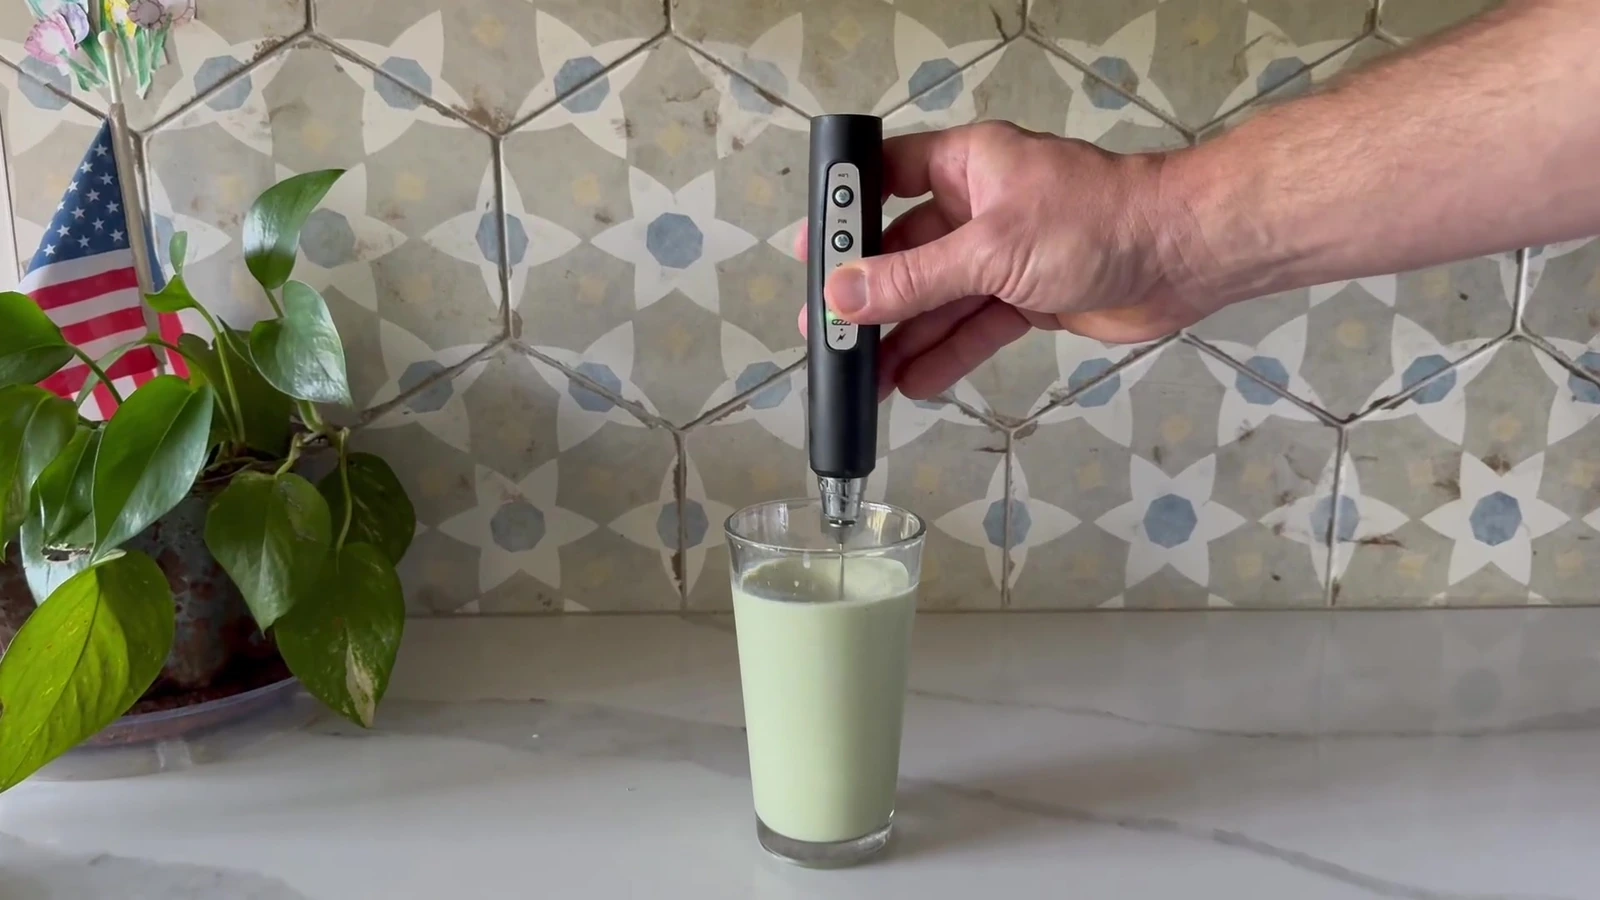
YUSWKO has separate low, medium and high controls. Starting on low gives a small milk portion time to circulate before you raise the coil toward the surface. A higher setting can move a thicker mixture, but it also needs more empty space above the liquid.
The three attachments have distinct jobs: a spring whisk for milk foam, a hook for dispersing powders and a balloon whisk for small amounts of eggs or cream. Use the spring head for your latte. The balloon whisk’s larger sweep needs a wider vessel and is unnecessary for a small milk portion.
The handle has a battery indicator, which helps avoid finding it flat midway through a drink. YUSWKO recommends a tall vessel filled no more than one-third. Stop the motor before lifting the head, detach it to wash, and keep water away from the handle and charging port.
13. CIRCLE JOY Three-Speed Frother
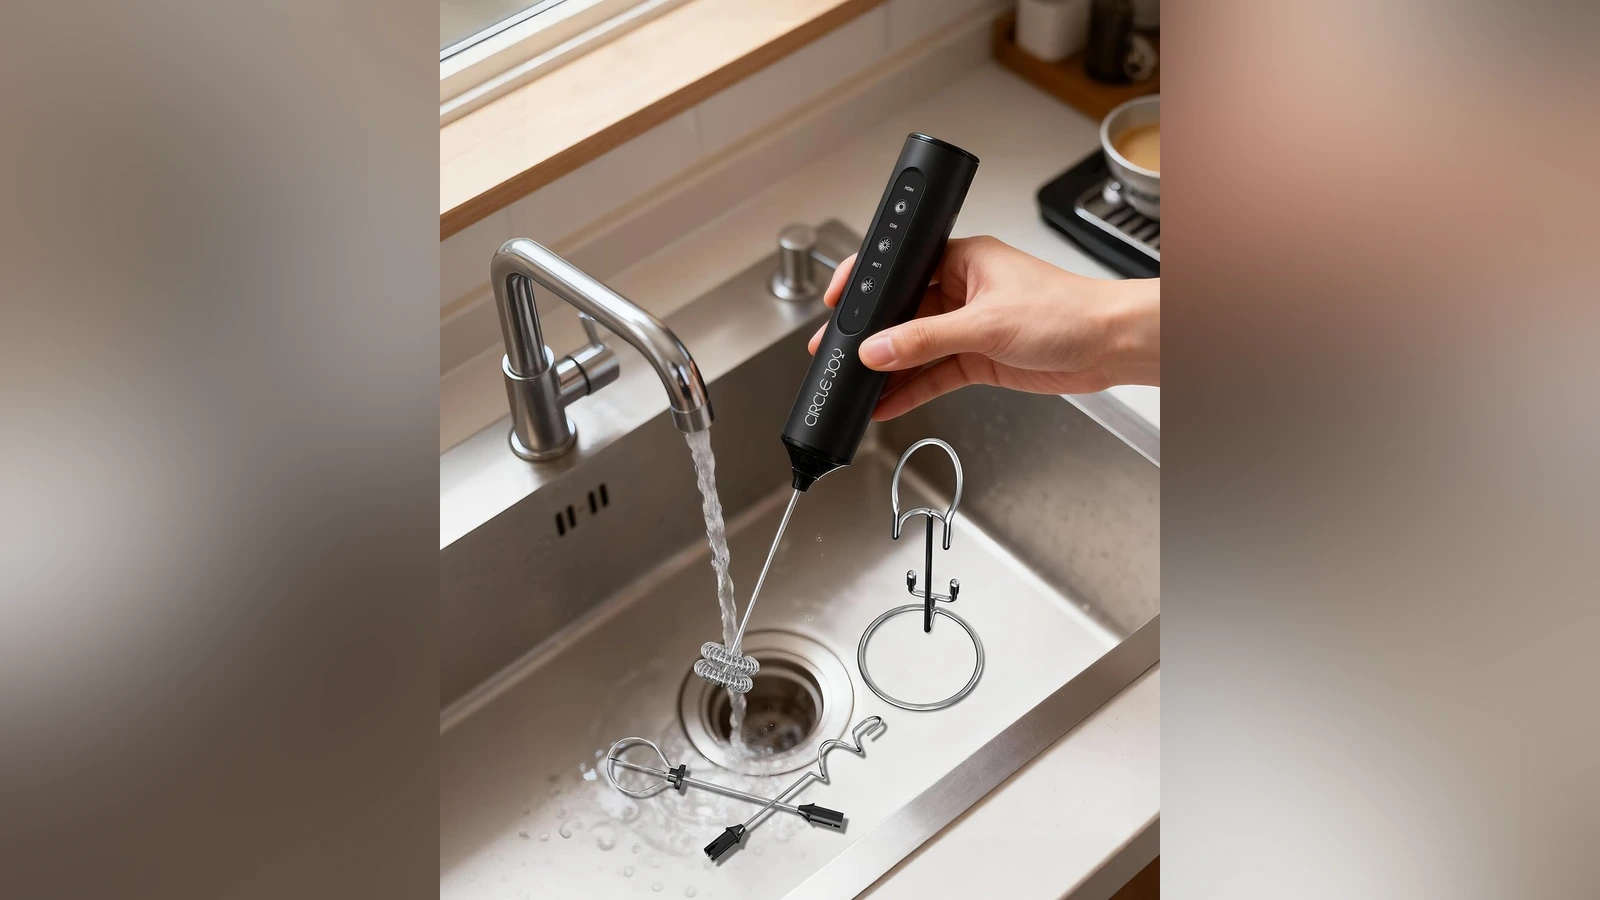
CIRCLE JOY combines three speed buttons with three attachments: a double-ring milk whisk, a powder-mixing hook and a balloon whisk. Start a small milk portion on the lowest setting; more speed can push liquid over the rim before it improves the foam. Press the selected button again to stop.
The stand and storage box are useful for keeping the interchangeable heads together. The balloon whisk needs a wider vessel than the narrow spring head, so a set used for both milk and baking will also need room for those different bowls or cups. For coffee, fit the double-ring head.
The handle recharges through USB-C. Detach the used head for washing, wipe the body and let every part dry before closing the box. With a regular milk-only routine, LunaFro’s single speed and spare milk whisk are usually enough; CIRCLE JOY earns its extra pieces when the other attachments get used.
14. Keurig SimpleCafé

SimpleCafé supplies its own measured cup, lid and rechargeable whisk. The lid supports the wand during a cycle, so you can keep the whisk in a repeatable position. Latte and Cappuccino programs stop automatically; Manual mode gives you control over the run when the chosen portion needs a different amount of foam.
The cup also provides a place to warm the milk. Only the bare cup goes into the microwave. Remove the wand, whisk and lid first, then reassemble after heating. The motor itself provides agitation without heat, so selecting a hot coffee recipe still involves that microwave step.
The cup, lid and removable whisk are top-rack dishwasher-safe; wipe the handle and keep its charging connection dry. This set suits someone starting without a milk pitcher, or anyone whose shallow coffee mugs make an ordinary handheld wand splash. An existing tall pitcher reduces the value of the extra cup.
Battery-powered handheld frothers
A battery-powered wand froths milk in your own glass or pitcher. All eight below use AA batteries and one operating speed. The differences you will handle every day are the button, the shape of the grip and how the shaft is stored after rinsing.
SIMPLETASTE stays on after you release the button. The other seven run while you hold theirs down. A stand keeps the coil clear of the counter; Aerolatte’s fitted case protects it in a drawer or bag once dry. The Zulay pitcher set is useful if you also need a vessel with measurement marks and a pouring spout.
Button operation, batteries and included accessories
| Image | Milk frother | Button | AA batteries in the box | Storage supplied | Why choose this version |
|---|---|---|---|---|---|
|
SIMPLETASTE Handheld Frother | Press on / press off | Two | Stand | Frothing without holding a button down |
|
PowerLix Handheld Frother | Hold to run; release to stop | Buy separately | Wire stand | A broad soft-touch grip with a counter stand |
|
Elementi Frother with Stand | Hold to run; release to stop | Buy separately | Stand | A rounded grip with a counter stand |
|
Zulay Frother with Duracell Batteries | Hold to run; release to stop | Four Duracell cells | Metal stand | A first wand with a stand and batteries included |
|
Zulay Frother and Pitcher Set | Hold to run; release to stop | Buy separately | Stand | A 350 ml pouring pitcher and four stencils with the wand |
|
Aerolatte Mooo with Travel Case | Hold to run; release to stop | Two | Protective travel case | Protecting the shaft when packed in a bag or drawer |
|
Bonsenkitchen Handheld Frother | Hold to run; release to stop | Buy separately | No stand or case included | A slim wand to put away after use |
|
Zulay FrothMate | Hold to run; release to stop | Buy separately | No stand or case included | A wand for an existing cup and storage setup |
For repeated use, SIMPLETASTE’s on/off button saves holding your thumb down throughout frothing. PowerLix and Elementi offer shaped grips and a stand with a release-to-stop button. Choose Aerolatte for its protective case if the wand will travel. The three Zulay packages cover distinct needs: FrothMate supplies the wand, the Duracell bundle adds batteries and a stand, and the pitcher set adds somewhere to measure and pour the milk.
15. SIMPLETASTE Handheld Frother
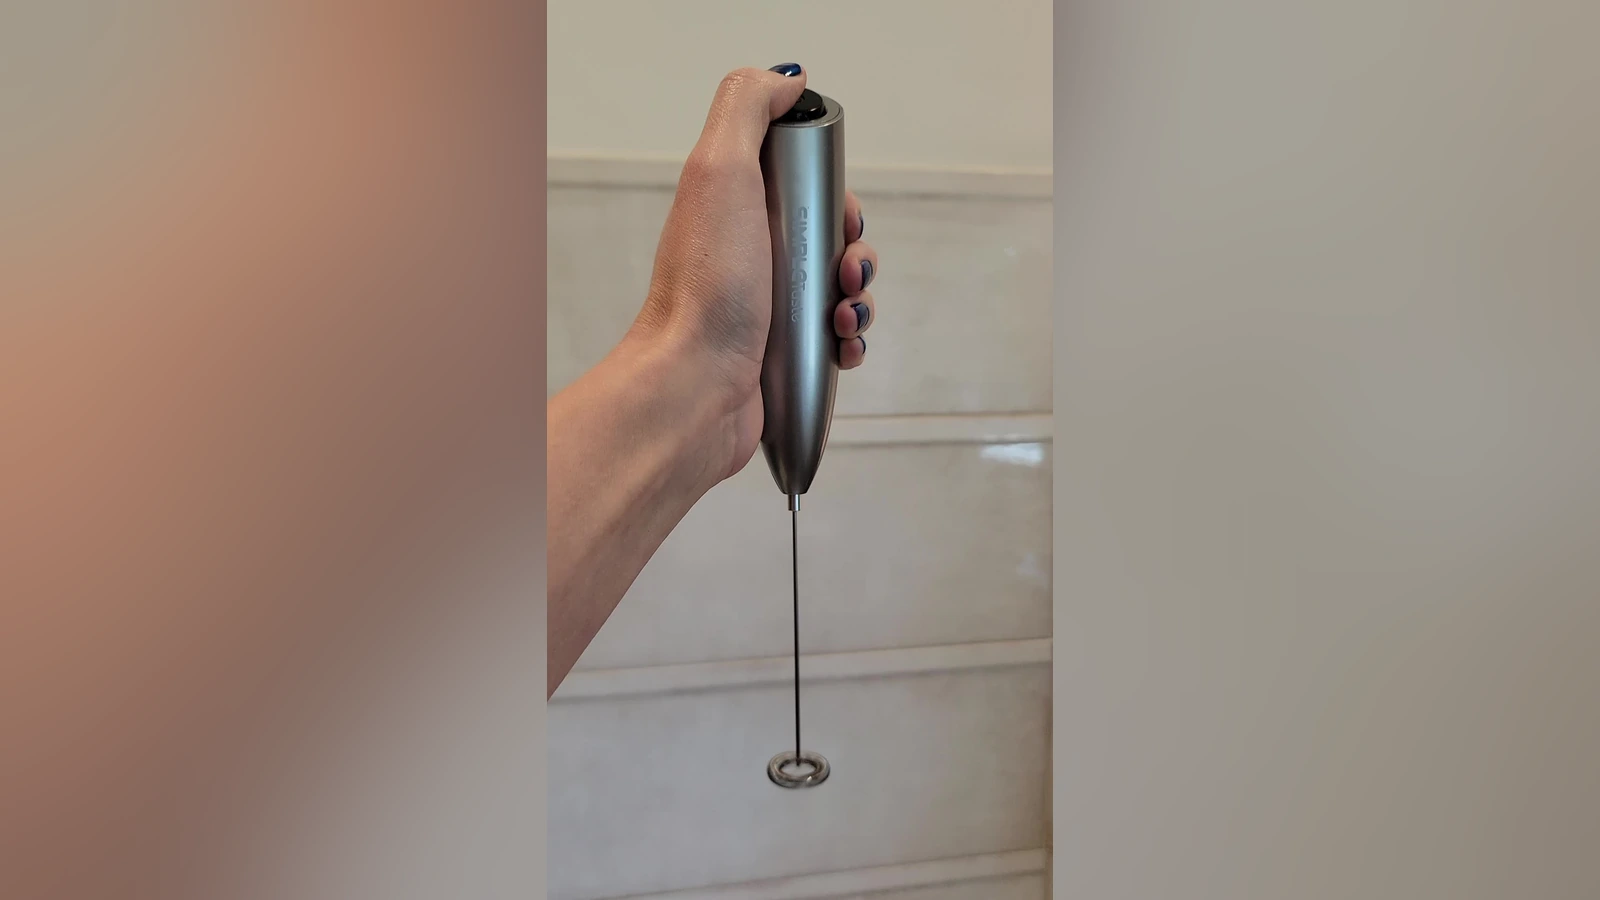
One press starts the SIMPLETASTE; a second press stops it. You can hold the silver handle comfortably without maintaining pressure on a button. Remember to stop it while the coil is still submerged, since releasing your grip will not switch it off.
The package includes a small stand and the two AA batteries it needs. That covers the accessories required to start using it in an existing tall cup or pitcher. Its fixed whisk reaches into a modest portion of cold or preheated milk; it has no heater or speed selector.
Wash the metal shaft and coil promptly, keep the handle dry and return it to the stand once rinsed. This is a useful first battery wand when you want the switch to stay on by itself and already have a suitable vessel.
16. Bonsenkitchen Handheld Frother
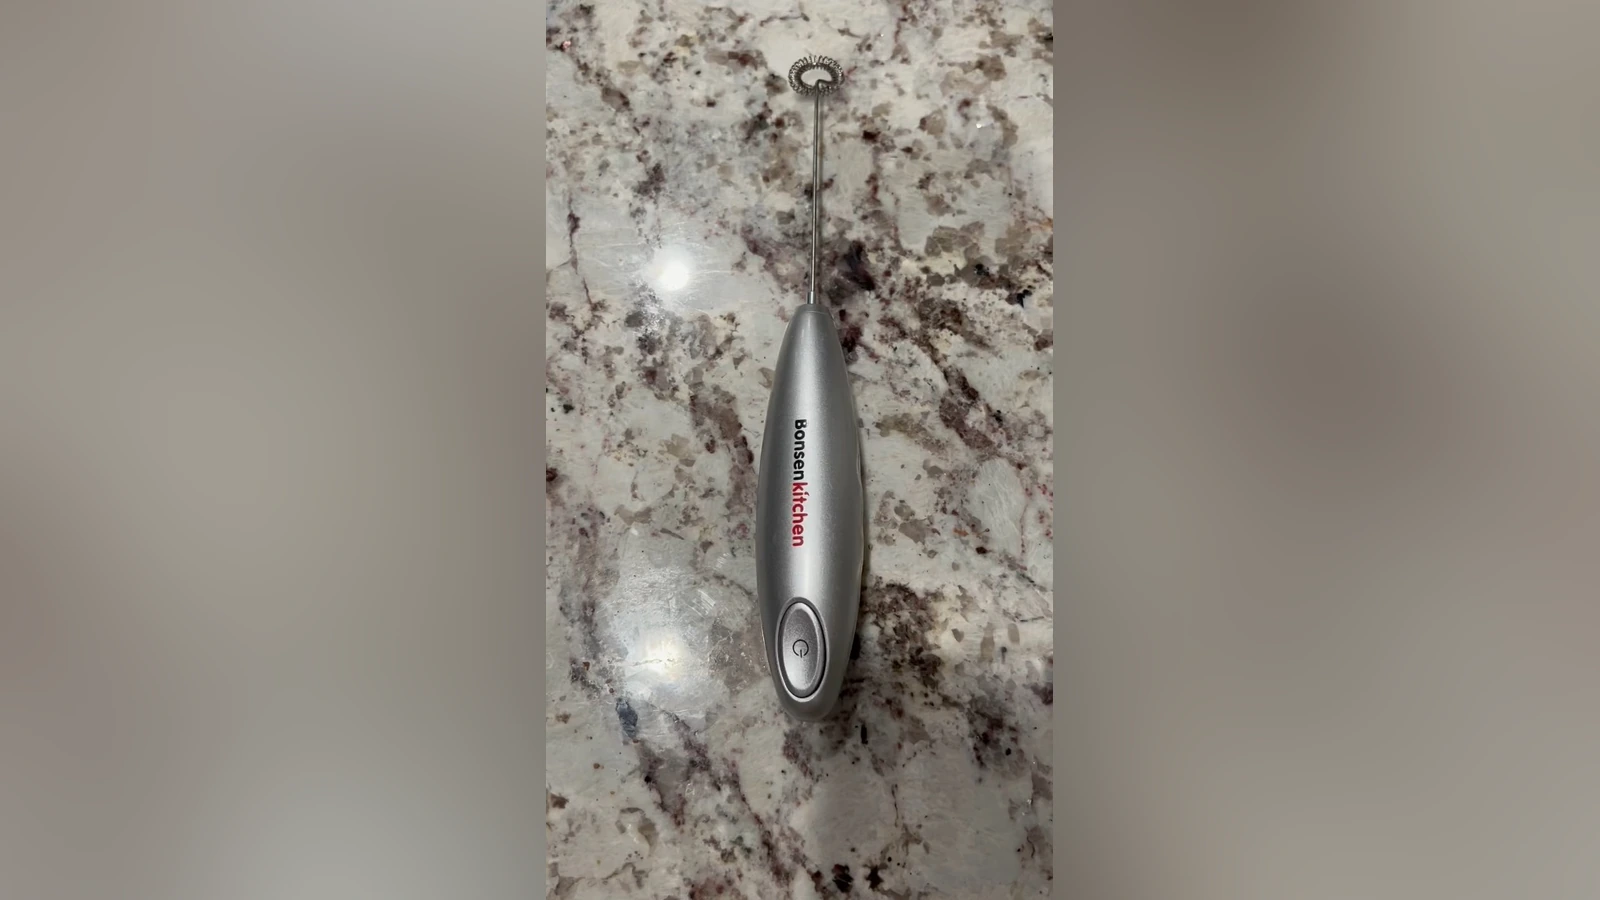
Bonsenkitchen’s slim silver handle has a press-and-hold button. Releasing it stops the whisk, which makes a short burst of aeration easy to end. The narrow body takes little drawer space once the metal end has dried.
The selected package contains the wand without a stand or batteries. Add two AA cells and choose a storage spot where utensils cannot press against the long shaft. It suits someone who wants a small tool to put away after use; a supplied stand is more useful if the frother will stay beside the coffee machine.
For cleaning, run only the metal end briefly in mild soapy water, rinse it and wipe the handle. Use a separate milk portion with room above it for foam. A shallow cup already full of coffee gives this fast-moving coil very little margin for splashes.
17. PowerLix Handheld Frother
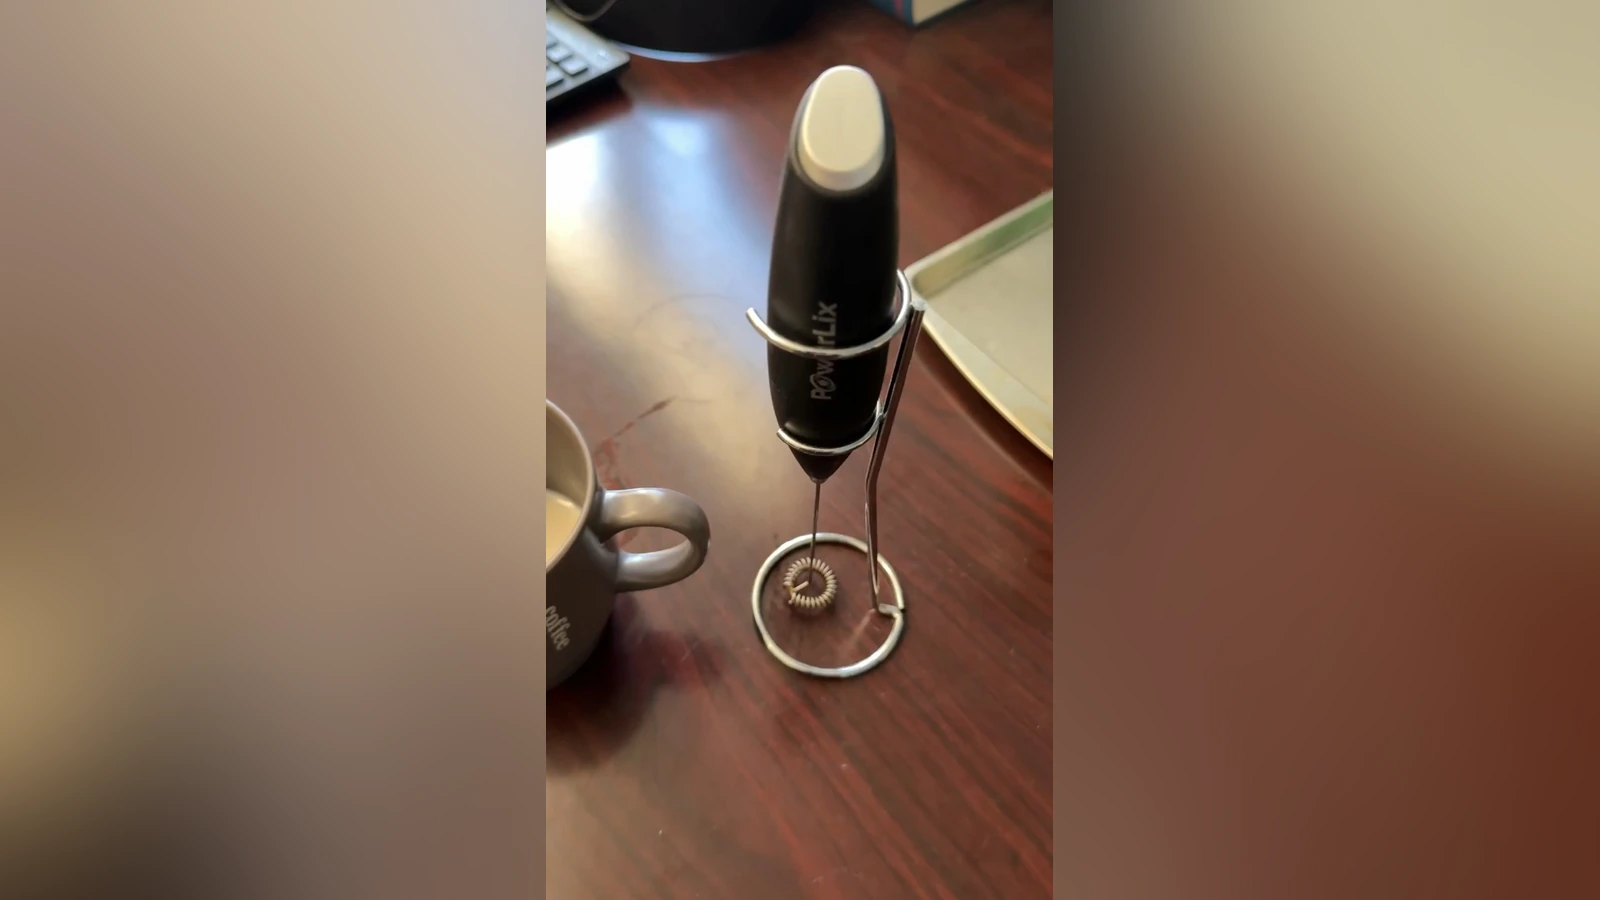
PowerLix has a broad, soft-touch handle with a button on top. Hold that button to run the whisk, then release it before lifting the coil out of the milk. The wire stand supports the handle while the long shaft hangs clear of the worktop.
Two AA batteries are required and bought separately. The motor runs at a fixed speed, so milk depth and the time spent admitting air remain your adjustments. Start submerged in a tall vessel; a brief lift toward the surface can build a cappuccino topping without spraying the counter.
The grip and included stand are the reasons to consider this model alongside Elementi. A motor-speed figure alone cannot tell you which one will make finer foam in your cup. Rinse the metal end after each use and wipe the handle without soaking it.
18. Elementi Frother with Stand
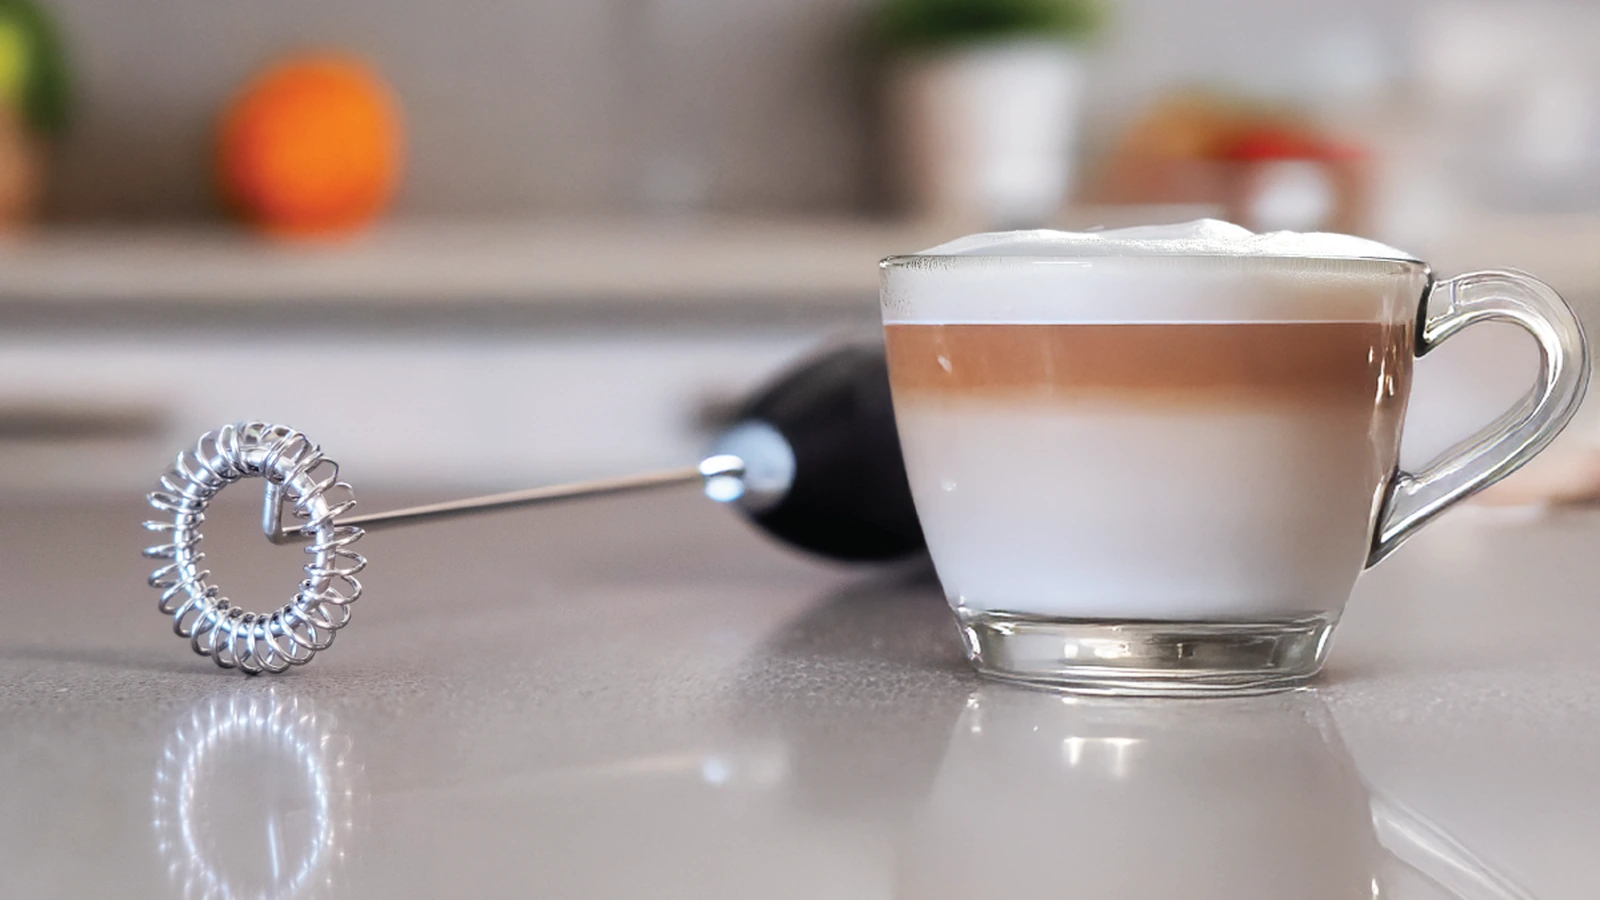
Elementi’s rounded soft-touch handle gives your fingers a broad grip above the narrow shaft. Its button runs the motor while held and stops it on release. The supplied stand keeps the coil away from the counter and nearby utensils between drinks.
The wand uses two AA batteries, bought separately, and has one speed. Choose it if the grip suits you and you have room to leave the stand out. For packing in a bag, Aerolatte’s fitted case offers better protection for the shaft.
Rinse the stainless steel whisk promptly and wipe the handle. Let it drain before storage, keeping water away from the battery compartment. Like PowerLix, Elementi works with milk heated in another vessel; neither supplies a pitcher.
19. Zulay FrothMate
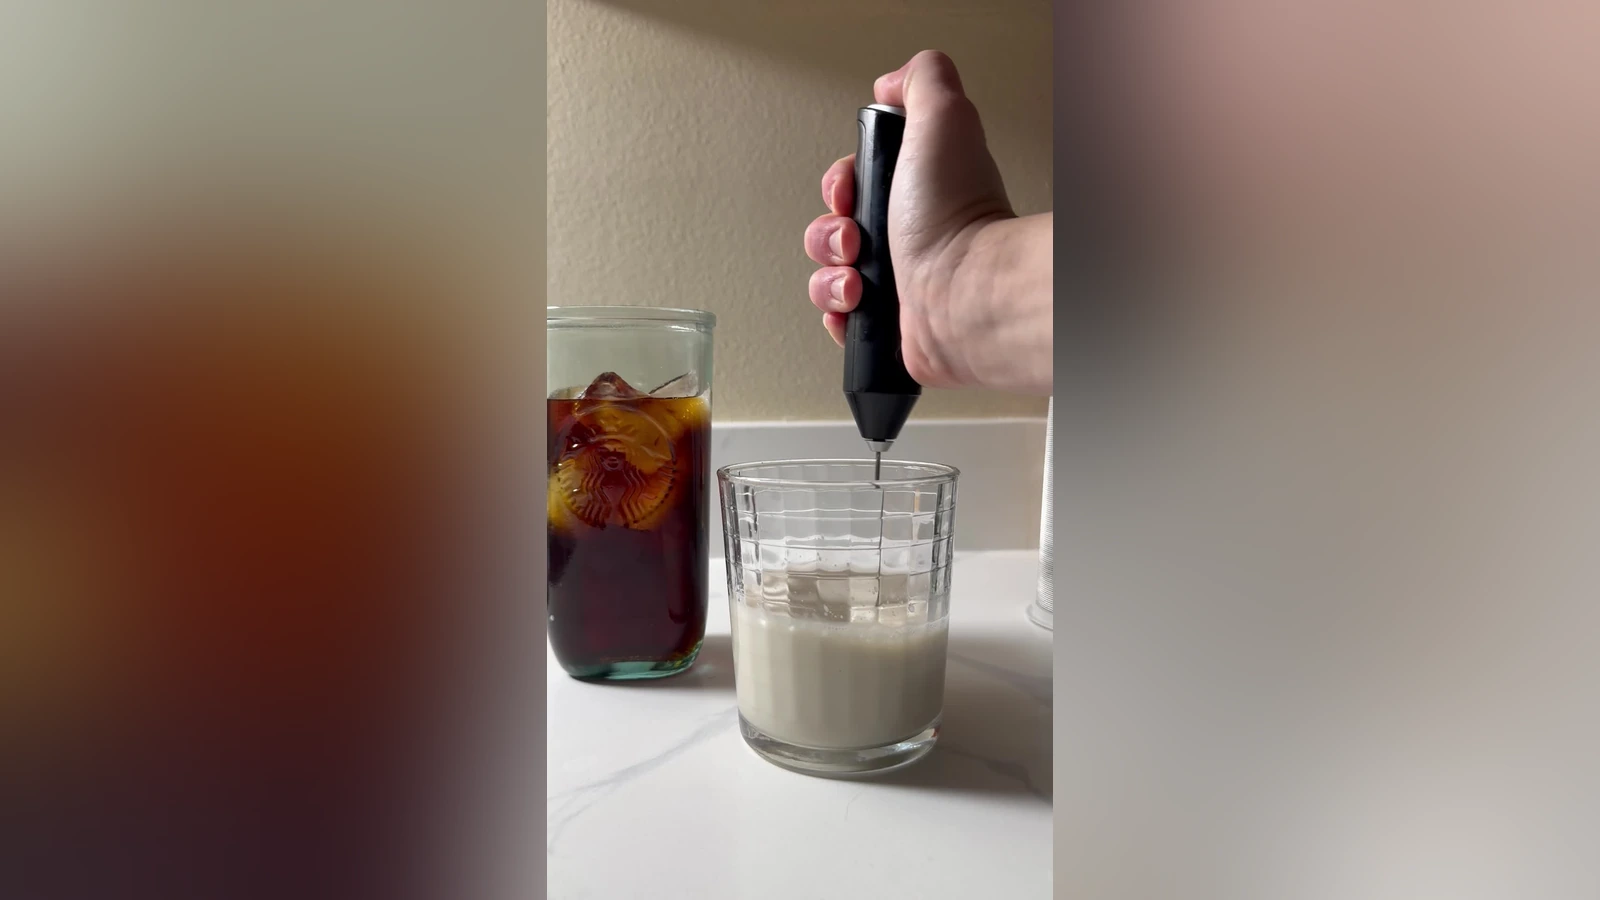
FrothMate is the simplest of the three Zulay packages here: a midnight-black wand with a fixed milk whisk. No stand or batteries are included. It is a reasonable choice if you already have AA cells and a protected place to store a long, delicate shaft.
Hold the top button to run the whisk and release it to stop. The exposed coil can reach into a tall glass for cold foam or a small pitcher of preheated milk. Use two AA batteries and leave room above the liquid as the foam expands.
The Duracell bundle supplies a stand and batteries; the pitcher set also provides a pouring vessel. Those additions matter when you need them. FrothMate keeps the purchase smaller when the rest of the setup is already in place.
20. Zulay Frother with Duracell Batteries

This metallic-black Zulay package includes a metal stand and four AA Duracell batteries. It covers the basic accessories for a first handheld frother, provided you already own a cup or pitcher for the milk.
Hold the button to run the fixed-speed whisk and release it to stop. The stand keeps the coil clear of the worktop after washing. For a hot drink, warm the milk separately before frothing it; the battery motor only moves the whisk.
Rinse the metal end and keep the battery compartment dry. If you already have suitable batteries and somewhere to store the wand, FrothMate avoids buying those extras. Choose this bundle when the stand and supplied cells are useful parts of your setup.
21. Aerolatte Mooo with Travel Case

Aerolatte’s cow-print handle comes with a fitted protective case. It covers the long shaft and coil, making this an easier wand to pack in a bag or keep in a drawer with other utensils. The two AA batteries needed to operate it are included.
Hold the button to run the whisk in a separate milk portion and release it before removing the coil. There is one speed and no heater. For travel, you will still need a suitable cup and a way to warm the milk if the drink is hot.
Let the whisk dry before fitting the case. Rinse the metal end, wipe the handle and leave the shaft exposed until dry. A stand-equipped model is quicker to put down after daily use on the counter; Aerolatte’s advantage is protection when the wand is packed away.
22. Zulay Frother and Pitcher Set
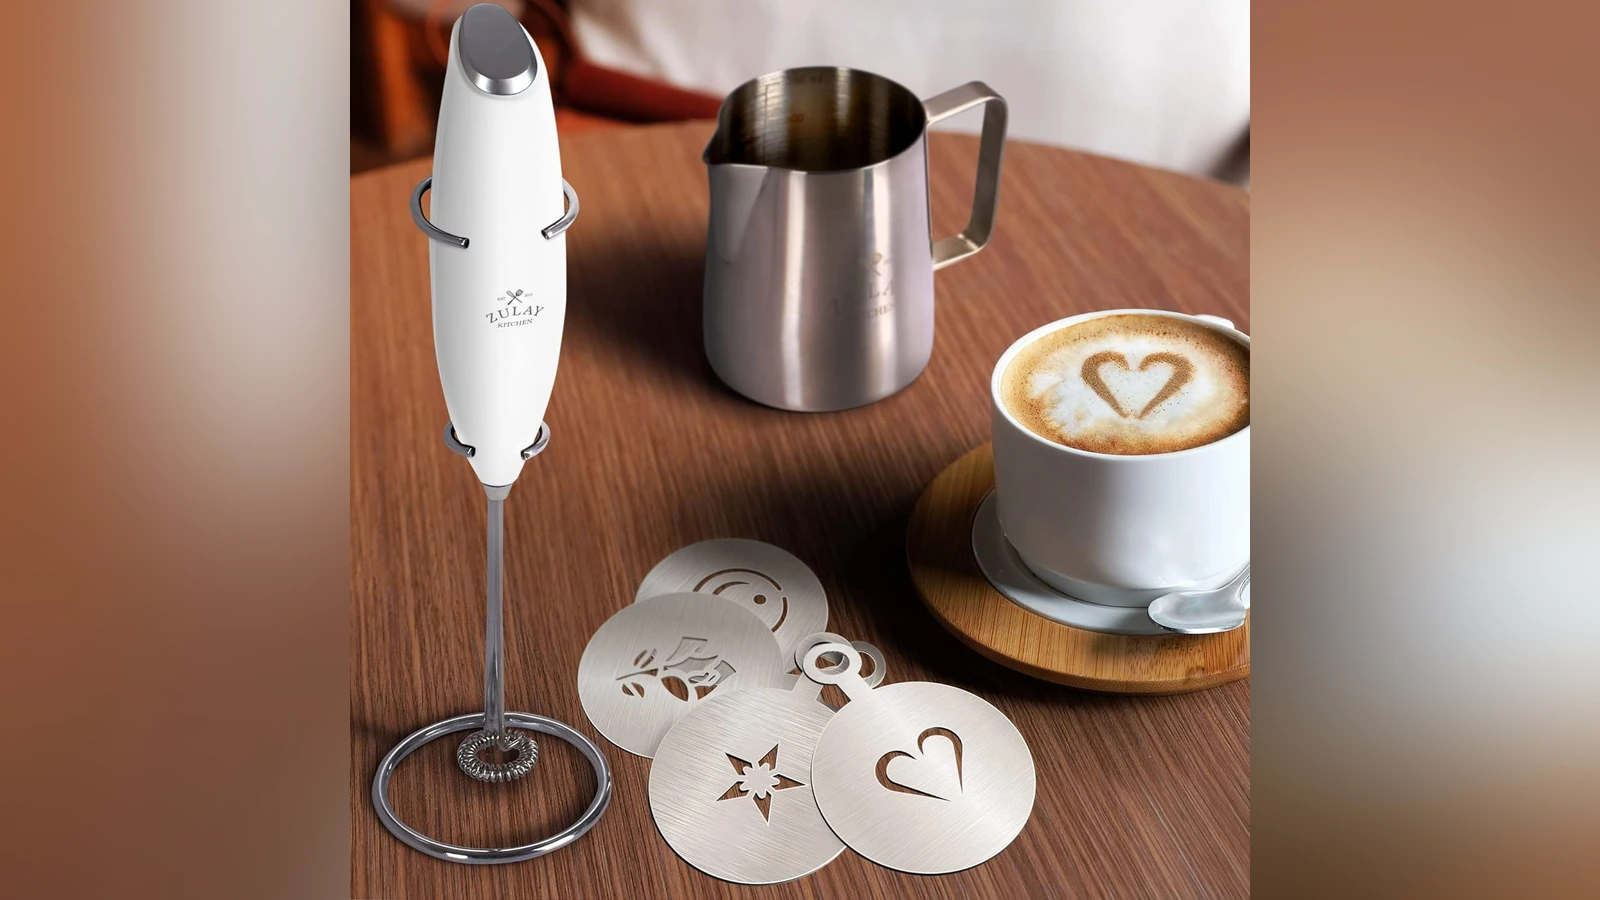
The white Zulay set includes a wand, upright stand and marked 350 ml stainless steel pitcher. Its handle and narrow spout give you a place to measure, froth and pour without trying to tip milk neatly from a wide mug. Leave generous headroom inside the pitcher as the coil adds air.
The steel pitcher cannot go in the microwave. Warm milk in a separate microwave-safe cup or saucepan before transferring it. Keurig’s set is the alternative when you want its supplied cup to handle that microwave step too.
Four stencils decorate a finished foam cap with cocoa or cinnamon. They are separate from free-pour latte art, which depends on a fluid, integrated milk texture. The set makes most sense if you need a pitcher as well as a whisk; with a suitable pitcher already in the cupboard, a simpler wand avoids duplicating it. Rinse the coil promptly and keep the handle dry.
Make the first cup better
Good milk foam starts with a portion you can repeat. Keep the same cup and milk for the first few attempts, measure what goes into the frother, and change one setting at a time. That gives a useful answer when the next drink is too bubbly, too cool or short of milk.

Measure for the cup you actually use
Start with the cup’s usable volume, then allow for espresso and expanding foam. A 180 ml cappuccino cup does not need 180 ml of liquid milk. Leave space for the coffee and a foam cap, and note the starting amount that fills your cup comfortably.
The frothing line takes priority over your recipe. If the portion exceeds it, make separate batches or use a larger vessel. A heat-only line is higher because plain milk expands much less. For a handheld whisk, a tall vessel with generous empty space contains splashes better than a wide breakfast mug.
Keep a short note: milk brand, starting amount, temperature or program, and whether the finished drink poured freely. Change only one of those details on the next attempt so you can tell what helped.
Choose milk by flavor first, then adjust the foam
Whole dairy milk often gives a rounded, creamy drink; lower-fat milk can build a lighter, more conspicuous cap. Choose the milk you enjoy drinking, then adjust how much air you add. Plant-based drinks vary greatly by recipe, so a setting that works for one carton may separate or barely foam with another.
A starting point for different milks
| Milk | What to watch | First adjustment |
|---|---|---|
| Whole dairy | Rich body; a heavy foam cap can hide the espresso. | Use a short aeration stage, then keep the milk circulating. |
| 2% dairy | A useful middle ground between body and visible foam. | Keep the portion fixed while adjusting frothing time. |
| Skim dairy | Can produce a light, high-volume foam with less creamy body. | Stop before a stiff mound forms if you want a latte. |
| Barista oat, soy or almond | Ingredients and heat tolerance differ by brand. | Follow the carton’s guidance and begin with a gentler heat setting. |
Shake plant-based milk as its label directs so settled ingredients are mixed back in. Use cold milk for an automatic program unless the manual says otherwise: its timing assumes a particular starting condition. If one carton fails repeatedly, try another suitable formulation before deciding that the frother is defective.
Warm it gently, and know which part can be heated
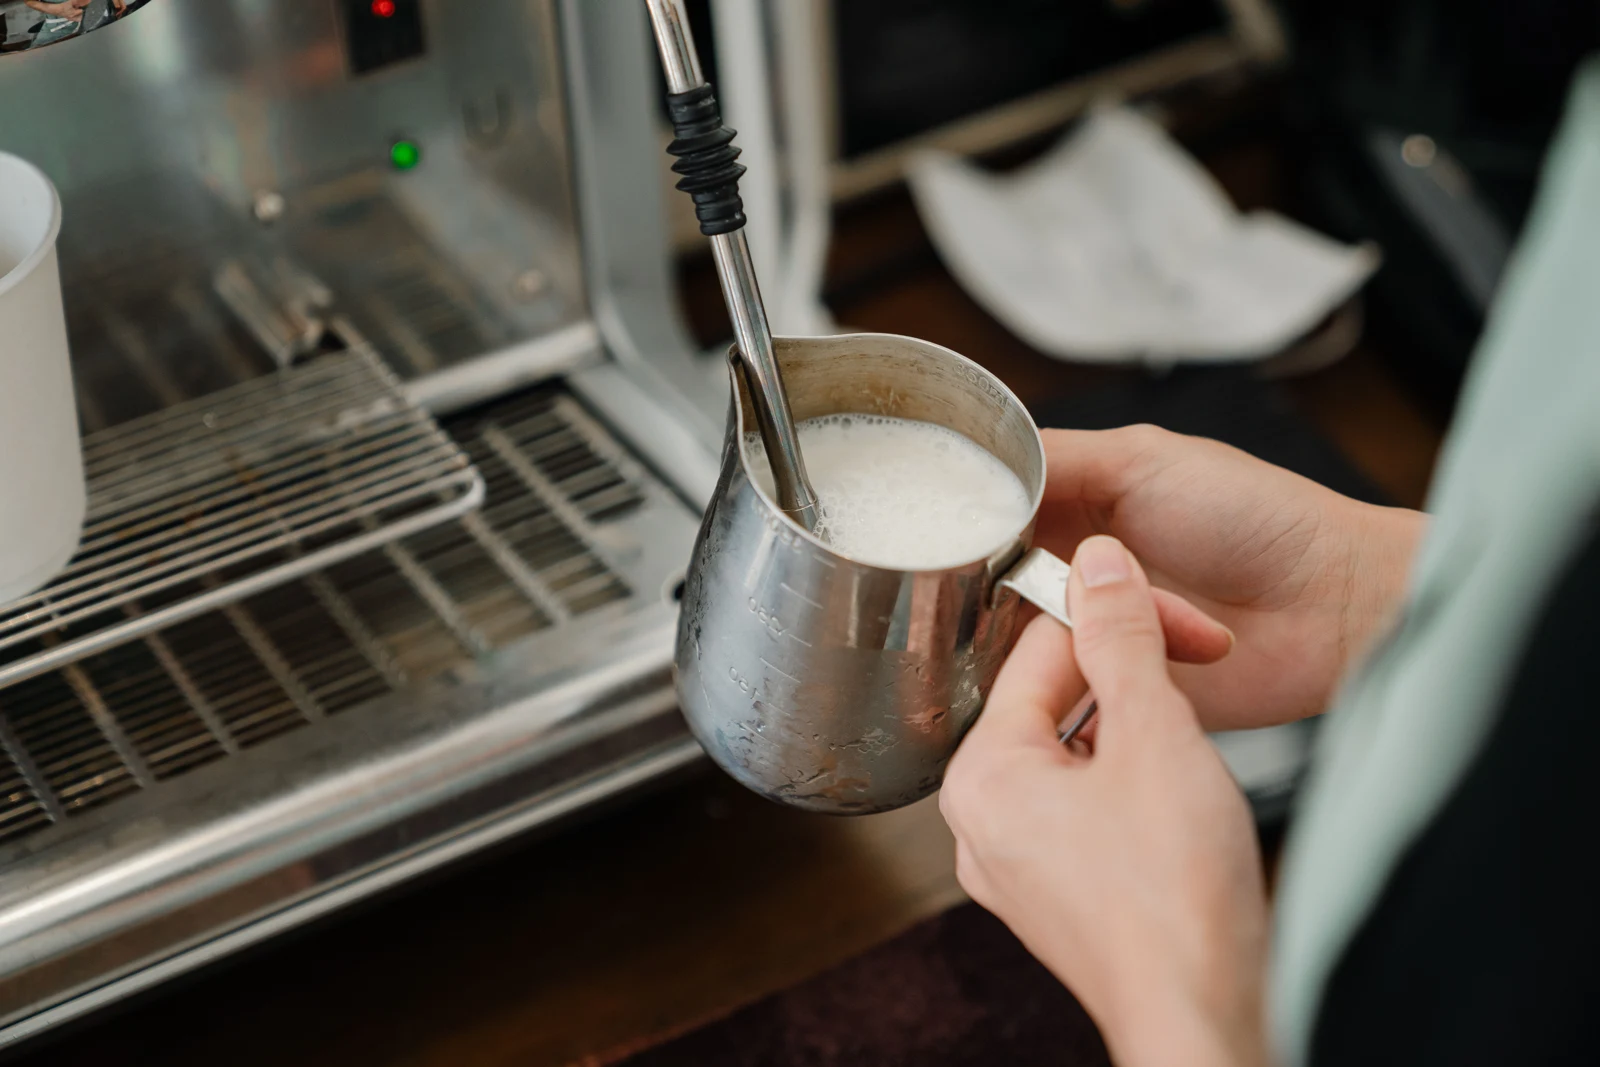
For dairy milk, about 140–150°F (60–65°C) is a useful drinking-temperature target. A thermometer is more repeatable than judging steam above a saucepan. Stir while warming on a hob and take the milk off the heat before it boils; overheating can give a cooked flavor and leave a stubborn film on the vessel.
Microwaves heat unevenly. Warm a microwave-safe cup in short intervals, stir and check the temperature before frothing. Never put a metal pitcher, battery handle or electric base inside. Only the parts specifically approved for microwave use should be heated that way. Remove lids and plungers as the manufacturer directs. Bodum Latteo has a specific sequence: froth cold milk first, then warm the bare glass jug.
Control the air before chasing more volume
A handheld whisk draws in air near the surface. Run it there for too long and the top becomes dry while the liquid beneath stays thin. Aim for a short aeration stage followed by circulation deeper in the milk.
- Choose a tall vessel. Leave ample space above the milk and keep the handle dry.
- Submerge the coil before switching on. Start at low speed if your model offers it.
- Bring the coil just close enough to the surface to admit air without spraying.
- Lower it again so the milk circulates. A latte needs less added air than a spoonable cappuccino topping.
- Stop the motor before lifting the whisk. Swirl the vessel and pour promptly.
With a manual plunger, keep the lid seated and use controlled strokes. Watch the volume as you pump; the milk type and starting portion change how quickly it rises. Pause when the foam is still soft; pumping harder after the milk has already expanded tends to make the cap stiffer. Rinse the mesh before the residue dries.
For an automatic model, begin with its designated latte or dense-foam program if you want a flowing drink. Use the cappuccino or airy-foam setting when a taller topping is the goal. Keep the whisk correctly seated, and respect the recommended cooldown before another heated cycle.
Pour while the texture is still together
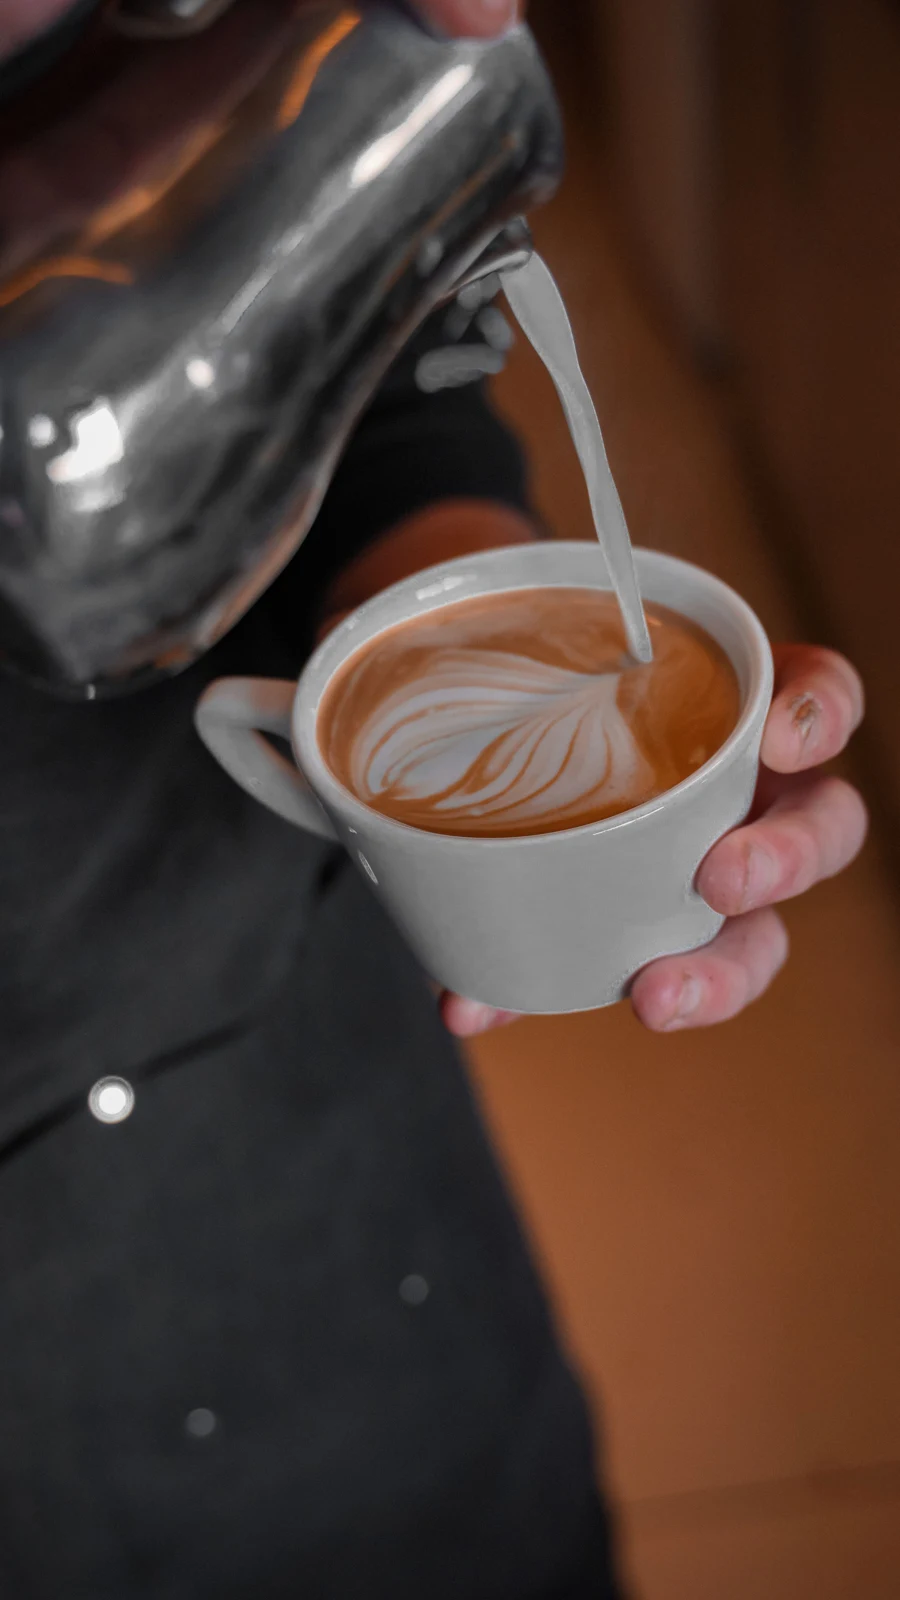
Swirl the finished milk to keep the bubbles distributed. A gentle tap can remove a few large surface bubbles, but it cannot repair a whole pitcher of dry foam. Pour soon after frothing; waiting lets the foam and liquid separate.
For cappuccino, pour the liquid and soft foam together, then spoon on any thicker topping you want. For a latte, keep aeration restrained so more of the milk flows through the spout. Our guide to espresso drinks at home explains how the milk portion changes the finished drink.
Free-pour latte art needs fine bubbles evenly mixed through liquid milk. A whisk can make pleasant milk for coffee without producing steam-wand microfoam. For that technique, follow the beginner’s guide to milk steaming and latte art, which covers aeration, circulation and the pour.
Fix the next cup, one change at a time
| What happened | Likely cause | Try next time |
|---|---|---|
| Large bubbles or splashes | Too much air at the surface, or too little headroom. | Use a taller vessel; submerge the coil before starting. |
| Dry foam above thin milk | Too much aeration or a long delay before pouring. | Shorten the surface stage, circulate deeper and pour sooner. |
| Little foam | Milk formulation, dirty parts or an incorrectly fitted whisk. | Clean and reseat the whisk; repeat with the same measured portion. |
| Cooked flavor or a burnt film | Excessive heat, especially on a hob. | Lower the heat, stir and check with a thermometer. |
| A lukewarm finished drink | Heat lost to the vessel or cup, or a low program setting. | Prewarm the coffee cup and check milk temperature before changing the program. |
Clean before the milk becomes a crust
After pouring, unplug an electric frother and let hot parts cool as its manual directs. Rinse removable whisks, screens and lids promptly. Use a soft sponge inside coated vessels; abrasive pads can damage the surface. Dishwasher permission belongs to specific parts, so check the manual before putting a jug or lid on a rack.
Keep powered bases, charging ports and battery handles dry. Detach a washable head before rinsing it where the design permits. Let mesh layers, coils and travel cases dry separately before storage. A clean whisk seated properly is a better starting point for tomorrow’s coffee than a longer cycle around yesterday’s milk residue.
Sources
- Gupta et al. (2025): Barista-Quality Plant-Based Milk for Coffee. Full open-access review, with a downloadable PDF. Sections 5.2–5.3 explain how plant-milk ingredients, heat and coffee acidity affect texture and foam. This supports the advice to adjust the milk formulation and temperature together.
- Ho et al. (2024): Ability to re-foam frothed milk at different solid concentrations and their foam structure (PDF). Full experimental study of reconstituted skim milk. The foam images and bubble measurements on journal pages 878–879 show bubbles growing over ten minutes, supporting the advice to pour promptly. Its re-foaming results apply to the tested milk and conditions.
Frequently asked questions
Does a handheld milk frother heat milk?+
No. A handheld whisk only agitates the milk. Warm it separately, then froth while keeping the handle dry.
Which milk frother is easiest for two drinks?+
Breville Milk Café allows up to 500 ml of starting milk for frothing, while Maestri House DualFro 600 allows 300 ml. Check both the minimum fill and your combined milk portion before choosing.
Why is frothing capacity lower than heating capacity?+
Milk expands as air is added. The lower frothing line preserves the empty space needed for circulation and prevents overflow.
Can a handheld frother make latte-art milk?+
An open-coil wand usually makes lighter, more separated foam. Careful timing can improve it, but the result is less integrated and less pourable than well-steamed milk.
Is a removable jug worth the extra counter space?+
It is valuable for frequent use, larger batches and easier washing. For one small drink, a compact fixed vessel may be the better fit.